
- Posts: 84
- Thank you received: 200
DH53 Hummingbird
- Modelflyer99
-
 Topic Author
- Offline
- Senior Member
-

Less
More
07 Dec 2014 02:38 #1
by Modelflyer99
DH53 Hummingbird was created by Modelflyer99
I've had a Stevens Aero kit of the DH53 Hummingbird hanging about for some while now, so I decided it was way past time when I should get it started.
As most of you probably will not be familiar with these kits, a few words about them may be in order. Stephens Aero is an American kit manufacturer who produces a range of laser cut kits of both stand-off scale and non-scale indoor models. The models are all designed to take the Parkzone/Spektrum Rx/Servo/ESC units, and are the best kits I've ever come across. They are fully laser cut from balsa, with some ply parts where necessary. The fit of the parts is IMHO exemplary, and these are models that can be built mainly in the hand, and then glued with thin cyano.
A typical sheet of laser cut parts

And the reverse side

As most of you probably will not be familiar with these kits, a few words about them may be in order. Stephens Aero is an American kit manufacturer who produces a range of laser cut kits of both stand-off scale and non-scale indoor models. The models are all designed to take the Parkzone/Spektrum Rx/Servo/ESC units, and are the best kits I've ever come across. They are fully laser cut from balsa, with some ply parts where necessary. The fit of the parts is IMHO exemplary, and these are models that can be built mainly in the hand, and then glued with thin cyano.
A typical sheet of laser cut parts
And the reverse side
Thanks: Klipkopwildlife, blue123, old fart, Fly-Navy
Please Log in or Create an account to join the conversation.
- Modelflyer99
-
Topic Author
- Offline
- Senior Member
-
Less
More
- Posts: 84
- Thank you received: 200
07 Dec 2014 02:52 - 07 Dec 2014 08:21 #2
by Modelflyer99
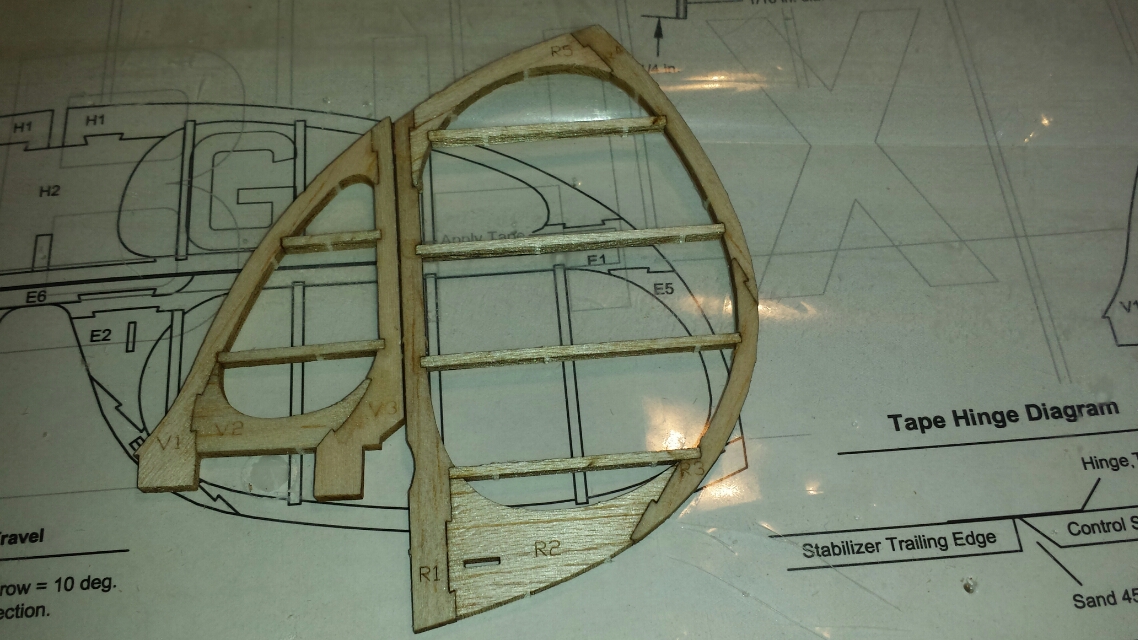


So, this is the first side. As you can see, you have to add some strengthening uprights to it (more on that later)
And then you add the central crutch and the first of the formers. The position of all the formers is preset with laser cut "slots" in the sides and the central crutch
And then the ply battery mount area...
Replied by Modelflyer99 on topic DH53 Hummingbird
So, this is the first side. As you can see, you have to add some strengthening uprights to it (more on that later)
And then you add the central crutch and the first of the formers. The position of all the formers is preset with laser cut "slots" in the sides and the central crutch
And then the ply battery mount area...
Last edit: 07 Dec 2014 08:21 by .
Thanks: Klipkopwildlife, blue123, Fly-Navy
Please Log in or Create an account to join the conversation.
- Modelflyer99
-
Topic Author
- Offline
- Senior Member
-
Less
More
- Posts: 84
- Thank you received: 200
07 Dec 2014 02:56 #3
by Modelflyer99
Replied by Modelflyer99 on topic DH53 Hummingbird
This little doohicky is the wing mount (it will be fitted with a couple of magnets later

The second side added!

The second side added!
Thanks: Klipkopwildlife, blue123, old fart, Fly-Navy
Please Log in or Create an account to join the conversation.
- Modelflyer99
-
Topic Author
- Offline
- Senior Member
-
Less
More
- Posts: 84
- Thank you received: 200
07 Dec 2014 03:05 #4
by Modelflyer99
Replied by Modelflyer99 on topic DH53 Hummingbird
The first of the formers to define the shape are added

Thanks: Klipkopwildlife, blue123, old fart, Fly-Navy
Please Log in or Create an account to join the conversation.
- Modelflyer99
-
Topic Author
- Offline
- Senior Member
-
Less
More
- Posts: 84
- Thank you received: 200
07 Dec 2014 05:51 #5
by Modelflyer99
Replied by Modelflyer99 on topic DH53 Hummingbird
Next, it's time to slap it's bottom (decking on) 
As with the side panels, there is a strengthening cross piece to add to the bottom.
Here is the bottom decking as it comes out of the sheet. You can see that there are 2 lightening holes cut with the laser that you have to remove. The rear hole is not just oval though, there is a dovetail cut into each side.
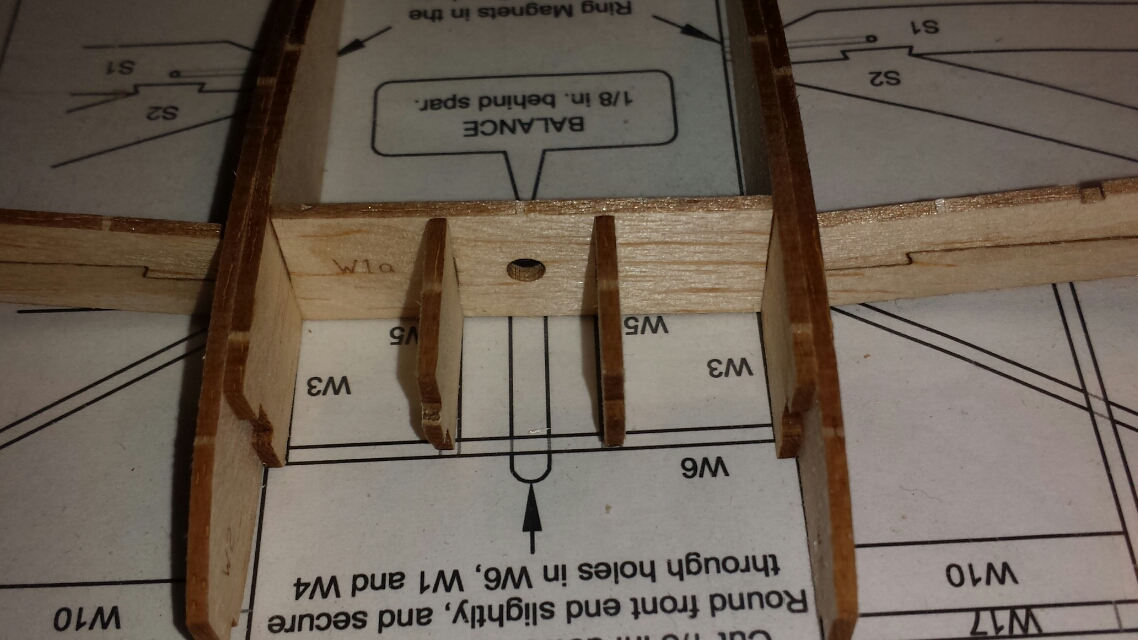
This the pieces removed from the holes

And here is the crosspiece removed from the waste
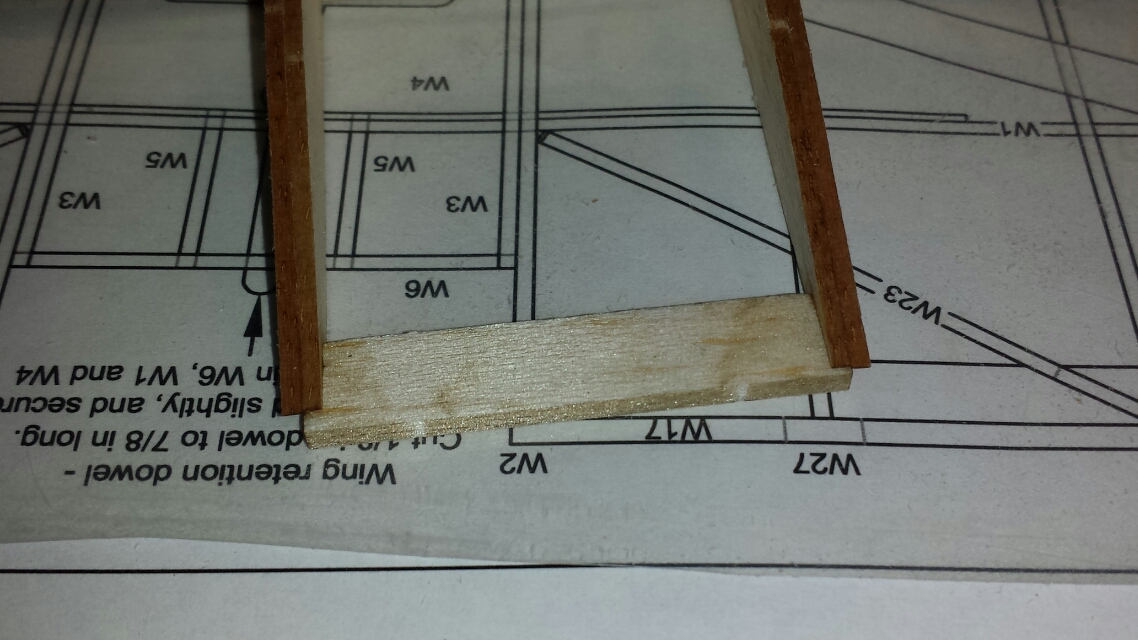
And finally, the crosspiece fitted to the bottom decking. It is so well designed, you just press it into the recesses, and glue it with a dot of cyano.

As with the side panels, there is a strengthening cross piece to add to the bottom.
Here is the bottom decking as it comes out of the sheet. You can see that there are 2 lightening holes cut with the laser that you have to remove. The rear hole is not just oval though, there is a dovetail cut into each side.
This the pieces removed from the holes
And here is the crosspiece removed from the waste
And finally, the crosspiece fitted to the bottom decking. It is so well designed, you just press it into the recesses, and glue it with a dot of cyano.
Thanks: Klipkopwildlife, Quorneng, blue123, old fart, Fly-Navy
Please Log in or Create an account to join the conversation.
- Modelflyer99
-
Topic Author
- Offline
- Senior Member
-
Less
More
- Posts: 84
- Thank you received: 200
07 Dec 2014 06:14 #6
by Modelflyer99
Replied by Modelflyer99 on topic DH53 Hummingbird
These pieces are added at the back to refine the shape

Last couple of formers added for the top decking

Last couple of formers added for the top decking
Thanks: Klipkopwildlife, Quorneng, blue123, old fart, Fly-Navy
Please Log in or Create an account to join the conversation.
- Ex-Member
- Visitor
-

07 Dec 2014 07:57 #7
by Ex-Member
Replied by Ex-Member on topic DH53 Hummingbird
Looks very nice MF99, I shall follow with interest! I had a soft spot for the DH-53 when I flew her at Shuttleworth. It was sad day when Trevor Roche (a personal friend) departed the aircraft at Old Warden losing his life in the subsequent crash. It'll be nice to see another one flying again, albeit in model format.
What's the span and which colours will you be using?
What's the span and which colours will you be using?
Please Log in or Create an account to join the conversation.
- Ex-Member
- Visitor
-
07 Dec 2014 10:06 #8
by Ex-Member
Replied by Ex-Member on topic DH53 Hummingbird
nice model young man. 
sad about your friend Andy.
sad about your friend Andy.
Please Log in or Create an account to join the conversation.
- alan cantwell
-

- Offline
- Inactivated User
-

Less
More
- Posts: 2290
- Thank you received: 1918
07 Dec 2014 12:02 #9
by alan cantwell
i have 2 sides
no you dont,
yes i do,
Replied by alan cantwell on topic DH53 Hummingbird
Ditto Tony, This looks a nice kit, laser cutting could be a great way of getting folk building again,
i have 2 sides
no you dont,
yes i do,
Thanks: Modelflyer99
Please Log in or Create an account to join the conversation.
- Modelflyer99
-
Topic Author
- Offline
- Senior Member
-
Less
More
- Posts: 84
- Thank you received: 200
07 Dec 2014 23:29 #10
by Modelflyer99
Replied by Modelflyer99 on topic DH53 Hummingbird
Thank you for your kind comments chaps.
Andy, WOW, to think I'm 'talking' to some one who has flown the original plane, I'm honoured!
The wingspan is a tad less than 27", and should weigh in the region of 70gms. I will be doing it in the blue and silver colours that G-EBHX was painted in. Actually, finding any alternative colours has been quite frustrating, the only other example (in colour) I have been able to find is an example done all over silver with RAF markings!
Andy
Andy, WOW, to think I'm 'talking' to some one who has flown the original plane, I'm honoured!
The wingspan is a tad less than 27", and should weigh in the region of 70gms. I will be doing it in the blue and silver colours that G-EBHX was painted in. Actually, finding any alternative colours has been quite frustrating, the only other example (in colour) I have been able to find is an example done all over silver with RAF markings!
Andy
Please Log in or Create an account to join the conversation.
- Modelflyer99
-
Topic Author
- Offline
- Senior Member
-
Less
More
- Posts: 84
- Thank you received: 200
08 Dec 2014 02:17 #11
by Modelflyer99
Replied by Modelflyer99 on topic DH53 Hummingbird
Alan, yes they are very nice kits!
I've built a few of them now, and they all go together very, very well indeed. Some of the simpler models can be built in a couple of evenings.
Micron Radio Control are the stockists in the UK
Andy
I've built a few of them now, and they all go together very, very well indeed. Some of the simpler models can be built in a couple of evenings.
Micron Radio Control are the stockists in the UK
Andy
Please Log in or Create an account to join the conversation.
- Modelflyer99
-
Topic Author
- Offline
- Senior Member
-
Less
More
- Posts: 84
- Thank you received: 200
08 Dec 2014 02:35 #12
by Modelflyer99
Replied by Modelflyer99 on topic DH53 Hummingbird
The undercarriage mount was next.
2 ply formers fitted at the front of the wing aperture sandwich another piece of ply which mirrors the shape of the U/C wire (a V shape). The wire will then plug into this slot and be secured by a final V shaped piece of ply. You may just be able to make out the U/C slot here

and here
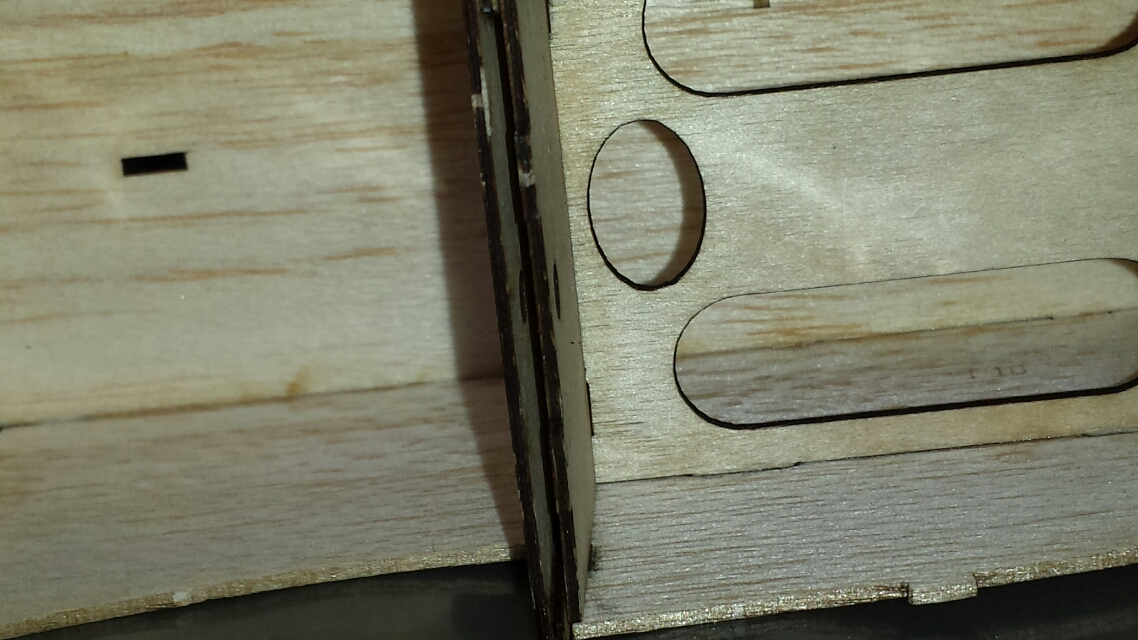
2 ply formers fitted at the front of the wing aperture sandwich another piece of ply which mirrors the shape of the U/C wire (a V shape). The wire will then plug into this slot and be secured by a final V shaped piece of ply. You may just be able to make out the U/C slot here
and here
Thanks: Klipkopwildlife, Ex-Member, blue123, old fart, Fly-Navy
Please Log in or Create an account to join the conversation.
- Modelflyer99
-
Topic Author
- Offline
- Senior Member
-
Less
More
- Posts: 84
- Thank you received: 200
08 Dec 2014 02:44 #13
by Modelflyer99
Replied by Modelflyer99 on topic DH53 Hummingbird
Next the nose blocks are added layer by laser cut layer


Then the bottom sheeting is added behind the nose.

The above shot shows off the slot for the undercarriage wire quite well!
Then the bottom sheeting is added behind the nose.
The above shot shows off the slot for the undercarriage wire quite well!
Thanks: Klipkopwildlife, blue123, old fart
Please Log in or Create an account to join the conversation.
- Modelflyer99
-
Topic Author
- Offline
- Senior Member
-
Less
More
- Posts: 84
- Thank you received: 200
08 Dec 2014 03:12 #14
by Modelflyer99
Replied by Modelflyer99 on topic DH53 Hummingbird
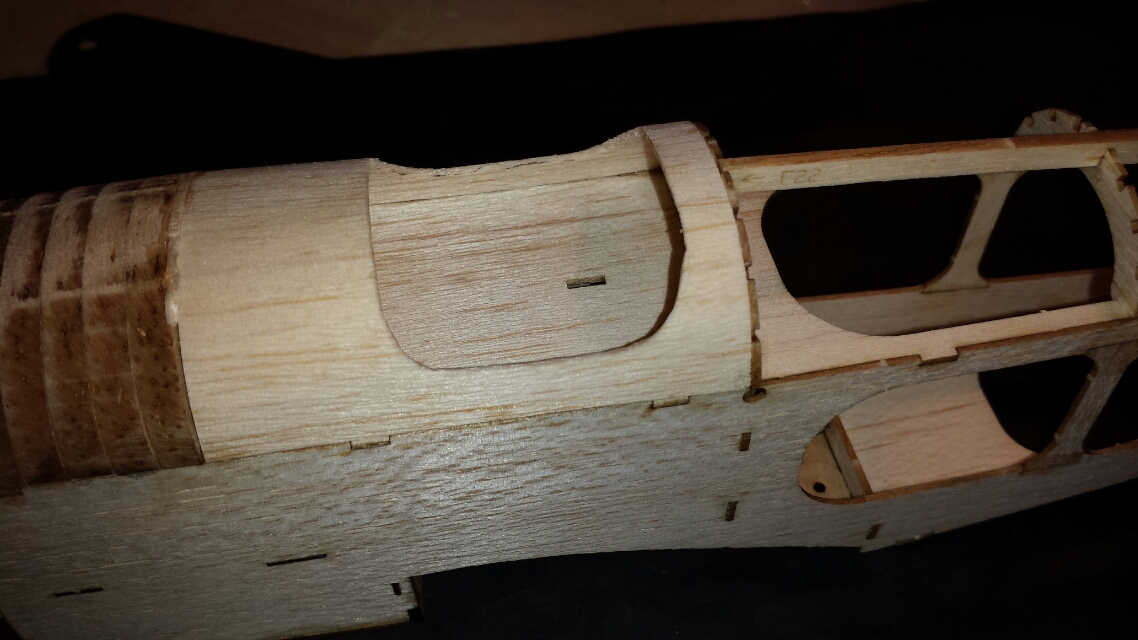
Next the sheeting over the cockpit area is to be added.
The instructions tell you to moisten one side of the sheet and to gently bend it into shape (standard stuff!), but muggins here got a bit carried away and broke this piece in twain (There wuz a fault in the balsa, honest yer 'onour!)
Now, these kits are cut from a funny size of balsa sheet (1/20th) so to cut a replacement part from my stock of 1/16th would have meant a fair bit of sanding, and 1/32nd would have been too thin
Luckily there was enough spare at the end of one of the laser cut sheets to cut a new one.
Not quite as good as the original, but not too bad
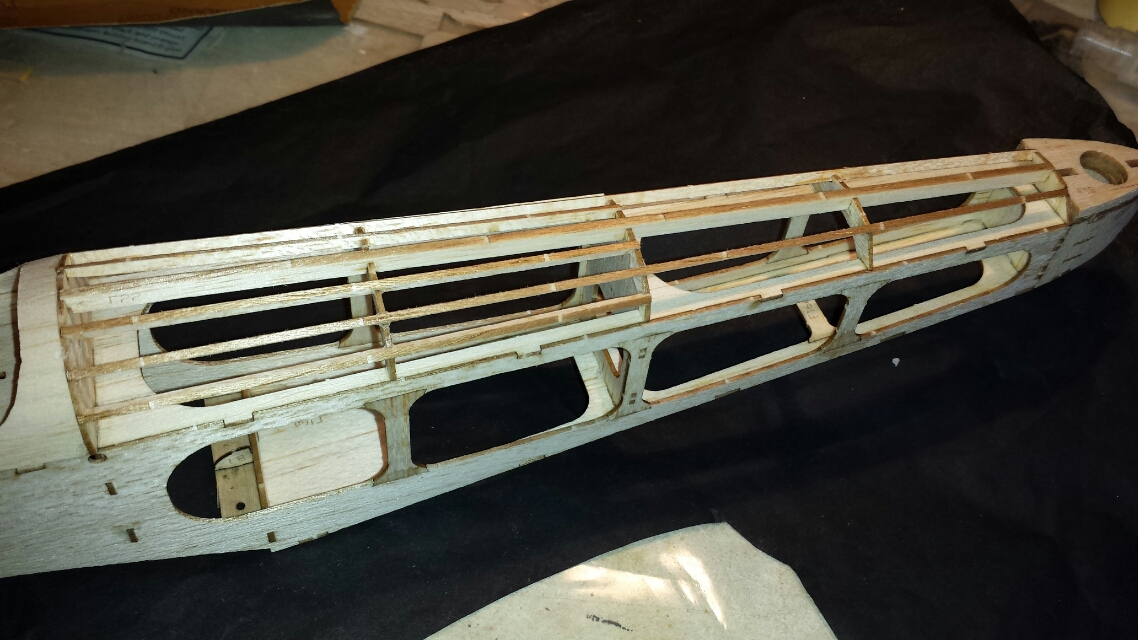
Next the stringers were added at the back
The instructions tell you to moisten one side of the sheet and to gently bend it into shape (standard stuff!), but muggins here got a bit carried away and broke this piece in twain (There wuz a fault in the balsa, honest yer 'onour!)
Now, these kits are cut from a funny size of balsa sheet (1/20th) so to cut a replacement part from my stock of 1/16th would have meant a fair bit of sanding, and 1/32nd would have been too thin
Luckily there was enough spare at the end of one of the laser cut sheets to cut a new one.
Not quite as good as the original, but not too bad
Next the stringers were added at the back
Thanks: Klipkopwildlife, Ex-Member, blue123, old fart, Fly-Navy
Please Log in or Create an account to join the conversation.
- Modelflyer99
-
Topic Author
- Offline
- Senior Member
-
Less
More
- Posts: 84
- Thank you received: 200
08 Dec 2014 03:20 #15
by Modelflyer99
Replied by Modelflyer99 on topic DH53 Hummingbird
Next job is to try and turn this:-

Into something resembling the Hummingbird's nose contours.
So, sanding.....
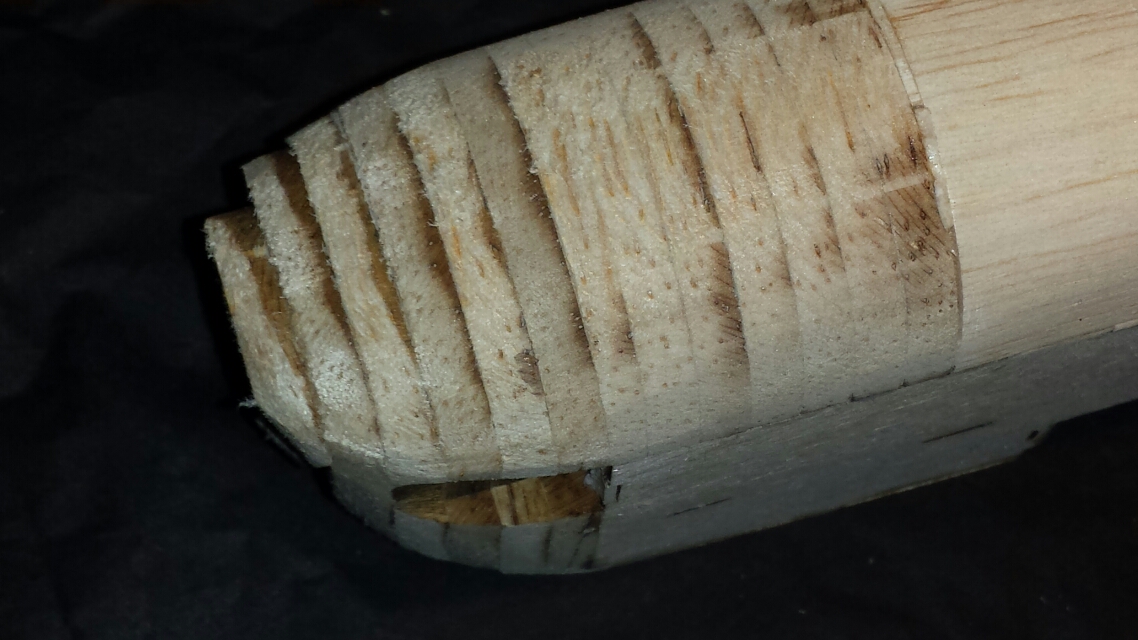
more sanding.....
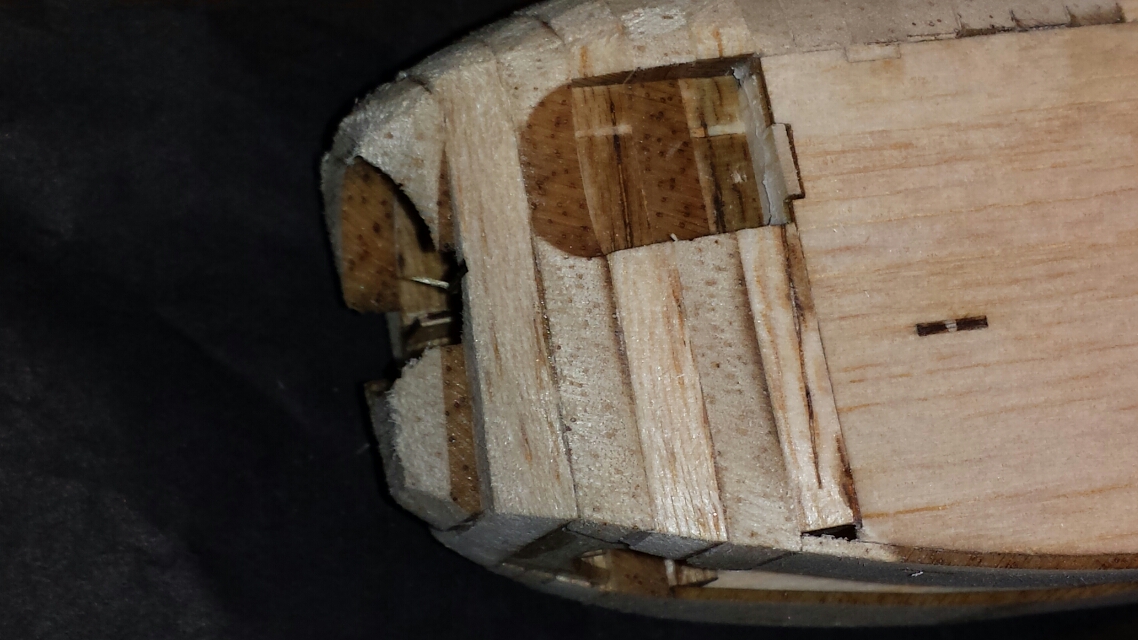
and even more sanding......

Into something resembling the Hummingbird's nose contours.
So, sanding.....
more sanding.....
and even more sanding......
Thanks: Klipkopwildlife, Ex-Member, Quorneng, THE BLACKBIRD, blue123, old fart, Fly-Navy
Please Log in or Create an account to join the conversation.
Time to create page: 0.408 seconds