
- Posts: 115
- Thank you received: 197
Badger 350 airbrush review and spray out tests
- Pylonuk
-
 Topic Author
- Offline
- Premium Member
-

Less
More
24 Nov 2020 19:07 - 24 Nov 2020 19:09 #1
by Pylonuk
Badger 350 airbrush review and spray out tests was created by Pylonuk
In recent discussions about airbrushes with Super Tigre Fan, he said that he was thinking of getting a Badger 350 airbrush and did I have one and what did I think of it?
In my collection of Badger airbrushes, I do have a 350 and I said to STF that I would do a review on it. Now I am a big fan of Badger airbrushes as I feel they have an airbrush for pretty well every job that I need to tackle.
The bottom of the Badger range is the 250, which is a really useful and simple airbrush, the 350 is the next in the Badger range and whilst it is still an external mix airbrush it has a degree more finesse than the 250 which is little more than on or off on the paint regulation.
The 350 has the options of 3 different head/needle sets, these are Heavy, Medium and Fine

Badger 350 fitted with Fine head and needle, alternative heavy head/needle along side.
For the tests, I found a piece of glass cloth covered balsa, this was covered with 25 gramme/sq metre glass applied with Bob Smith finishing epoxy, this was well cured.
STR said he was interested in knowing how the 350 performed in a traditional prime/colour/fuel proofer scheme.
So I decided to use my favourite Kapci white primer, followed by a red automotive single pack base coat and finally a coating of Rustins Plasticote which IMO is a direct replacement for the old Ripmax Tufkote.
So I mixed the primer and thinned the mix to a 50:50 ratio with a simple automotive thinner, the 350 was able to spray the primer with a reasonable pattern, the flow control from the needle was good and the airbrush sat really well in my hand (I had forgotten that about the 350) the criticism at this stage would be that I was not able to hose the primer on like I might have wanted to do on a mould pattern for example.
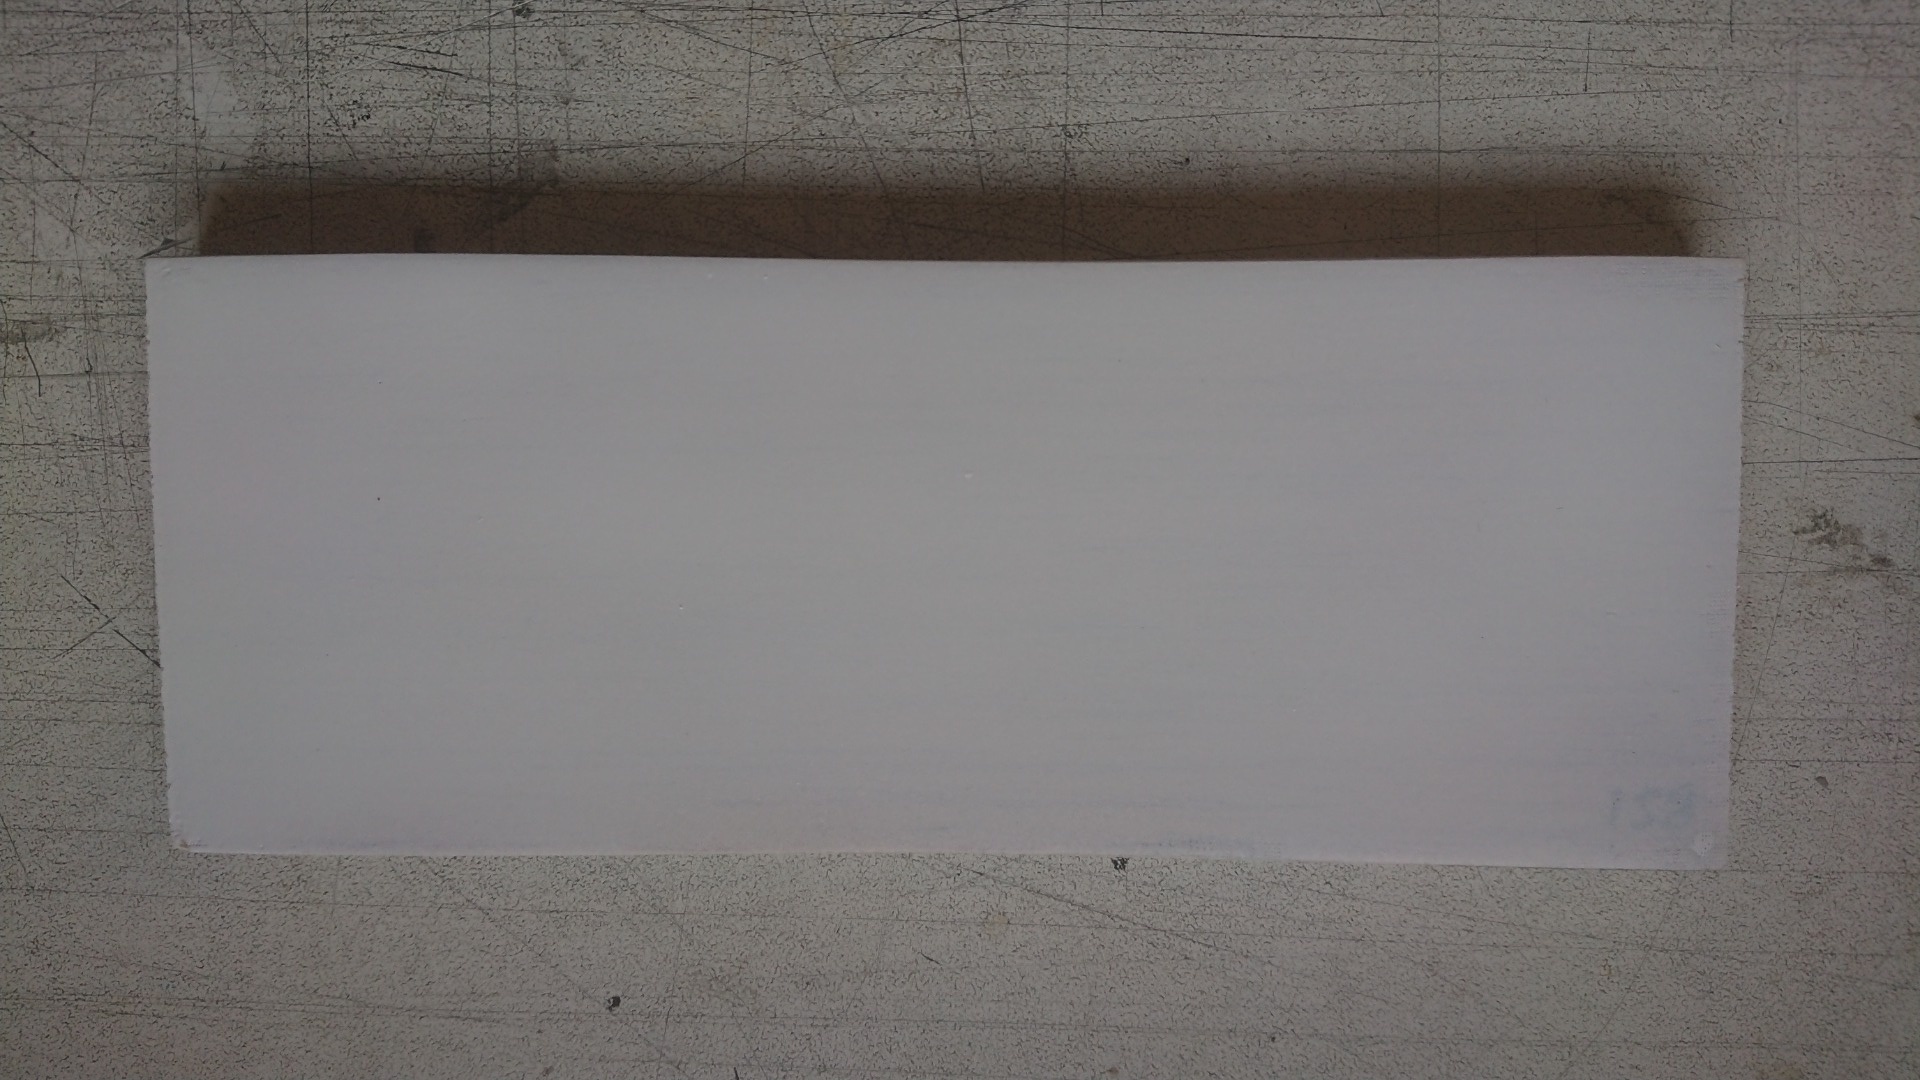
The Kapci 2k primer sets pretty quick and sands out really nicely, after about 45 minutes I was able to give the primer a light key up in preparation for a red basecoat. The finish on the primer was very smooth, probably better than my go to airbrush for priming which is the Badger 250.
I loaded a paint jar with the red paint which was thinned 50:50 with the same thinner as I had used with the primer.
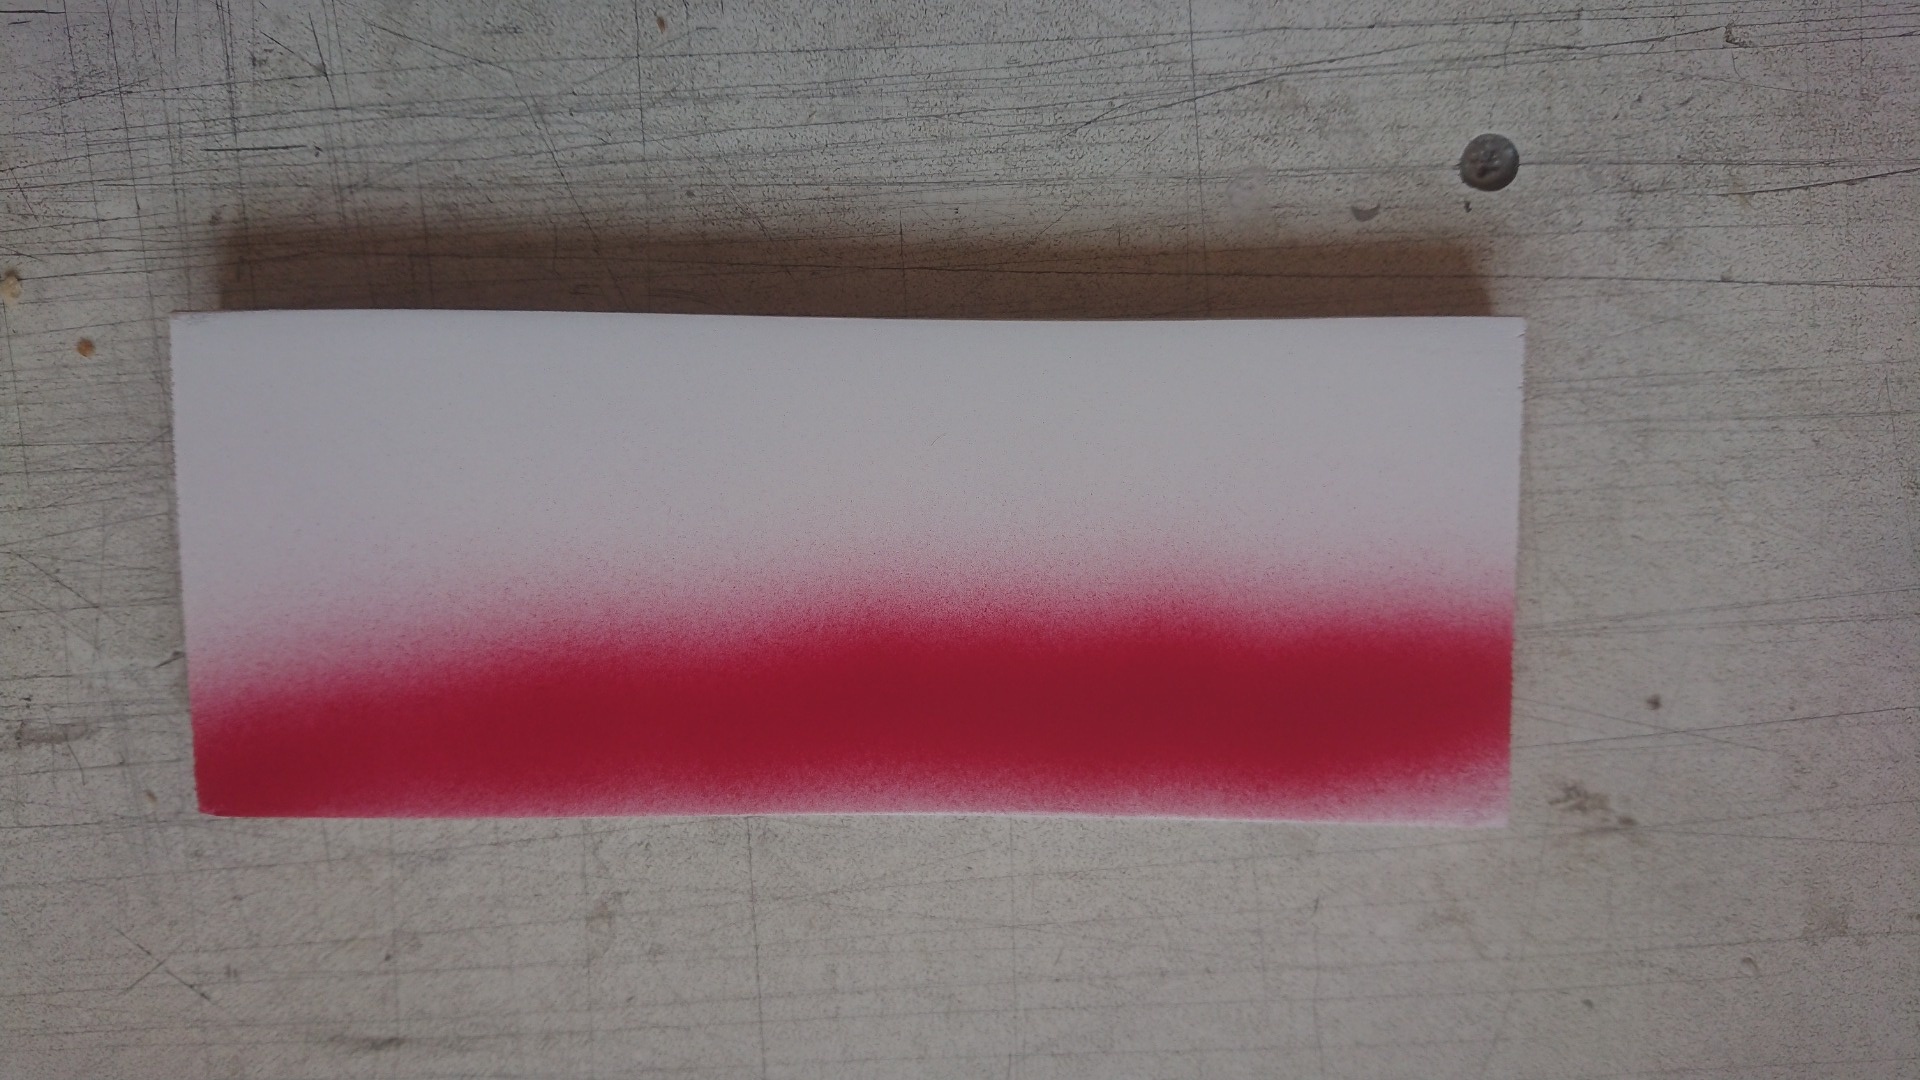
The photo above shows one pass of the 350 at max paint flow onto the 200 x 100mm wide test piece. I sprayed the whole test piece in and coverage was good as the basecoat was slightly lower viscosity than the previously sprayed primer.
TBC
In my collection of Badger airbrushes, I do have a 350 and I said to STF that I would do a review on it. Now I am a big fan of Badger airbrushes as I feel they have an airbrush for pretty well every job that I need to tackle.
The bottom of the Badger range is the 250, which is a really useful and simple airbrush, the 350 is the next in the Badger range and whilst it is still an external mix airbrush it has a degree more finesse than the 250 which is little more than on or off on the paint regulation.
The 350 has the options of 3 different head/needle sets, these are Heavy, Medium and Fine
Badger 350 fitted with Fine head and needle, alternative heavy head/needle along side.
For the tests, I found a piece of glass cloth covered balsa, this was covered with 25 gramme/sq metre glass applied with Bob Smith finishing epoxy, this was well cured.
STR said he was interested in knowing how the 350 performed in a traditional prime/colour/fuel proofer scheme.
So I decided to use my favourite Kapci white primer, followed by a red automotive single pack base coat and finally a coating of Rustins Plasticote which IMO is a direct replacement for the old Ripmax Tufkote.
So I mixed the primer and thinned the mix to a 50:50 ratio with a simple automotive thinner, the 350 was able to spray the primer with a reasonable pattern, the flow control from the needle was good and the airbrush sat really well in my hand (I had forgotten that about the 350) the criticism at this stage would be that I was not able to hose the primer on like I might have wanted to do on a mould pattern for example.
The Kapci 2k primer sets pretty quick and sands out really nicely, after about 45 minutes I was able to give the primer a light key up in preparation for a red basecoat. The finish on the primer was very smooth, probably better than my go to airbrush for priming which is the Badger 250.
I loaded a paint jar with the red paint which was thinned 50:50 with the same thinner as I had used with the primer.
The photo above shows one pass of the 350 at max paint flow onto the 200 x 100mm wide test piece. I sprayed the whole test piece in and coverage was good as the basecoat was slightly lower viscosity than the previously sprayed primer.
TBC
Last edit: 24 Nov 2020 19:09 by Pylonuk.
Thanks: Klipkopwildlife
Please Log in or Create an account to join the conversation.
- Pylonuk
-
Topic Author
- Offline
- Premium Member
-
Less
More
- Posts: 115
- Thank you received: 197
24 Nov 2020 19:21 - 24 Nov 2020 19:52 #2
by Pylonuk
Replied by Pylonuk on topic Badger 350 airbrush review and spray out tests
After spraying out the red basecoat, I cleaned out the airbrush and mixed up the Rustins Plastic Coating. This a 4:1 mix between the coating and hardener, I then thinned this mix with the same thinners as had been used in the previous 2 coatings.
The red basecoat dry's off really quickly and after less than 20 minutes I was ready to spray the fuel proof Rustins coating.
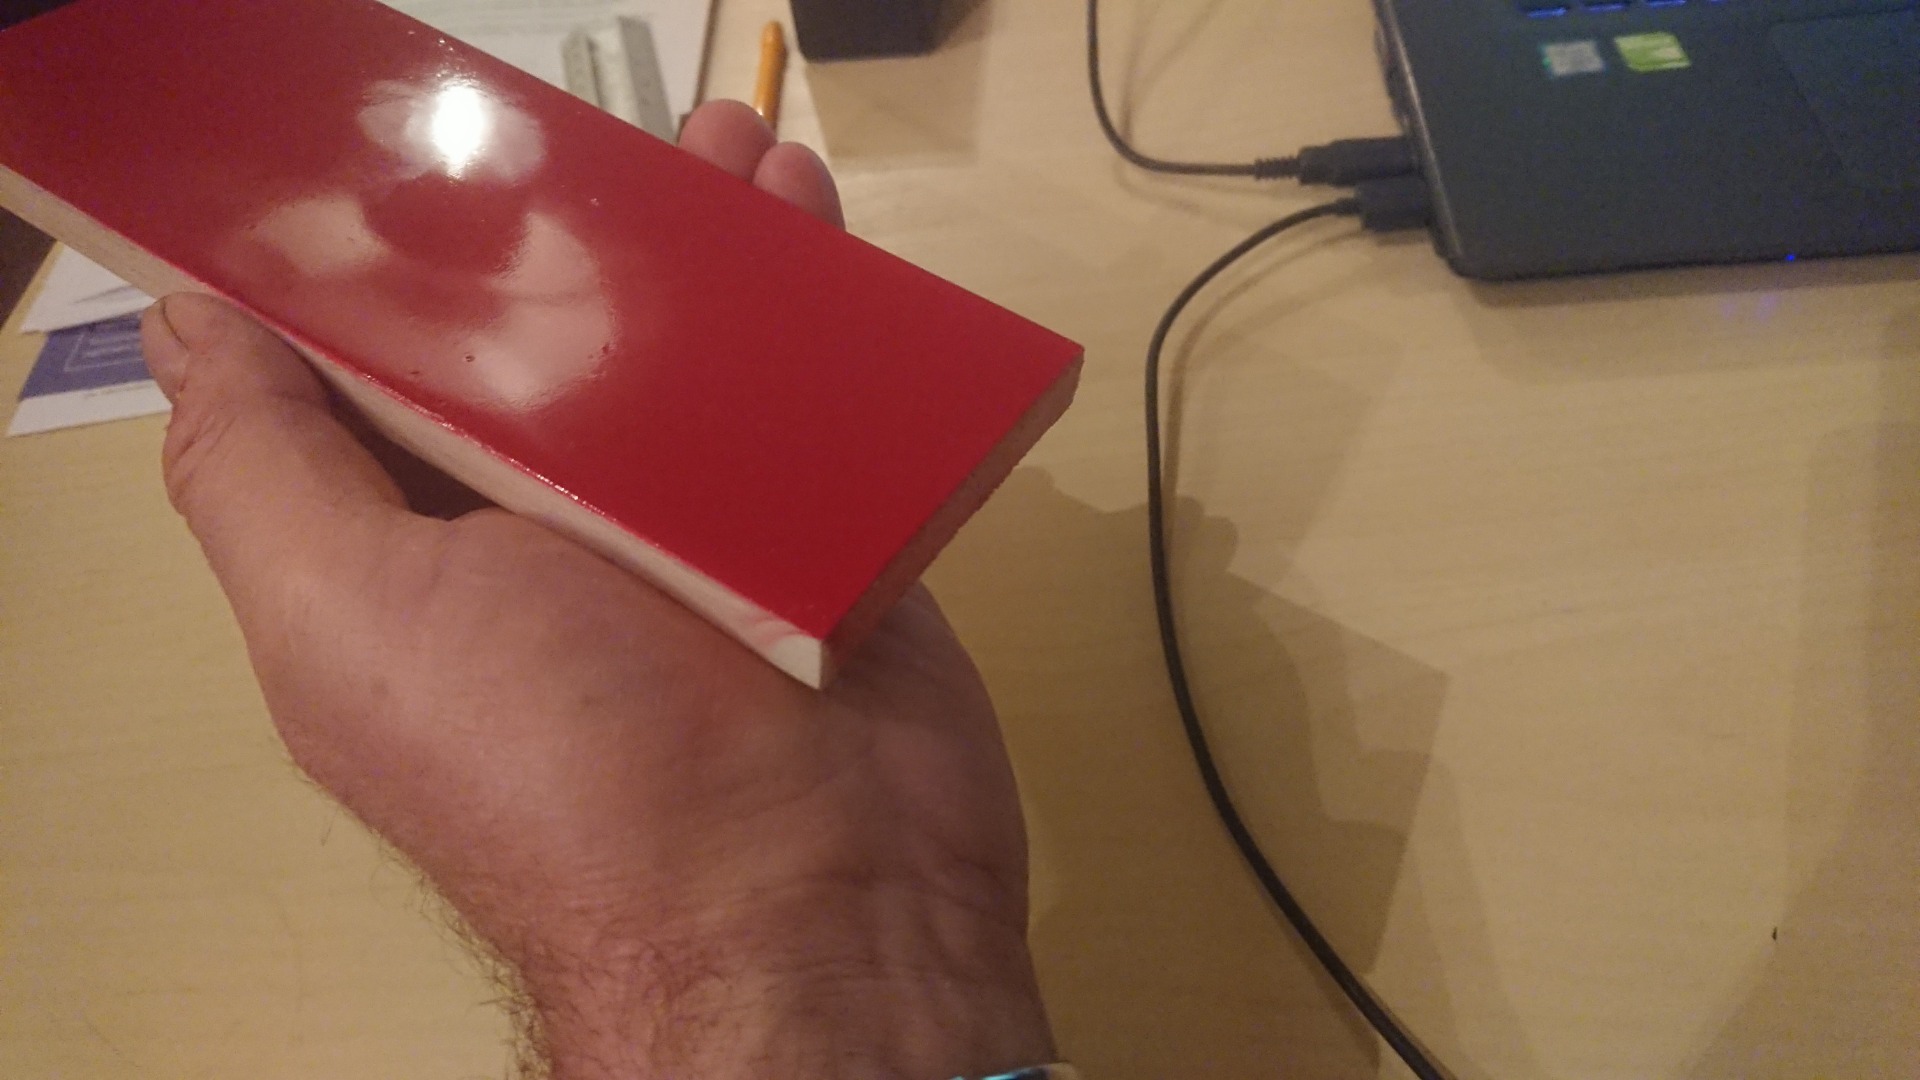
I had not adjusted the paint flow from the previous red coating, the fuel proofer sprayed nicely and I adopted a three coat approach, 1st coat is fairly light, 2nd coat after the first has tacked off is slightly heavier and then the final coat is a full coat, the Rustins material flowed out nicely as can be seen below.
All spraying was done with the heavy needle/tip, I then fitted the fine needle for some trials of which I will show results later in the message thread.
TBC
The red basecoat dry's off really quickly and after less than 20 minutes I was ready to spray the fuel proof Rustins coating.
I had not adjusted the paint flow from the previous red coating, the fuel proofer sprayed nicely and I adopted a three coat approach, 1st coat is fairly light, 2nd coat after the first has tacked off is slightly heavier and then the final coat is a full coat, the Rustins material flowed out nicely as can be seen below.
All spraying was done with the heavy needle/tip, I then fitted the fine needle for some trials of which I will show results later in the message thread.
TBC
Last edit: 24 Nov 2020 19:52 by Pylonuk.
Thanks: Klipkopwildlife, Flytilbroke, THE BLACKBIRD, supertigrefan
Please Log in or Create an account to join the conversation.
- supertigrefan
-

- Offline
- Elite Member
-

Less
More
- Posts: 470
- Thank you received: 513
24 Nov 2020 19:38 #3
by supertigrefan
Stay low, Move fast, Trust no-one....
Replied by supertigrefan on topic Badger 350 airbrush review and spray out tests
So this was with the fine needle Barrie?
Stay low, Move fast, Trust no-one....
Please Log in or Create an account to join the conversation.
- Pylonuk
-
Topic Author
- Offline
- Premium Member
-
Less
More
- Posts: 115
- Thank you received: 197
24 Nov 2020 19:55 #4
by Pylonuk
Replied by Pylonuk on topic Badger 350 airbrush review and spray out tests
STF all the spraying was done with the heavy needle/tip, I can see why you thought otherwise though.
The photo of the airbrush shows the fine needle fitted this was because I took that photo after some trials to see how fine the 350 would spray. Results of that test to follow shortly.
B.
The photo of the airbrush shows the fine needle fitted this was because I took that photo after some trials to see how fine the 350 would spray. Results of that test to follow shortly.
B.
Thanks: Klipkopwildlife, supertigrefan
Please Log in or Create an account to join the conversation.
- Pylonuk
-
Topic Author
- Offline
- Premium Member
-
Less
More
- Posts: 115
- Thank you received: 197
24 Nov 2020 23:06 #5
by Pylonuk
Replied by Pylonuk on topic Badger 350 airbrush review and spray out tests
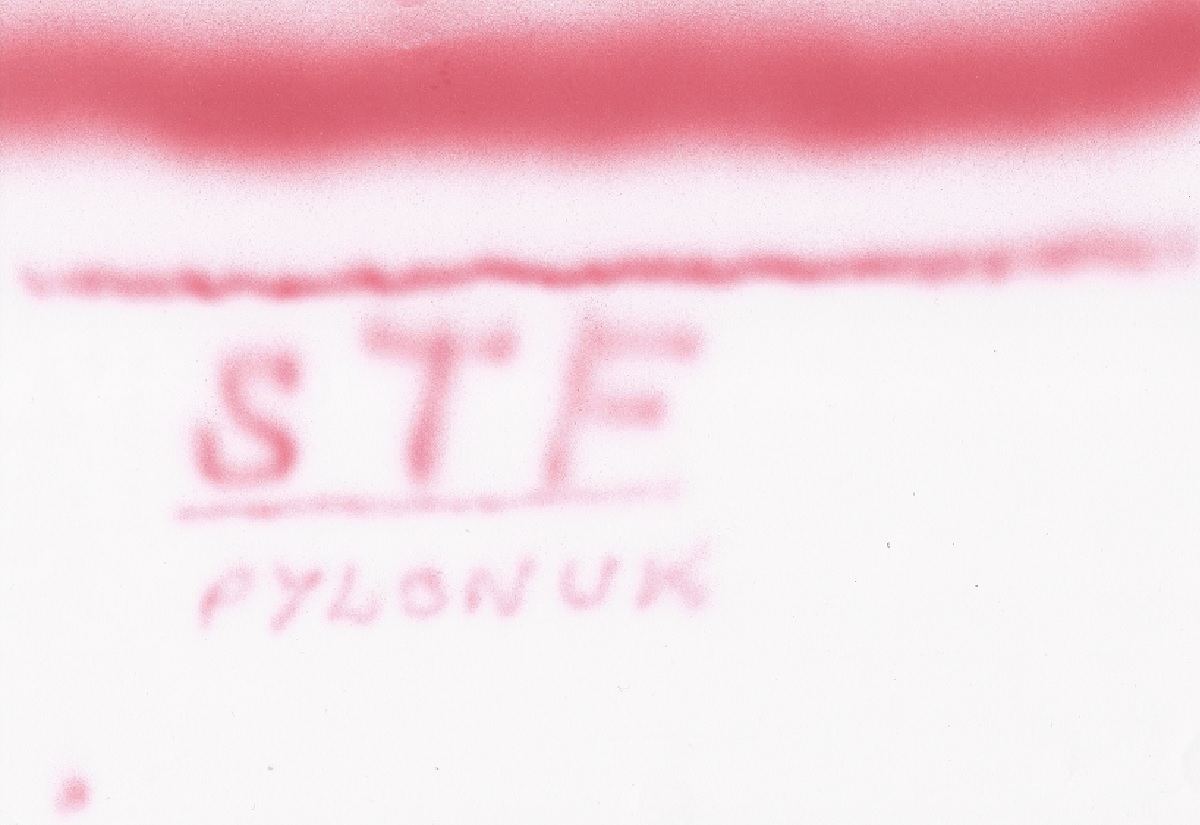
This an A4 piece of paper with the widest and narrowest spray patterns.
I think it has foxed the scanner to be honest.
I think it has foxed the scanner to be honest.
Thanks: Klipkopwildlife, THE BLACKBIRD
Please Log in or Create an account to join the conversation.
- THE BLACKBIRD
-

- Offline
- Forum Master
-

Less
More
- Posts: 6781
- Thank you received: 10722
24 Nov 2020 23:30 #6
by THE BLACKBIRD
Replied by THE BLACKBIRD on topic Badger 350 airbrush review and spray out tests
Thats quite a wide range
Please Log in or Create an account to join the conversation.
- Eric
-

- Offline
- Moderator
-

Less
More
- Posts: 15406
- Thank you received: 14306
25 Nov 2020 10:43 #7
by Eric
if you are calm and collected when all about you are going berserk - you've missed something important!
Replied by Eric on topic Badger 350 airbrush review and spray out tests
Stupid question - how do you change the width of the spray pattern?
With a rattle-can, you stand further back.
With a rattle-can, you stand further back.
if you are calm and collected when all about you are going berserk - you've missed something important!
Thanks: Klipkopwildlife
Please Log in or Create an account to join the conversation.
- Pylonuk
-
Topic Author
- Offline
- Premium Member
-
Less
More
- Posts: 115
- Thank you received: 197
25 Nov 2020 13:26 #8
by Pylonuk
Replied by Pylonuk on topic Badger 350 airbrush review and spray out tests
Eric
The main thing changing the spray pattern is adjusting the nozzle, it is the pointed part in the fisrt photo, it just screws up and down, then the next thing is to hold the airbrush closer as this reduces the diffusion in the spray and finally a reduction in pressure.
There are 3 needles/tip assemblies they all adjust the same way and are interchanged on the airbrush body.
B.
The main thing changing the spray pattern is adjusting the nozzle, it is the pointed part in the fisrt photo, it just screws up and down, then the next thing is to hold the airbrush closer as this reduces the diffusion in the spray and finally a reduction in pressure.
There are 3 needles/tip assemblies they all adjust the same way and are interchanged on the airbrush body.
B.
Thanks: Klipkopwildlife, Flytilbroke, THE BLACKBIRD
Please Log in or Create an account to join the conversation.
Time to create page: 0.181 seconds