
Maddog designs nemesis
- Ex-Member
- Topic Author
- Visitor
-


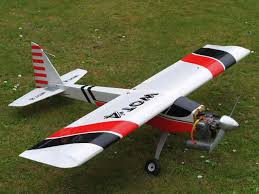
got a box today full of the new Maddog nemesis.

i hope to be building this kit very soon and will be converting it to electric power.
62" wing span.
foam core wings
ply fuselage construction.
everything thing in the kit looks to be well designed and made and was packed very well.
the model was designed for ic, so a few alterations will have to be made to fit my choice of motive power.
keep your eye on this company, they look to be very good.
Tony.
Please Log in or Create an account to join the conversation.
- Garry Pollard
- Visitor
-
Garry
Please Log in or Create an account to join the conversation.
- Ex-Member
- Topic Author
- Visitor
-
then you have to build it. he he he
Please Log in or Create an account to join the conversation.
- Phil Wood
-

- Offline
- Inactivated User
-


I just own the forum .... you guys make it great thanks.
Please Log in or Create an account to join the conversation.
- Ex-Member
- Topic Author
- Visitor
-
there are only so many ways you can design a high wing sports plane.
Please Log in or Create an account to join the conversation.
- RobC
-
- Offline
- Elite Member
-

- Posts: 207
- Thank you received: 215

Please Log in or Create an account to join the conversation.
- Ex-Member
- Topic Author
- Visitor
-


Please Log in or Create an account to join the conversation.
- Geoff dales
-

- Offline
- Premium Member
-

- Posts: 153
- Thank you received: 265
![[badass]](/media/kunena/emoticons/bad_boys_20.gif "[badass]") . That's the 70s afterwards cig
. That's the 70s afterwards cigWhen you said nemesis thought initially was the racer
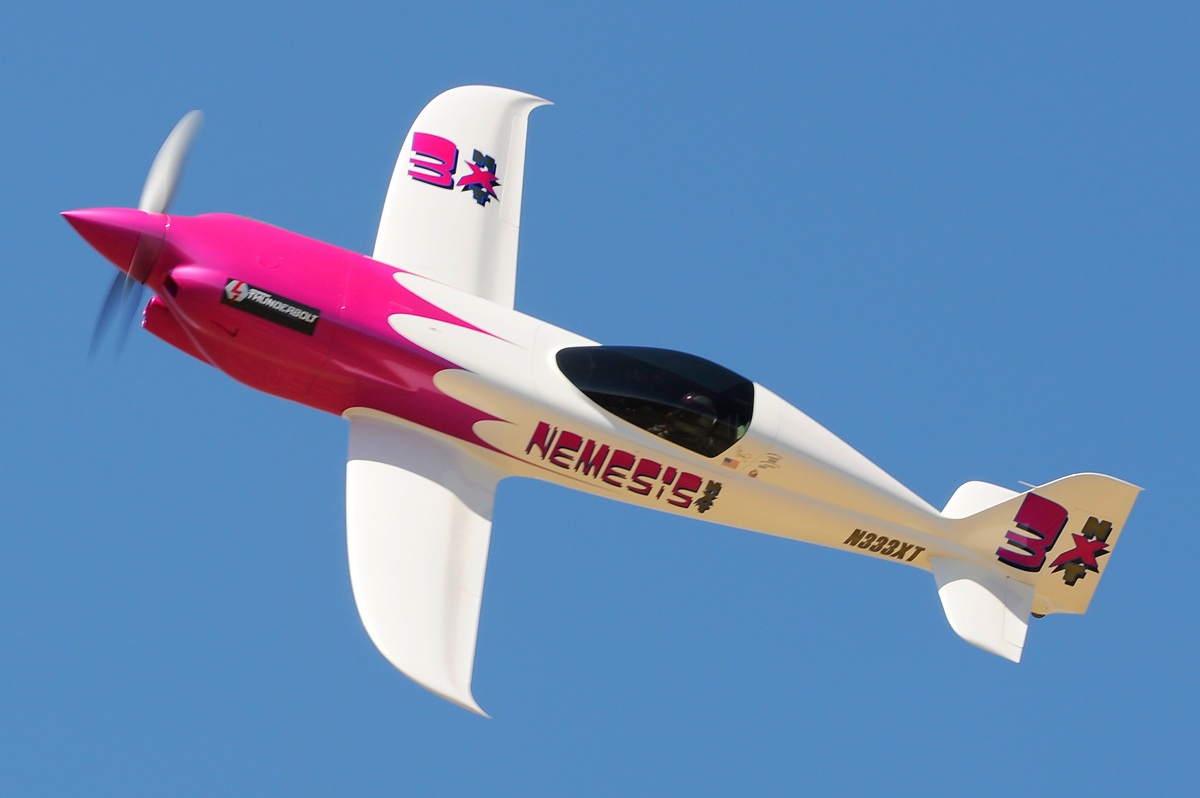
I fancy twins
Please Log in or Create an account to join the conversation.
- alan cantwell
-
- Offline
- Inactivated User
-
- Posts: 2290
- Thank you received: 1918
Tony, your plane looks functional, looks a bit retro, should be a good steady B cert mount though, thought you were skint

i have 2 sides
no you dont,
yes i do,
Please Log in or Create an account to join the conversation.
- Ex-Member
- Topic Author
- Visitor
-
well.
i sold 2 planes on tuesday.
and i got a good deal on it.
Please Log in or Create an account to join the conversation.
- Ex-Member
- Topic Author
- Visitor
-
First job (after reading the instructions) is to cut out and assemble the tail plane and elevators.

Then do the same with the fin and rudder.
Next job is to find all the fuselage parts that have to be epoxied together and do them.

While they are drying you can tackle the fuselage sides.

Lay the two sides out and Position the doubler's, making sure you have a left and right hand sides.
then glue the doubler's in place.

run the angled balsa stock along the top and bottom of the rear of the fuselage and round the tail plane slot.

go have a cup of coffee.
come back from your coffee and stick all the formers in place on one side, making sure they are all upright.

Go have lunch while it dries.
thank you.
Please Log in or Create an account to join the conversation.
- Garry Pollard
- Visitor
-

Garry
Please Log in or Create an account to join the conversation.
- Ex-Member
- Topic Author
- Visitor
-
After lunch you can go back outside and join the two halves together and then go have yet another coffee while it sets.
Visit the loo for a pee and then go and then pull the tail of the fuselage in and glue the tail post in.
While this is setting you can sand the rudder, elevator, fin and tailplane to shape and then temporarily hinge them.


Next comes the cross sheeting of the top and bottom of the fuselage.

get bored with doing that and slide the tail assembly in for a look see.

Finally glue in the fuel tank support or battery tray (depending on your choice of power). here is where i now have to make a battery hatch.

we are getting there.
Please Log in or Create an account to join the conversation.
- alan cantwell
-
- Offline
- Inactivated User
-
- Posts: 2290
- Thank you received: 1918
i have 2 sides
no you dont,
yes i do,
Please Log in or Create an account to join the conversation.
- Ex-Member
- Topic Author
- Visitor
-
I finished sheeting the fuselage this morning and took a look at the esc mount.
It has to go under the battery tray, so will need an access hatch.
I fixed a bit of balsa to the front where the nose fill fit and then cut a ply panel that is held on with screws.


Next job was to cut the hole in the firewall for the motor wires to run through.

will be made neater soon.
Cut the holes in the cowl carefully.

The i slid the nose on and worked out the motor mount box.

Then the whole kit and caboodle was glued on and braced back to the firewall with fillets.

I glued the tail plane and fin on as per instructions and took a few pics.


glued the wing tips to the foam core wings and will tackle them tomorrow. i hope.
Please Log in or Create an account to join the conversation.