× Flying models without a radio

SAMS Pippit - a Design, Build and Test Thread

  • Ex-Member
  • Topic Author
  • Visitor
  • Visitor
28 Jul 2015 07:59 #31 by Ex-Member
Replied by Ex-Member on topic SAMS Pippit - a Design, Build and Test Thread

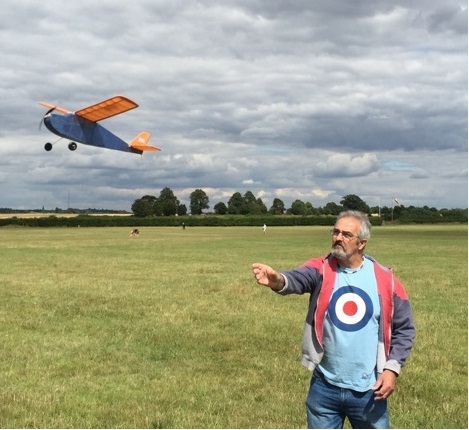
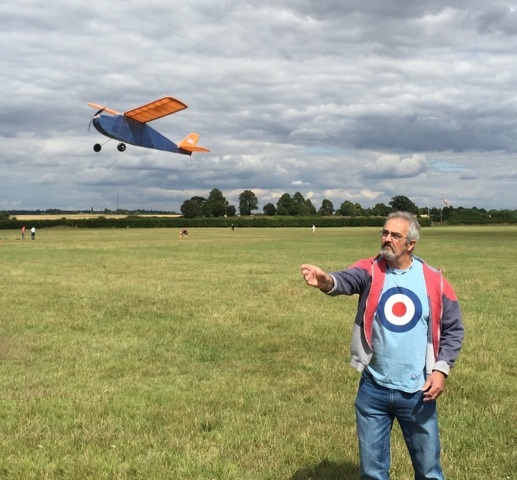
Polyphilla wrote: You got the timing perfect taking that picture, did you use one of those cameras that take multiple shots in rapid succession?
If that was ready for sale in kit form I'd buy one now just to fly at the Nat's [badass]

Pol.


The picture was taken as a single shot on my iPhone, Pol. The secret is to stand in the 11.00 o'clock position for a right handed thrower (1.00 o'clock for a left-hander), frame the shot so that the area in front of the thrower is in view and hit the button just as the thrower releases the aircraft. The camera will take the picture about a quarter second later, which, given the framing and the photographer's position, produces the above picture. Oh....and there's a lot of practice required too.... :cheer: :cheer:

Pre-production kits should be available in September. I need to finish the plan with one or two mods, re-draw the print wood and create the instructions. Kev (plane krazy) will then organise a test build and following that, we'll make up a few printwood kits to see how it goes. If that's successful, we'll look into laser cutting the production kit, which should be ready for next season.

Please Log in or Create an account to join the conversation.

More
28 Jul 2015 16:32 #32 by Phil Wood
Replied by Phil Wood on topic SAMS Pippit - a Design, Build and Test Thread
I couldn't resist, no thumb there now, missing a few inches off Tony's legs as well . :lol:


I just own the forum .... you guys make it great thanks.
Attachments:
Thanks: old fart

Please Log in or Create an account to join the conversation.

More
28 Jul 2015 21:01 #33 by Quorneng
Replied by Quorneng on topic SAMS Pippit - a Design, Build and Test Thread
I couldn't resist either and Tony's legs are all there. ;)
Attachments:
Thanks: old fart

Please Log in or Create an account to join the conversation.

  • Ex-Member
  • Topic Author
  • Visitor
  • Visitor
25 Aug 2015 12:27 - 25 Aug 2015 12:27 #34 by Ex-Member
Replied by Ex-Member on topic SAMS Pippit - a Design, Build and Test Thread
I've been tidying up the Pippit this morning, ready for display on SAMS Stand at the weekend. :cheer: :cheer:


Attachments:
Last edit: 25 Aug 2015 12:27 by Ex-Member.

Please Log in or Create an account to join the conversation.

More
25 Aug 2015 12:57 #35 by THE BLACKBIRD
Replied by THE BLACKBIRD on topic SAMS Pippit - a Design, Build and Test Thread
That looks fab Andy, that lettering is very good,
Do tell the secret of how you did it please :)
Thanks: Ex-Member

Please Log in or Create an account to join the conversation.

  • Ex-Member
  • Topic Author
  • Visitor
  • Visitor
25 Aug 2015 13:07 - 25 Aug 2015 13:09 #36 by Ex-Member
Replied by Ex-Member on topic SAMS Pippit - a Design, Build and Test Thread
- I designed the font using CAD.

- Imported the file into Sillouette software* and re-sized it.

- I then used a Craft-Robo cutter/plotter* to cut the individual letters from SolarTrim.

- the Letters were then put on the model....which proved to be a real pain in the backside!

- I'll be using printed tissue next time!

* The Craft-Robo cutter/plotter has been superseded by the Sillouette Cameo. Mine cost about £240 some 8 yrs ago and has been doing sterling service ever since. It'll cut accurate letters from decal or masking film down to about 1-2 mm high. I'll bring a demo cut from masking film with me at the weekend. Max size is A4, but they also sell an A3 version.

Last edit: 25 Aug 2015 13:09 by Ex-Member.

Please Log in or Create an account to join the conversation.

  • Ex-Member
  • Topic Author
  • Visitor
  • Visitor
07 Sep 2015 17:07 #37 by Ex-Member
Replied by Ex-Member on topic SAMS Pippit - a Design, Build and Test Thread
I took this one to the Peterborough Club's Flying Aces event at Ferry Meadows yesterday, the event for which she was specifically designed for. However, sad to say, she didn't fly! The plug I'd used for the LiPo connection came apart while I was trying to connect the LiPo and I pulled the wire connection out of the profiler while trying to splice in a new plug assembly. Having left my portable soldering iron at home, that was the end of flying for this one for rest the day! I'll post photos when I get around to repairing the soldered joint and plug.

Oh well...at least it'll be ready for next year! :( :(

Please Log in or Create an account to join the conversation.

  • Ex-Member
  • Topic Author
  • Visitor
  • Visitor
10 Sep 2015 08:45 - 10 Sep 2015 09:01 #38 by Ex-Member
Replied by Ex-Member on topic SAMS Pippit - a Design, Build and Test Thread
SPent yesterday afternoon faffing around with trying to get a consistent electrical connection for the Pippit's power train. The LiPo plug had separated from the wire and in trying to splice a new one on 'in the field' I'd pulled the soldered connection out of the controller. Offending system is on the left, system as sold by Derek Knight is on the right:


After trying several different set-ups and changing the motor due to a failed internal connection, I ended up with using a stock controller and made up extension lead with the LiPo plug on one end:


I also moved the motor forward a bit so that it now matches the plan, which, with the extension lead, made a much neater package in the nose of the machine than I had before:


Test flights on Friday, hopefully.
Attachments:
Last edit: 10 Sep 2015 09:01 by Ex-Member.

Please Log in or Create an account to join the conversation.

  • Ex-Member
  • Topic Author
  • Visitor
  • Visitor
10 Sep 2015 15:03 #39 by Ex-Member
Replied by Ex-Member on topic SAMS Pippit - a Design, Build and Test Thread
There wasn't any soldering Eric, the wire had just been pushed into the plug.....but it proved almost impossible to push 'em back. I have 12 of 'em, so in the end, I used a glue gun to stick the outside of the wires to the plug, then covered the result with heat shrink.

Please Log in or Create an account to join the conversation.

  • Ex-Member
  • Topic Author
  • Visitor
  • Visitor
20 Sep 2015 20:22 #40 by Ex-Member
Replied by Ex-Member on topic SAMS Pippit - a Design, Build and Test Thread
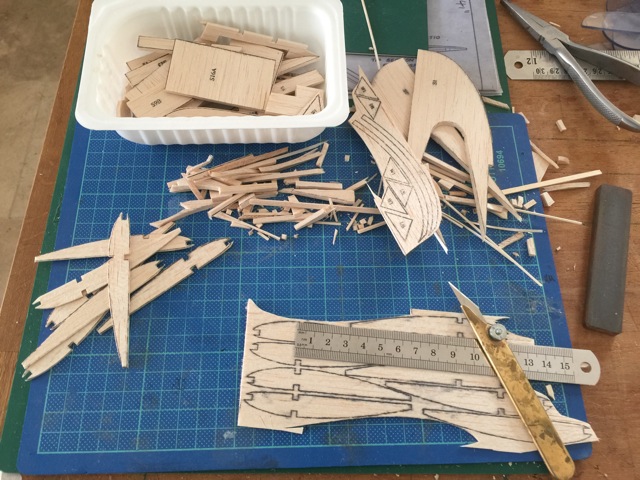
I've started construction on the second prototype to check the plan and printwood for content and fit. The latter will eventually be laser cut in the kit.

I'm aiming to have this one RC rather than free flight with either electric or IC power.

Attachments:

Please Log in or Create an account to join the conversation.

  • Ex-Member
  • Topic Author
  • Visitor
  • Visitor
30 Sep 2015 14:28 #41 by Ex-Member
Replied by Ex-Member on topic SAMS Pippit - a Design, Build and Test Thread
I had several flights with the first prototype over last weekend at Old Warden and all were good - so much so that I nearly 'lost' the model on Saturday afternoon. Luckily, a passer-by saw it land and took it to the SAMs tent. The new LiPo position was particularly successful.

So, I now need to get on and build the third prototype - No2 is being built by SAMs as I write. :) :)

Please Log in or Create an account to join the conversation.

  • Ex-Member
  • Visitor
  • Visitor
30 Sep 2015 14:31 #42 by Ex-Member
Replied by Ex-Member on topic SAMS Pippit - a Design, Build and Test Thread
well done sir.
i have seen the build thread for the second version has started on face book. :)

Please Log in or Create an account to join the conversation.

  • Ex-Member
  • Topic Author
  • Visitor
  • Visitor
07 Oct 2015 16:05 #43 by Ex-Member
Replied by Ex-Member on topic SAMS Pippit - a Design, Build and Test Thread
Kev (plane krazy) beat me to it in starting the second prototype, so my new build is No3. I've sketched out the new fin and tailplane profiles and laid down side one of the fuselage:


Attachments:

Please Log in or Create an account to join the conversation.

  • Ex-Member
  • Topic Author
  • Visitor
  • Visitor
08 Oct 2015 06:18 - 08 Oct 2015 06:22 #44 by Ex-Member
Replied by Ex-Member on topic SAMS Pippit - a Design, Build and Test Thread
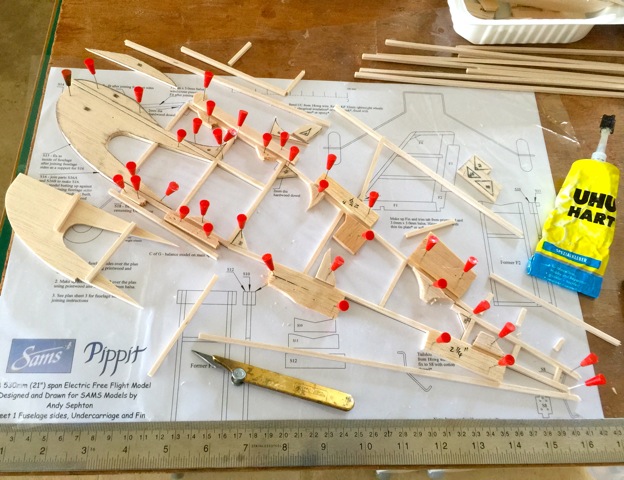
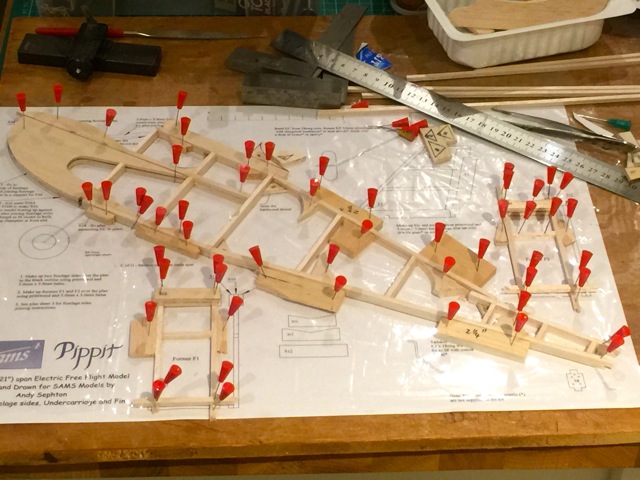
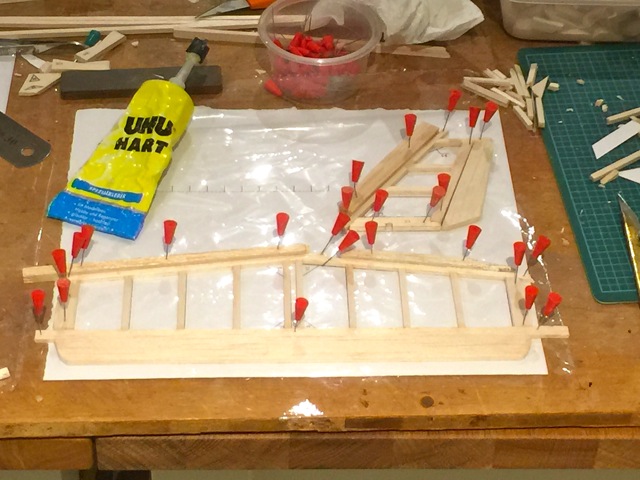
I did a bit more after tea yesterday evening and this was the state of play this morning, two fuselage sides (one minus gussets), two formers, one tailplane and elevator, and one fin and rudder:


To save you asking, I break off the wood with some excess allowance rather than cut it to size for the for the long strips. I then cut it back after construction when I know how it relates to the other parts. I also use scrap balsa to hold the parts in place rather than pin through them....but the observant amongst you will see one or two examples of the latter... ;) ;)
Attachments:
Last edit: 08 Oct 2015 06:22 by Ex-Member. Reason: added explanation

Please Log in or Create an account to join the conversation.

  • Ex-Member
  • Topic Author
  • Visitor
  • Visitor
08 Oct 2015 16:41 - 08 Oct 2015 16:43 #45 by Ex-Member
Replied by Ex-Member on topic SAMS Pippit - a Design, Build and Test Thread
Spent a very enjoyable morning at SAMS Models - Kev (plane krazy) holds an open-house coffee morning most Thursdays - so not much building done today. I did come away with 2 FF rubber scale kits*, however, but more of that in another thread.....

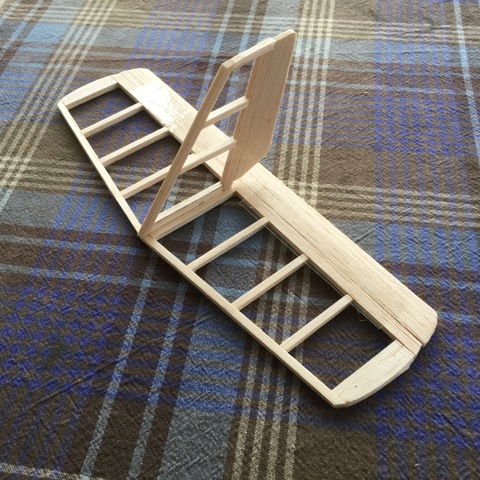
Empennage mock-up:


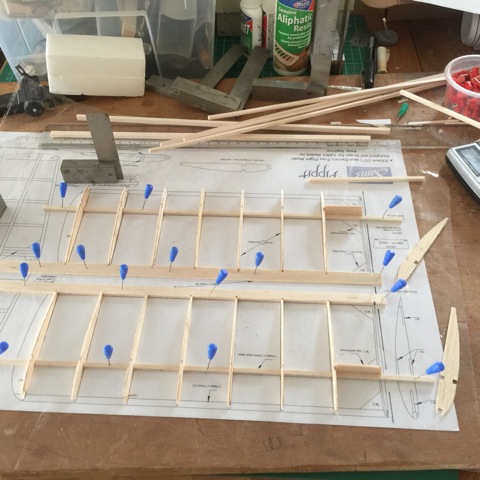
Start of wing construction:


* Easy Built 20" Tiger Moth and Easy Built 28" Hellcat
Attachments:
Last edit: 08 Oct 2015 16:43 by Ex-Member.

Please Log in or Create an account to join the conversation.

Time to create page: 0.321 seconds