
×
Flying models without a radio
SAMS Pippit - a Design, Build and Test Thread
- Ex-Member
- Topic Author
- Visitor
-

21 Aug 2017 18:32 #91
by Ex-Member
Replied by Ex-Member on topic SAMS Pippit - a Design, Build and Test Thread
I've had a spray painting day today. First up is the empennage of the new RC Pippit, which was white tissue but now matches the wings:

Please Log in or Create an account to join the conversation.
- Ex-Member
- Topic Author
- Visitor
-
10 Sep 2017 17:28 #92
by Ex-Member
Replied by Ex-Member on topic SAMS Pippit - a Design, Build and Test Thread
Since the last post, the wings and fuselage have been water-shrunk and doped with Ezedope. Following that, I did a trial assembly to ascertain the motor position to achieve the correct C of G, so it was too good an opportunity to miss for a quick photo shoot:


The motor mount has now been epoxied in place.
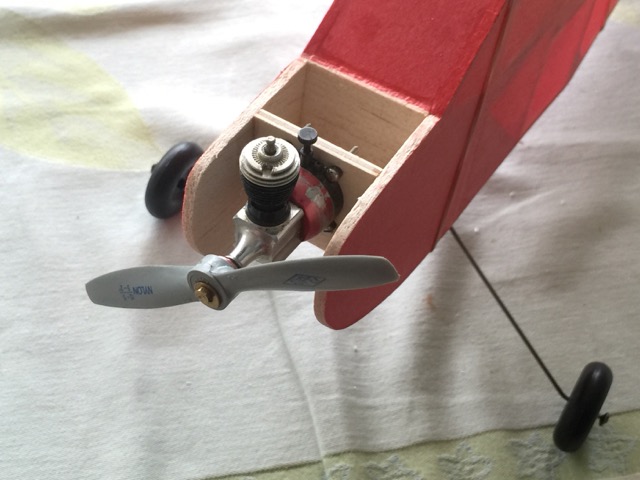
I was quite pleased with the result...it looks rather cute!

The motor mount has now been epoxied in place.
I was quite pleased with the result...it looks rather cute!
Please Log in or Create an account to join the conversation.
- Ex-Member
- Topic Author
- Visitor
-
16 Sep 2017 11:44 - 16 Sep 2017 11:46 #93
by Ex-Member
Replied by Ex-Member on topic SAMS Pippit - a Design, Build and Test Thread
The plan calls for black tissue to be cut to the shape of the glazing and stuck to the side of the cabin. With a bit of time on my hands this morning, I decided to see how my new Silhouette Cameo 3 cutter plotter would cope with the simple job of cutting some windscreen pieces from Solartrim.
First job was to import the fuselage plan into TurboCAD:

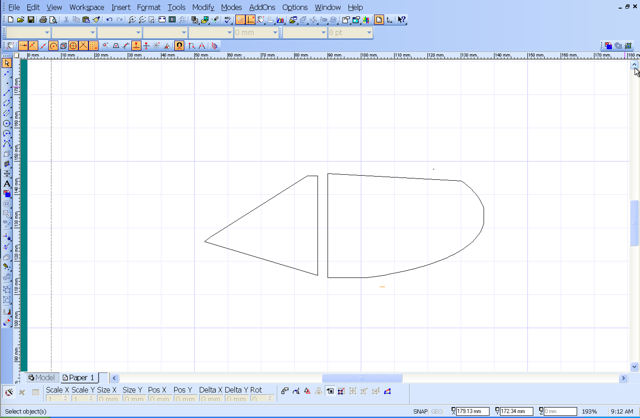
...rotate the drawing and get rid of the lines I didn't want:
Mirror copy the result, add a front screen and import it into Silhouette Software as a .dxf file:

The cut went well and after 'weeding' out the unwanted film, produced this:

...which was transferred to the model with application tape (thanks Danny!):

....leaving me with:

...which I'm quite pleased with. The whole process only took about a half hour and I have the file stored away for future Pippit/Pippin models
First job was to import the fuselage plan into TurboCAD:
...rotate the drawing and get rid of the lines I didn't want:
Mirror copy the result, add a front screen and import it into Silhouette Software as a .dxf file:
The cut went well and after 'weeding' out the unwanted film, produced this:
...which was transferred to the model with application tape (thanks Danny!):
....leaving me with:
...which I'm quite pleased with. The whole process only took about a half hour and I have the file stored away for future Pippit/Pippin models
Last edit: 16 Sep 2017 11:46 by Ex-Member.
Please Log in or Create an account to join the conversation.
Time to create page: 0.184 seconds