
Sopwith Pup - Scale 20", rubber-powered.
- Klipkopwildlife
-

- Offline
- Administrator
-

- I'm supposed to be retired!
![[badass]](/media/kunena/emoticons/bad_boys_20.gif "[badass]")
Do it now, you may never get another chance
Please Log in or Create an account to join the conversation.
- Ex-Member
- Visitor
-

A few quick questions, though. How did you prepared the plastic, how did you heat it, what temperature did you heat it to and for how long?
I'm amazed that more modellers don't indulge in the technique. It produces a really smooth finish and is ideal for canopies and cowls. The really elegant part is that once the form has been made and proven, you have a means of easily making replacements for crash and other damage!

Please Log in or Create an account to join the conversation.
- Crashrr
-
 Topic Author
- Offline
- Senior Member
-

- Posts: 89
- Thank you received: 284
Make sure you have an airway out of the top of the bottle, i.e. remove the lid, so that the air pressure doesn't stop the plastic from shrinking. The top of the bottle also makes for a convenient handle with which to pull off the mould. My mould had a very slight waist, which you can just make out on the photograph, and without the top to hold on to, it made it darned difficult to remove.
There really is no magic, once you've tried it, you'll be hooked on the possibilities. Just beware that making the cowl is one thing, cutting it to shape is another. It's darned difficult to cut straight, and when it goes, it goes fast. I cut a deep slash in my thumb using a Stanley knife - take care. Having cut a rough hole in the centre, I then used a sanding tool on my dremel to sand it back. Actually, it didn't so much sand as melt it back, but it worked a treat. To give it the final tidy, I made a cone of sandpaper, shoved it in, and revolved it around. Cutting the outer rear diameter was a pain and I couldn't figure out a precision way to do it. In the end I had to do a lot of sanding, which isn't easy. I am going to try gluing a sheet of sandpaper to a disc grinder and using that to sand it in a circular motion, I think that may work quite well. You could make your mould exactly the right size and simply use that as a template to cut, that would also work.
Because the plastic shrinks, it gets thicker and heavier. That cone weighs 3.2g, the same weight as the balsa fuselage. I may try to sand it thinner to lose a gram, but since the weight is as far forward on the plane as it can be, it will help with the CofG, anyway. It's also very strong, there's no way my little rubber-powered plane will break it.
There's a few videos on Youtube which I watched but most of them are painfully slow and talkative. Just try melting a bottle around anything with a hairdryer and you'll see how easy it is. Bon chance!
PS. and the shoe is another experiment: tired of cheap rubber wearing through so quickly on new shoes, I've cut up an old timing belt - just about the strongest rubber you can buy and conveniently ridged for grip - and glued it on the soles. The first trial felt brilliant underfoot, though not sure how long it will stay on...
'What the hell' is always the right answer...
Please Log in or Create an account to join the conversation.
- Crashrr
-
Topic Author
- Offline
- Senior Member
-
- Posts: 89
- Thank you received: 284
The wings have taken quite a while to build. It's taken me two test wings and four test wing tips to figure out how to make these delicate structures. I'll use the test wings to trial some tissue sealing experiments, but more on that later.
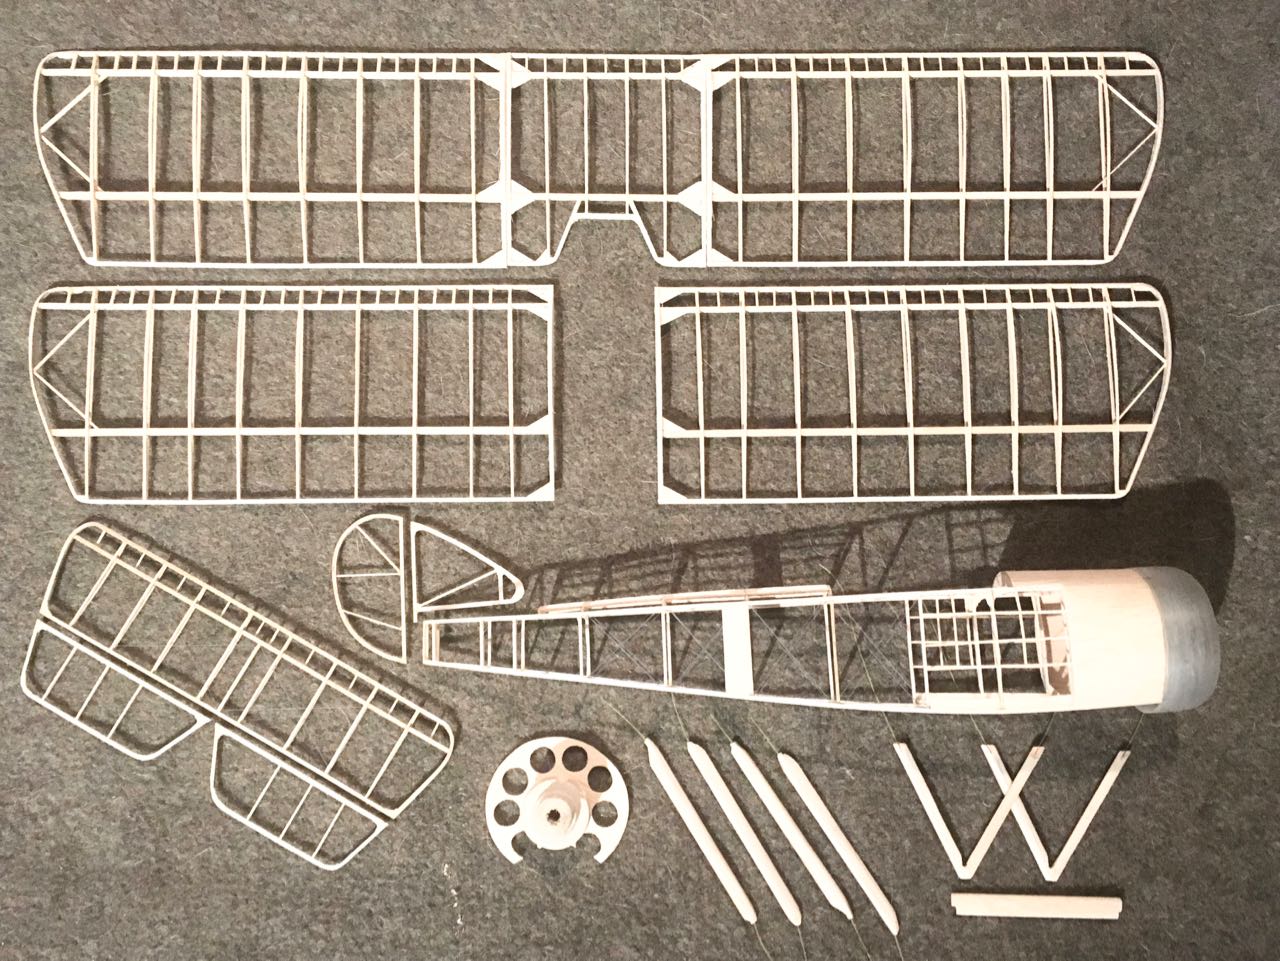

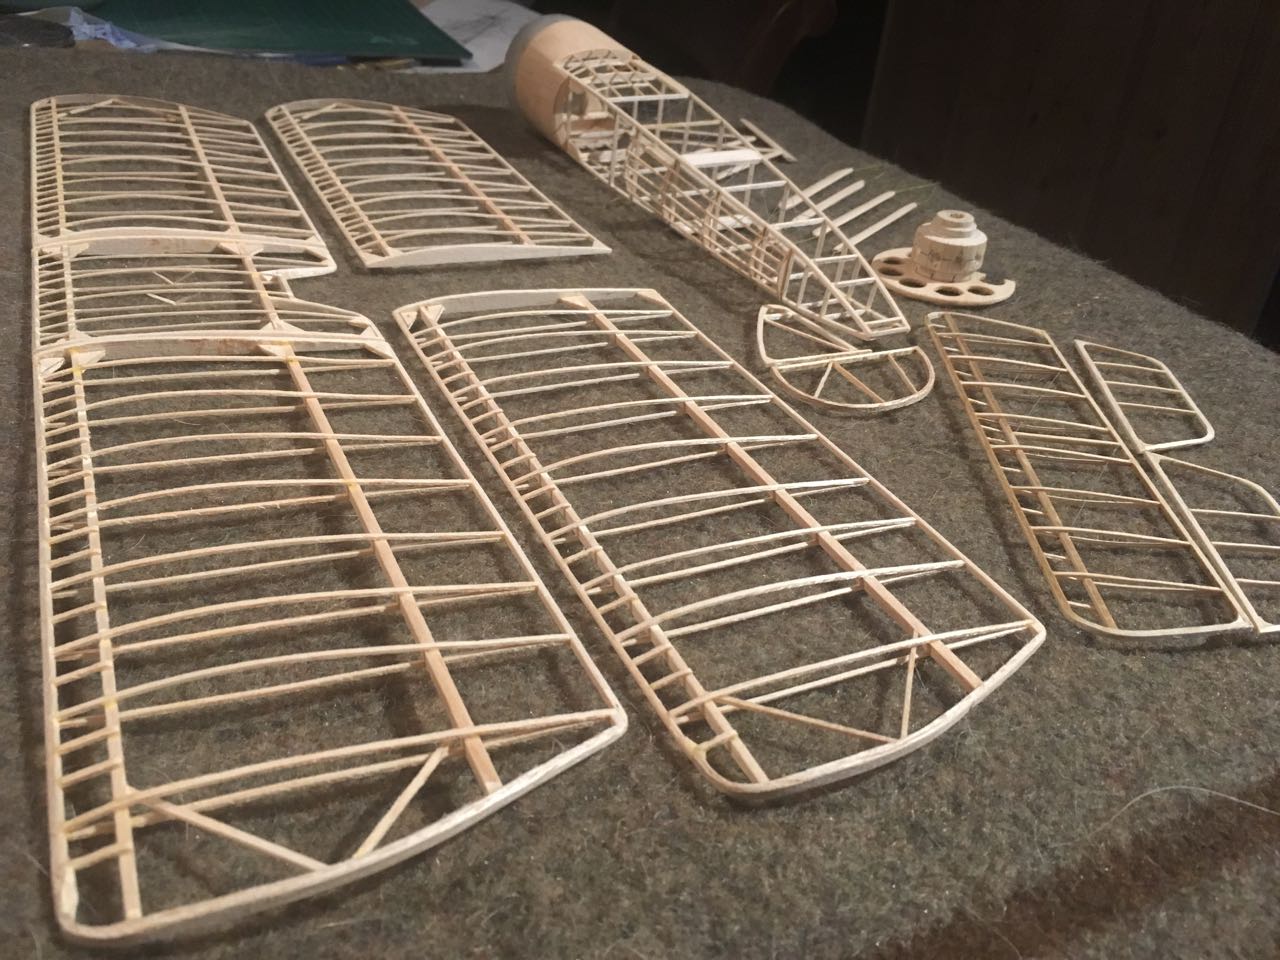
On Wednesday, I made a start on the engine...
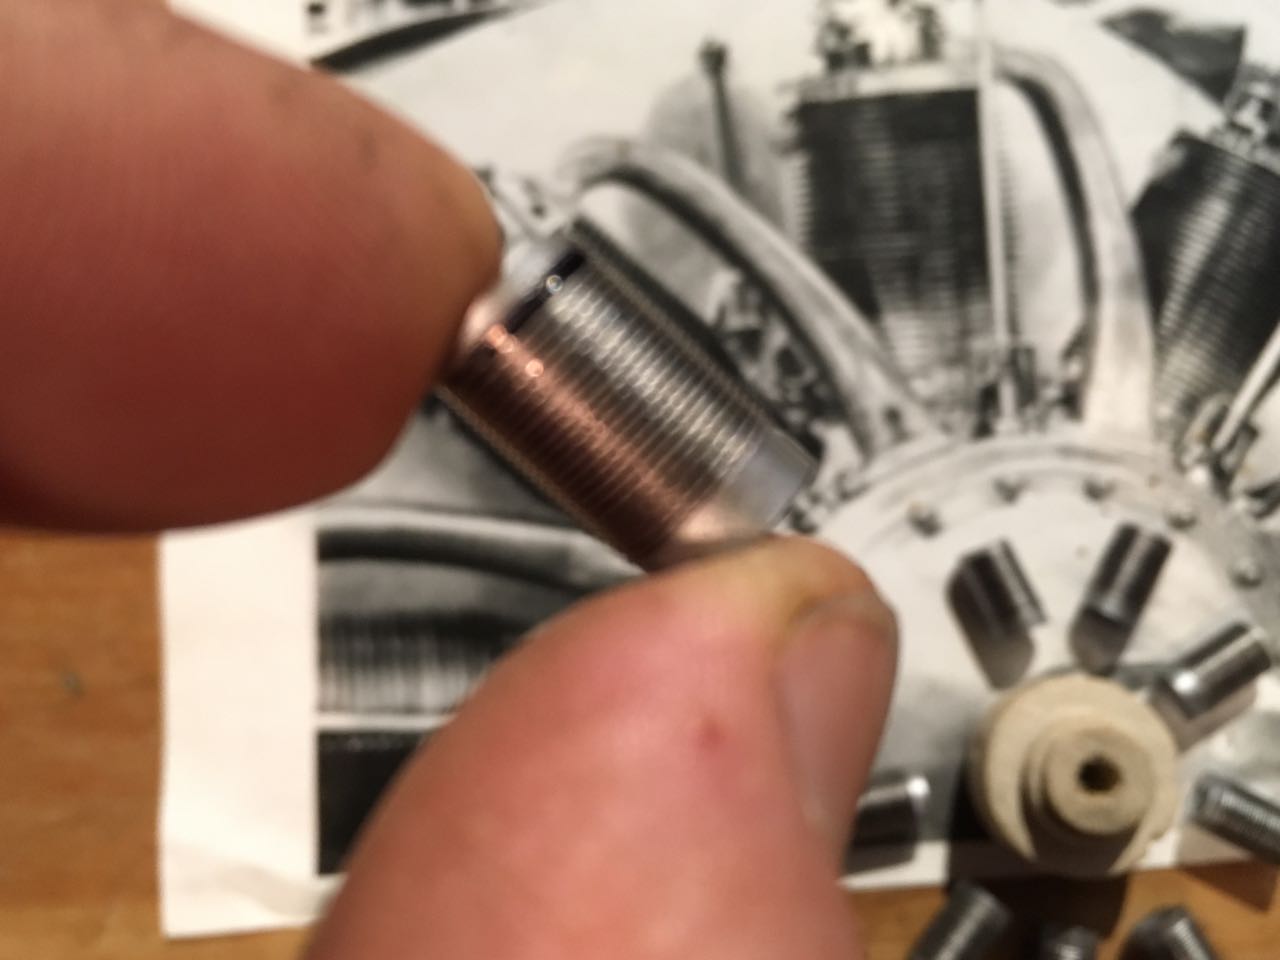
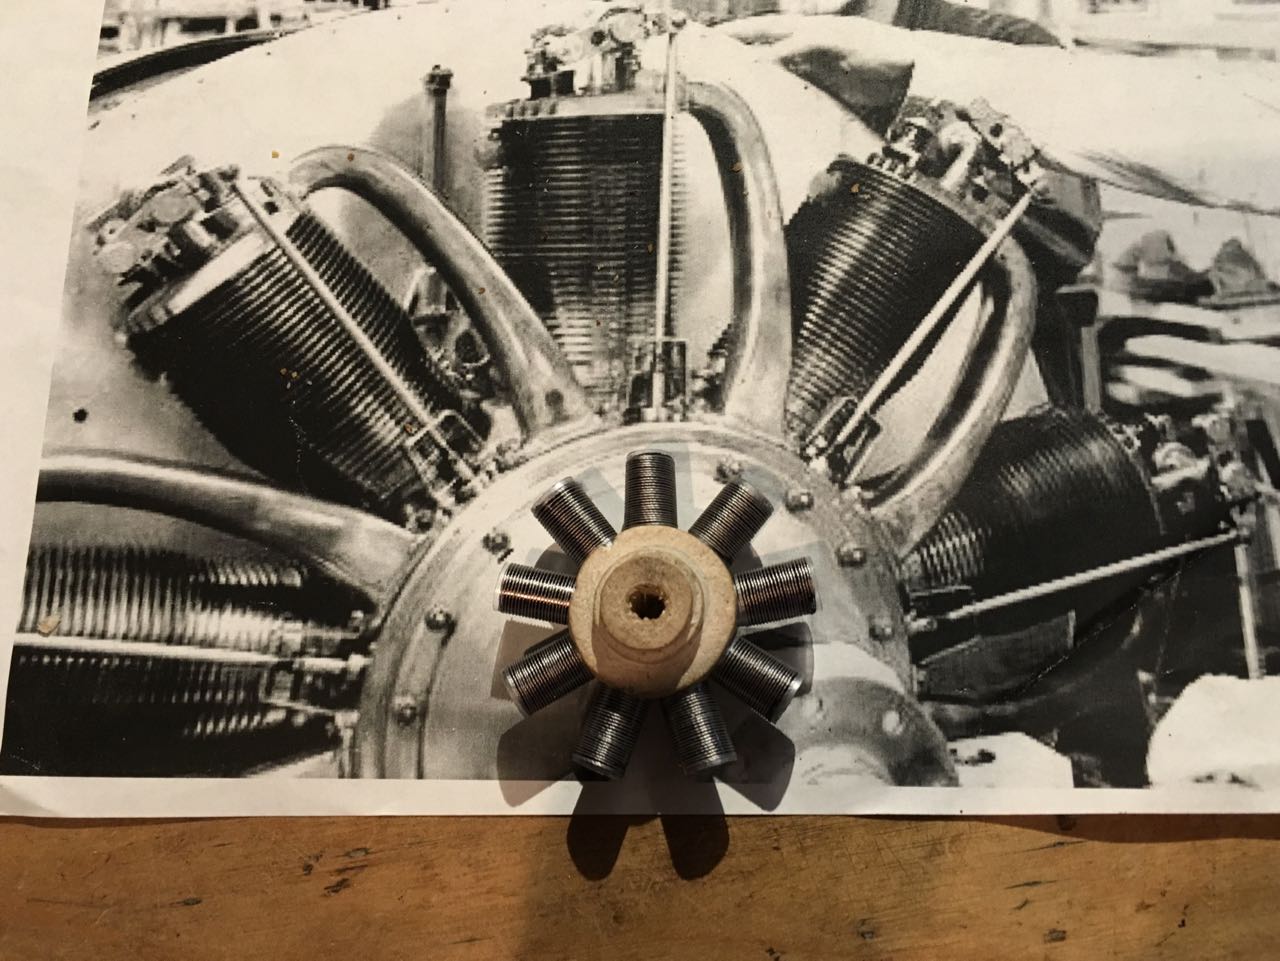
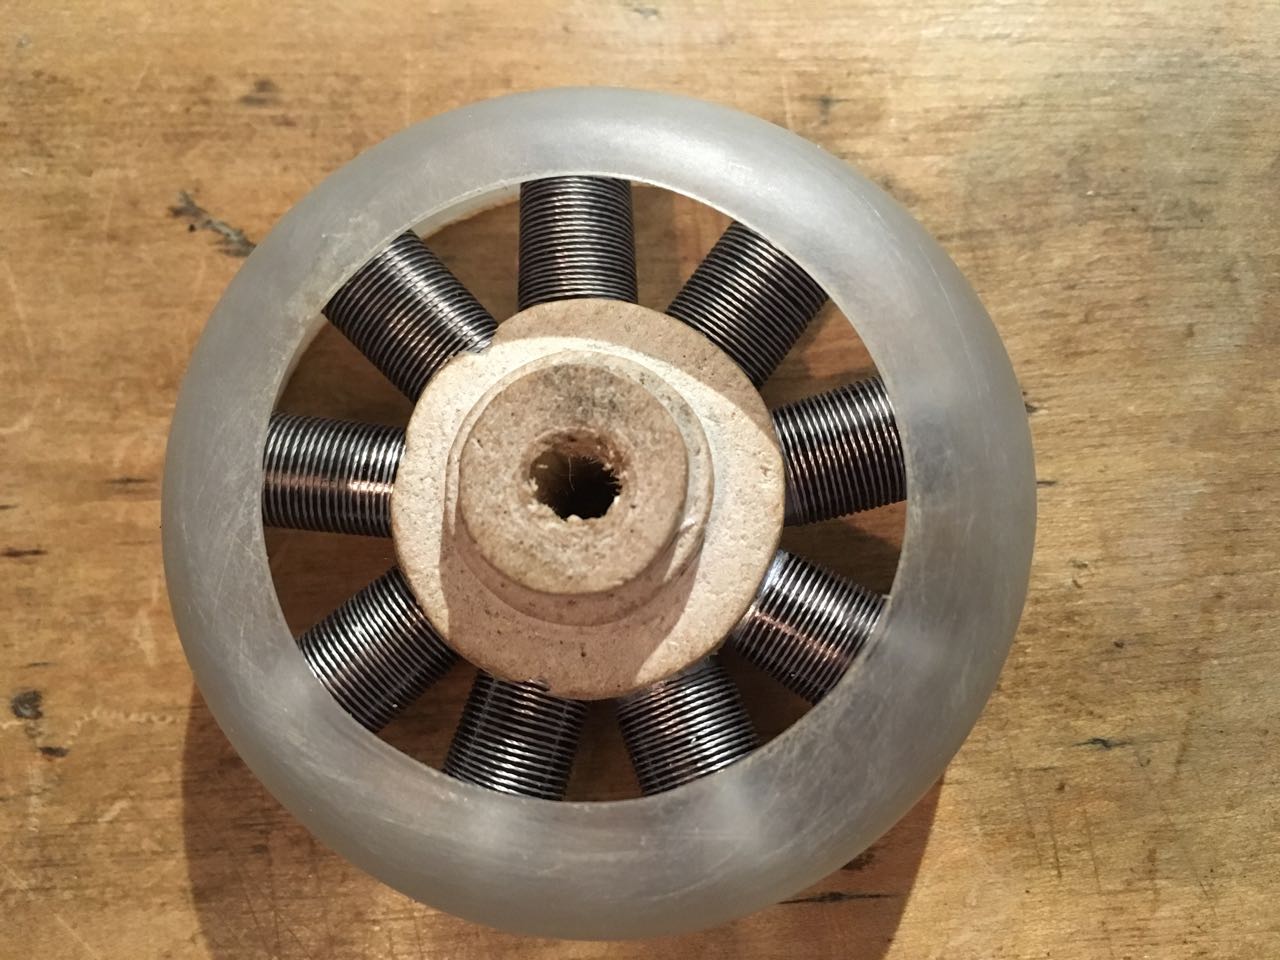
...or at least I thought I had: I decided to fix the thread with a sealant. Stupidly, I didn't test it first... Despite only spraying it on the rear of the cylinders, it spread right round, melted the black marker ink, which then wicked into the silver thread, ruining the whole engine! Back to square one...
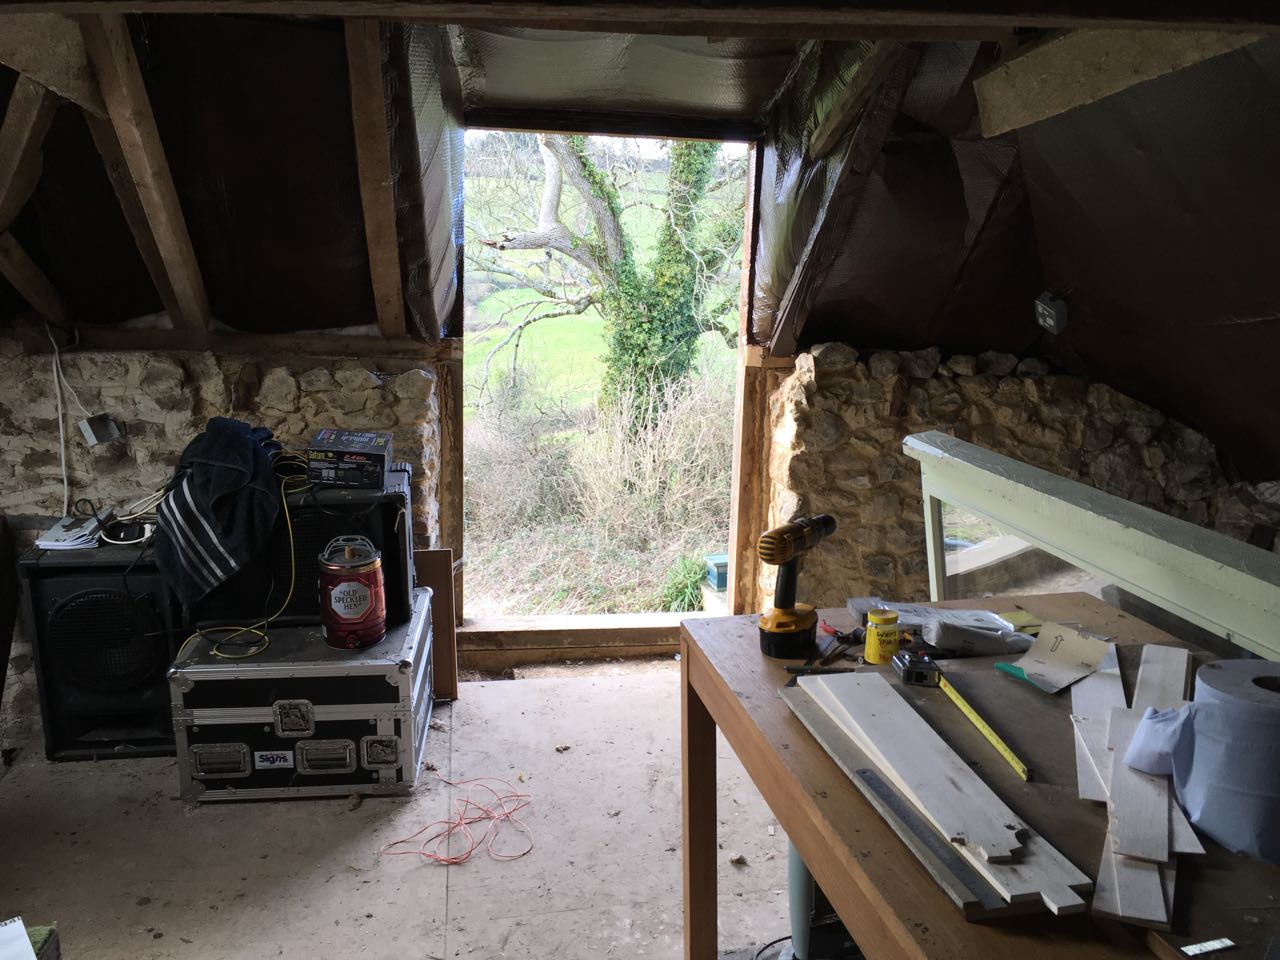
The good news is that during a rare windless, sunny spell yesterday, it was finally safe enough to remove the tin on the old hayloft door and install a double-glazed door in its place. I'm very pleased with the result, the Aircraft Factory is transformed inside, much brighter and should be warmer too.

'What the hell' is always the right answer...
Please Log in or Create an account to join the conversation.
- Quorneng
-

- Offline
- Forum Master
-

- Posts: 10058
- Thank you received: 19043
Now all you have to do is to figure out how to make the engine go round with the prop!

Is there a danger that the tissue tension will cause the top of the ribs to 'squash down'? On the full size there were several ply braces between the top and bottom rib strips to stop this happening
Please Log in or Create an account to join the conversation.
- coleighf
- Offline
- Junior Member
-

- Posts: 39
- Thank you received: 57
Please Log in or Create an account to join the conversation.
- Squirrelnet
- Offline
- Elite Member
-

- Posts: 809
- Thank you received: 2067
Please Log in or Create an account to join the conversation.
- one tenor
-

- Offline
- Forum Veteran
-

- johnpcalex@gmail.com
Anything will fly given enough power
Please Log in or Create an account to join the conversation.
- one tenor
-
- Offline
- Forum Veteran
-
- johnpcalex@gmail.com
Maybe a brass tube slipped on motor shaft would support/locate it . In fact the wires could be soldered to it and the whole thing epoxied to the crankcase. Release the prop nut and the whole thing slides off. I can't do a sketch I'm afraid but you should get the general idea.one tenor wrote: Lovely job. I never realised the fuss tapered like it does behind the cowl.I always thought it was straight...Also can anyone explain the asymmetrical longeron and why it was needed..That's another thing I didn't know about the Pup. Re the spinning engine could you arrange your lead disc to have grooves round the edge.Then arrange for the C/case to rotate on something I don't know how yet but piano wire fingers projecting from the case engaged in the grooves in the disc could provide the drive. Just loose thoughts now but more details about the motor might help/ Like what it is made of ,thickness etc.. Then a bearing would be needed of course. The lead disc could be clamped between prop and driver.
Anything will fly given enough power
Please Log in or Create an account to join the conversation.
- Crashrr
-
Topic Author
- Offline
- Senior Member
-
- Posts: 89
- Thank you received: 284
Because the ribs are stressed, even the original 1/32" ribs are actually quite rigid - from a vertical force, so I don't think there's much chance of them distorting. The bottom ribs are actually 'S'-shaped with a 1/32" concave curve from the trailing edge to the forward spar, and a 1/64" convex curve up to the leading edge. I think it's more likely that this large undercamber may be pulled flat by the tissue, but I don't think that's much to worry about. Again, being stressed, they are surprisingly rigid. My plan for covering - which I will be trialling on the test wings - is to: 1. pre-water shrink the tissue, 2. apply it to the frame, 3. re-shrink with water, 4. lightly spray with Daler-Rowney artists' fixative - I read an article that in a series of tests, this brand was the most water-resistant fixative. That said, since I have two test wings, I may try a dope mixture on the other wing to see what happens. There's no doubt that dope adds strength to a wing frame.
As for the engine, no, I will not be making this one spin! I've lost countless nights sleep trying to figure out how to achieve this and come to the conclusion that it is more trouble than it's worth. This is by far the most complex model I have ever built, and it's nowhere near finished, Spring is approaching and I only have the Hurricane to fly. The Pup is so fragile that I will only be able to fly this model when there is long grass and no wind, so probably only four or five days a year. I need to finish this and get on with the (Dave Rees) Lockheed Vega, which will be my first serious flying model. (That thread will be started soon.)
Having said that, if anyone can put up a drawing with a working mechanism, I'll be very interested to investigate it further with a later model - there will be more...
I have rewound all the new cylinders, and taken the opportunity to do a better job than the first batch. Amazingly, each cylinder uses almost three feet of thread! Total weight of everything, thus far, is just over 20 grams.
'What the hell' is always the right answer...
Please Log in or Create an account to join the conversation.
- Crashrr
-
Topic Author
- Offline
- Senior Member
-
- Posts: 89
- Thank you received: 284


The cowl also got some attention. Cutting out those cooling intakes was another tricky job. My dremel quickly generated enough heat to melt the plastic. I chose to cut them out with a warmed scalpel, but it was no easy task and, apart from some light sanding to clean it up, I'm glad to have that one behind me.

I conducted the first tissue trial, choosing not to pre-shrink it. I thought I'd cover dry as normal, wet it, and see what happens. The result is great, the shrinking really adds so much strength to what was originally such a fragile structure. The concave camber on the under surface has survived well, so too have the upper ribs. One rib did collapse - on the left of the photo - but that's because I didn't bother to match the curve of the balsa end-piece next to it, so the tissue pulled down hard. I'll probably try a pre-shrink on the other test wing.
As for the artists' fixative, well, it worked, or rather, it didn't fail... It has a very slight shrinking quality, so has kept the wing surface taught. It has also added some degree of waterproofing, but not 100%, like old-fashioned dope. Apparently, you really have to drown the paper to get it waterproof. In the interest of science, I'll try that on this wing next, and see if there's any improvement. The light dusting of fixative on both sides added 0.1gram to the wing's weight.
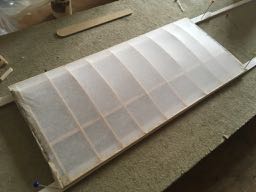
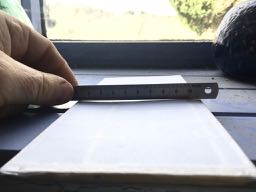
The time for talking is almost over, and the time for covering about to begin, and that's when I get nervous...
'What the hell' is always the right answer...
Please Log in or Create an account to join the conversation.
- Crashrr
-
Topic Author
- Offline
- Senior Member
-
- Posts: 89
- Thank you received: 284
The biggest change, though, is in the feel of the wing: it's so taught the balsa rings like a bell. It's an absolutely cracker of a result. It'll be interesting to see how the other test comes out using more traditional materials. For now, I'm fairly sure this is how I am going to proceed: using the spray is so much easier, faster and gentler than using a brush.
Just how much it will resist the moisture on a dewy evening is yet to be seen, but I can't see it fairing any worse than the banana oil I used on the Hurricane.
Crashrr
'What the hell' is always the right answer...
Please Log in or Create an account to join the conversation.
- one tenor
-
- Offline
- Forum Veteran
-
- johnpcalex@gmail.com
coleighf wrote: I never cease to be amazed at builds like this, I’m not that good but still love to see this kind of skill. For those who haven’t seen it yet, DataBase in the March issue of Aeroplane is about the Pup and it is excellent. It also describes what happened to Dunn in his attempt to repeat his first successful landing on the forward flight deck of HMS Furious. He touched down too far forward and opened the throttle to go around again. However the engine choked, I assume that was a result of opening it very rapidly, and he went over the side. Loads of excellent information, including photos I haven’t seen before and the usual fine three views, showing a late build Pup, a Monosoupape example of the type used for home defence and one with a skid undercarriage, as tested in deck landings.[/quote
Have a look on this site Free downloads of books etc .They have profiles of many planes. It's like outerzone for books.
rclibrary.co.uk/
it may have something you can use .
Anything will fly given enough power
Please Log in or Create an account to join the conversation.
- one tenor
-
- Offline
- Forum Veteran
-
- johnpcalex@gmail.com
Crashrr wrote: I've just resprayed the test wing and drowned it in fixative - to the point where you could see puddles of it clinging to the ribs inside. To my surprise this biblical dowsing only added 0.5gram - half the added weight of the first light dusting...
The biggest change, though, is in the feel of the wing: it's so taught the balsa rings like a bell. It's an absolutely cracker of a result. It'll be interesting to see how the other test comes out using more traditional materials. For now, I'm fairly sure this is how I am going to proceed: using the spray is so much easier, faster and gentler than using a brush.
Just how much it will resist the moisture on a dewy evening is yet to be seen, but I can't see it fairing any worse than the banana oil I used on the Hurricane.
Crashrr
Have a look at this site rclibrary.co.uk. free downloads of books,mags etc.there could be something you can use. Nice job just watch those fingers and thumbs LOL
Anything will fly given enough power
Please Log in or Create an account to join the conversation.
- boz
-

- Offline
- Platinum Member
-

- Posts: 1392
- Thank you received: 1420

Please Log in or Create an account to join the conversation.