
- Thank you received: 0
Here's one for the serious builders. Show us your ideas
Nose cannon
- Ex-Member
- User
-

Less
More
10 Feb 2013 02:42 #16
by Ex-Member
Replied by Ex-Member on topic Nose cannon
erm 
the hole in the spinner is in front of the prop blades.
the sticky out bits will be the ic engine and silencer.
the hole in the spinner is in front of the prop blades.
the sticky out bits will be the ic engine and silencer.
Please Log in or Create an account to join the conversation.
- Sarah-Jane Smith
-

- Offline
- Forum Veteran
-

- Gone
Less
More
- Posts: 2510
- Thank you received: 2182
10 Feb 2013 02:50 #17
by Sarah-Jane Smith
I wish I was a glow worm, a glow worm's never glum.
Cos how can you be grumpy when the sun shines out your bum?!
Replied by Sarah-Jane Smith on topic Nose cannon
ah thankyou, cant tell with a front on piccie that they stick out. Only ever seen planes with the IC engine and silencer sticking out the side not the bottom.
Any chance of a side on piccie mossie please?
Any chance of a side on piccie mossie please?
I wish I was a glow worm, a glow worm's never glum.
Cos how can you be grumpy when the sun shines out your bum?!
Thanks: Mossie
Please Log in or Create an account to join the conversation.
- Mossie
-
 Topic Author
- Offline
- Junior Member
-

Less
More
- Posts: 48
- Thank you received: 162
10 Feb 2013 03:43 #18
by Mossie
Replied by Mossie on topic Nose cannon
When you have something spare that your not using laying around the place you thing aaaararrrr I can use them?
Please Log in or Create an account to join the conversation.
- Mossie
-
Topic Author
- Offline
- Junior Member
-
Less
More
- Posts: 48
- Thank you received: 162
10 Feb 2013 05:08 #19
by Mossie
Replied by Mossie on topic Nose cannon
YT International Me109.
The aircraft itself came in a very large box, and when I opened it as I expected it was well pack and protected, the tail section as you would expect was all packed nicely in bubble wrap along with the wing and the fus which was wrapped very much the same. All the parts and accessories were neatly placed in a bag so as not to loose anything (like I do) so as far as delivery of this fine specimen I was happy.
I don’t know if it’s just me but I always like to read through the instruction first before I start a build so as to get and understanding of a build? And then I begin. I started with the stabilizer first, this seemed pretty straight forward the usual removal of film so as to glue the tail section on, the only tricky bit was to use the template provided to site the spar through the tail, once done all was happy.
The next step was to set the push rods through the fus which because of their size seemed tricky but with a bit of time and patients it was oak’s once the tail section was done, the pushrods were in and all glued parts were dry I started on the wings To be Honest there was not a lot of work to do just the usual for an ARTF gluing the ailerons in place as well as the flaps and fitting the servos into the wing. So let’s go through the checklist, fus done, stabilizer done, ailerons done, flaps done and servos in the wing done excellent.
Next I started to fit the electrics into the fus this was also straight forward as there are holes notched out for the servos, I positioned the receiver accordingly and connected all the switches.
The biggest step for me was the engine, now this took a bit of work as I had to do some research as I have never fitted a petrol engine before. It states in the manual a 120f/s or an equivalent so I opted for the DLE 20 the reason for this was weight, when I was doing my research I found that some people have to put a lot of lead in the nose because of the light weight engine and the long fus, so this is why I went for the DLE and (I have to say it sounds great).
In the manual it says that for the retracts you should use a set of YT’S retracts but at a whopping £200 I am sure you can get a cheaper set, just like I did, I bought a set from a friend a while ago new, they are not the correct type legs but they will do for now till flying season starts.
The retracts were air up spring down system and they fitted in the wing like a dream, and I also managed to fit the air tank and manifold in the wing as well to elevate the problem of connection when fitting the wing to fly. But with the grumble aside the plane looks fantastic and I can’t wait for the spring to give it a test.
The spinner was made from an Ervine 4” with an alloy back plate; I first marked a cut line about 2.5 inches up from the point of the spinner. Then from the cut line I marked a further 5mm back for the holes to place the gauge wire into, once the holes were marked all the way round the spinner I heated up a small piece of wire and pushed the wire through the dots previously marked.
Once I had holes all the way round the spinner (about eight) I started to feed the wire through one side of the spinner and out the other side, I repeated this process till all the holes were filled with wire and I had a cross like pattern inside.
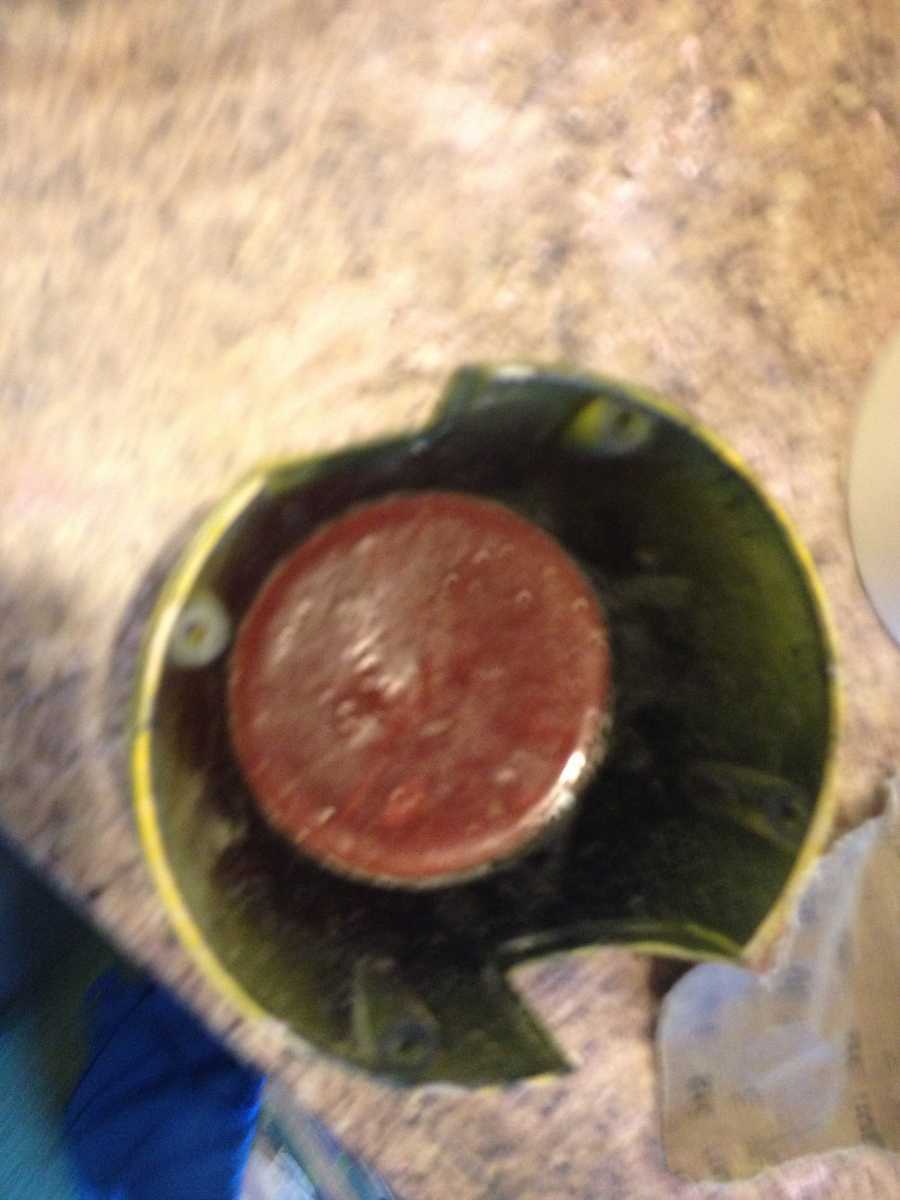
The next step was to fill the spinner cone up with resin about 5mm past the wires so as to submerge the wires, the best way I found to keep it stable and level whilst applying the resin was to stand it cone down in a greased up egg cup, once I checked the spinner for level I scuffed up the inside of the spinner so it would be easier for the resin to knit to, then I proceeded to fill the cone with the resin.(left to set)
I was well pleased with the out come it was on the money and balance was great. Next I began to cut off the cone using a simple dremmel with a cutting blade this took about 5 minutes, after that it was just a case of shaping the inside with the dremmel using a sanding bit, cutting off the excess wire and grinding them smooth.
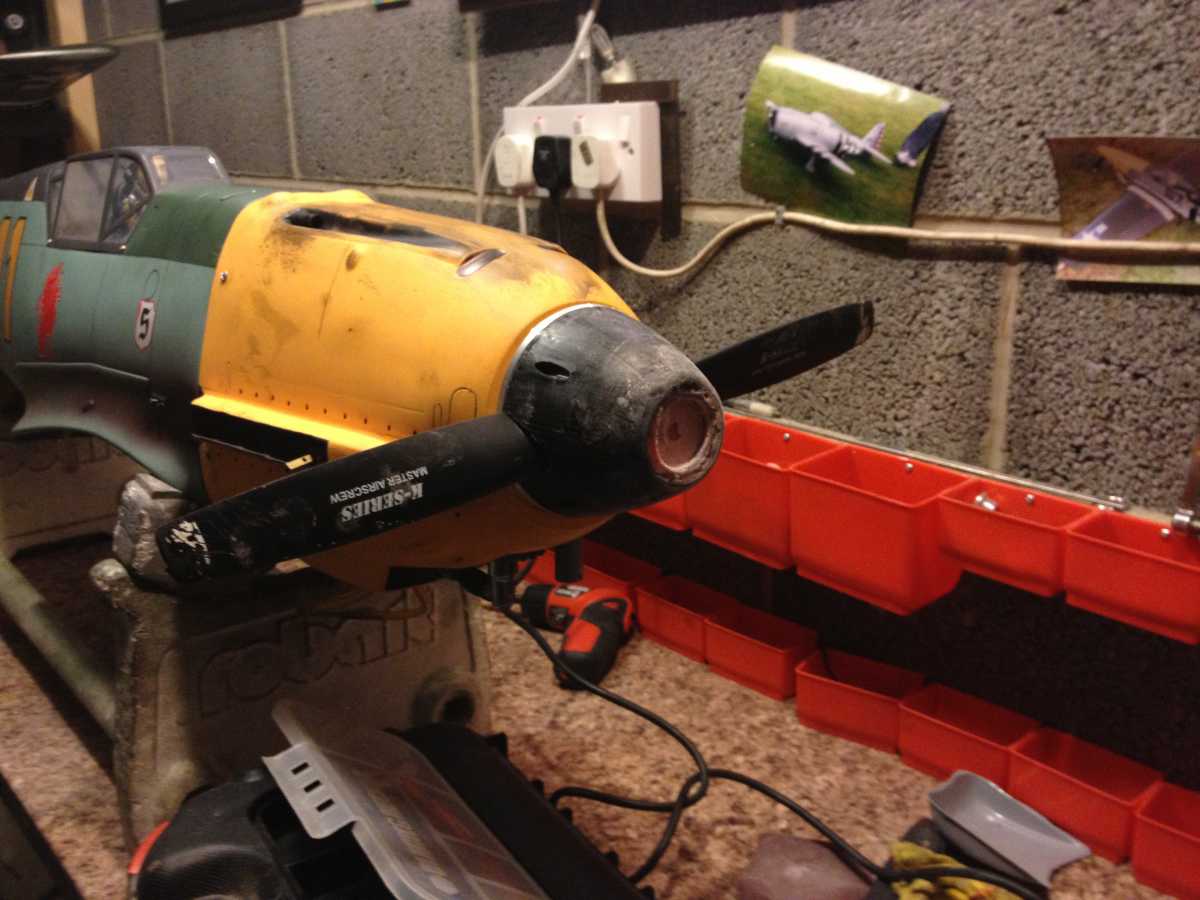
The only down side is that the spinner is still a bit long for my liking, because of the thickness of the prop, plus the prop nut, and the hassle of them touching the wiring, plus being a bit concerned with integrity of the spinner I had to make it this way. The question is do you spend a good 40-50 quid on buying an alloy spinner and cutting the prop gaps out yourself or save half that and try building something similar??? The cannon was made from an electric motor spinner collet painted up in black and epoxied in place then the spinner was just filled and painted.
So to sum up this aircraft, if you are in to scale warbirds this is a great buy, easy to put together but a bit pricey on parts but it looks fantastic.
Thanks: Eric, Dean M, Sarah-Jane Smith
Please Log in or Create an account to join the conversation.
- Sarah-Jane Smith
-
- Offline
- Forum Veteran
-
- Gone
Less
More
- Posts: 2510
- Thank you received: 2182
11 Feb 2013 01:34 #20
by Sarah-Jane Smith
I wish I was a glow worm, a glow worm's never glum.
Cos how can you be grumpy when the sun shines out your bum?!
Replied by Sarah-Jane Smith on topic Nose cannon
Any chance of a video with sound and more piccies pleeeeeeeeeeeeeease? 
I wish I was a glow worm, a glow worm's never glum.
Cos how can you be grumpy when the sun shines out your bum?!
Please Log in or Create an account to join the conversation.
- Mossie
-
Topic Author
- Offline
- Junior Member
-
Less
More
- Posts: 48
- Thank you received: 162
11 Feb 2013 13:57 #21
by Mossie
Replied by Mossie on topic Nose cannon
This picture was how it started.
Please Log in or Create an account to join the conversation.
- Mossie
-
Topic Author
- Offline
- Junior Member
-
Less
More
- Posts: 48
- Thank you received: 162
11 Feb 2013 14:01 - 11 Feb 2013 14:45 #22
by Mossie
Replied by Mossie on topic Nose cannon
The first picture was how it started, and then the progress fo the project

Last edit: 11 Feb 2013 14:45 by Klipkopwildlife.
Thanks: THE BLACKBIRD, Sarah-Jane Smith
Please Log in or Create an account to join the conversation.
- Mossie
-
Topic Author
- Offline
- Junior Member
-
Less
More
- Posts: 48
- Thank you received: 162
11 Feb 2013 14:07 - 11 Feb 2013 14:46 #23
by Mossie
Replied by Mossie on topic Nose cannon
Another two pictures (still getting the hang of this site)

Last edit: 11 Feb 2013 14:46 by Klipkopwildlife.
Thanks: Eric, Klipkopwildlife, The Beard, THE BLACKBIRD, Sarah-Jane Smith
Please Log in or Create an account to join the conversation.
- Klipkopwildlife
-

- Offline
- Administrator
-

- I'm supposed to be retired!
11 Feb 2013 14:47 #24
by Klipkopwildlife
Do it now, you may never get another chance
Replied by Klipkopwildlife on topic Nose cannon
You must remember to press insert Mossie, fixed it for you.
Do it now, you may never get another chance
Please Log in or Create an account to join the conversation.
- THE BLACKBIRD
-

- Offline
- Forum Master
-

Less
More
- Posts: 6368
- Thank you received: 10842
11 Feb 2013 17:03 #25
by THE BLACKBIRD
Replied by THE BLACKBIRD on topic Nose cannon
Nice job on that nose canon Mossie, the kit looks terrific, i have the YT International A 1 Sky Raider its a nice kit as well, just hope they fly as well as they look
Please Log in or Create an account to join the conversation.
- Mossie
-
Topic Author
- Offline
- Junior Member
-
Less
More
- Posts: 48
- Thank you received: 162
12 Feb 2013 01:18 #26
by Mossie
Replied by Mossie on topic Nose cannon
Thank you for that but, when I do it takes for ever to load
Please Log in or Create an account to join the conversation.
- Sarah-Jane Smith
-
- Offline
- Forum Veteran
-
- Gone
Less
More
- Posts: 2510
- Thank you received: 2182
12 Feb 2013 01:19 #27
by Sarah-Jane Smith
I wish I was a glow worm, a glow worm's never glum.
Cos how can you be grumpy when the sun shines out your bum?!
Replied by Sarah-Jane Smith on topic Nose cannon
Think thats cos of the problems the site has been having this last week or so, dont worry mossie, mike is working on it and it will prolly get back to being easy to load again
looks lovely Mossie
looks lovely Mossie
I wish I was a glow worm, a glow worm's never glum.
Cos how can you be grumpy when the sun shines out your bum?!
Please Log in or Create an account to join the conversation.
Time to create page: 1.247 seconds