
PA-18 Super Cub for the BMFA R/C Scale Indoor Nats
- Monz
-

- Offline
- Elite Member
-

Oh, just thought I'd point out: You've covered the fuselage on the wrong sides :evil: :whistle:

Please Log in or Create an account to join the conversation.
- Septic
-
 Topic Author
- Offline
- Elite Member
-
- Posts: 307
- Thank you received: 690
The carbon came from Micron, but lots of the indoor R/C suppliers sell it. Some of the fancy indoor aerobatic models are made entirely from it. Not cheap but very useful to have....
Cheers
Danny
tap - tap.......rivet
Please Log in or Create an account to join the conversation.
- Septic
-
Topic Author
- Offline
- Elite Member
-
- Posts: 307
- Thank you received: 690
Cheers
Danny
tap - tap.......rivet
Please Log in or Create an account to join the conversation.
- Quorneng
-

- Offline
- Forum Master
-

- Posts: 9436
- Thank you received: 19043

This is from the 1939 to 1941 J3 Cub Service manual. Not very clear but it does point to the 3 components that make up the tip leading edge cover.

I think they read:
L.E. COVER- UPPER-LARGE-J?-???
L.E. COVER- LOWER-LARGE-J?-???
L.E. COVER- UPPER-SMALL-J?-???
The main leading edge cover is actually in three sections (each has its own part number) so if you really want to go scale you could actually mark in a faint joint!
Please Log in or Create an account to join the conversation.
- Septic
-
Topic Author
- Offline
- Elite Member
-
- Posts: 307
- Thank you received: 690
I have managed to mount the first wing on to the fuselage. I have made small blocks from glass fibre board, the blocks are drille .5mm at one end, all alligned on piano wire and fitted to firsdt the wing, and then the centre section. A small amount of cycle oil was added to the paino wire as it passes through the hinges. It would be very easy to acidentally glue everything together

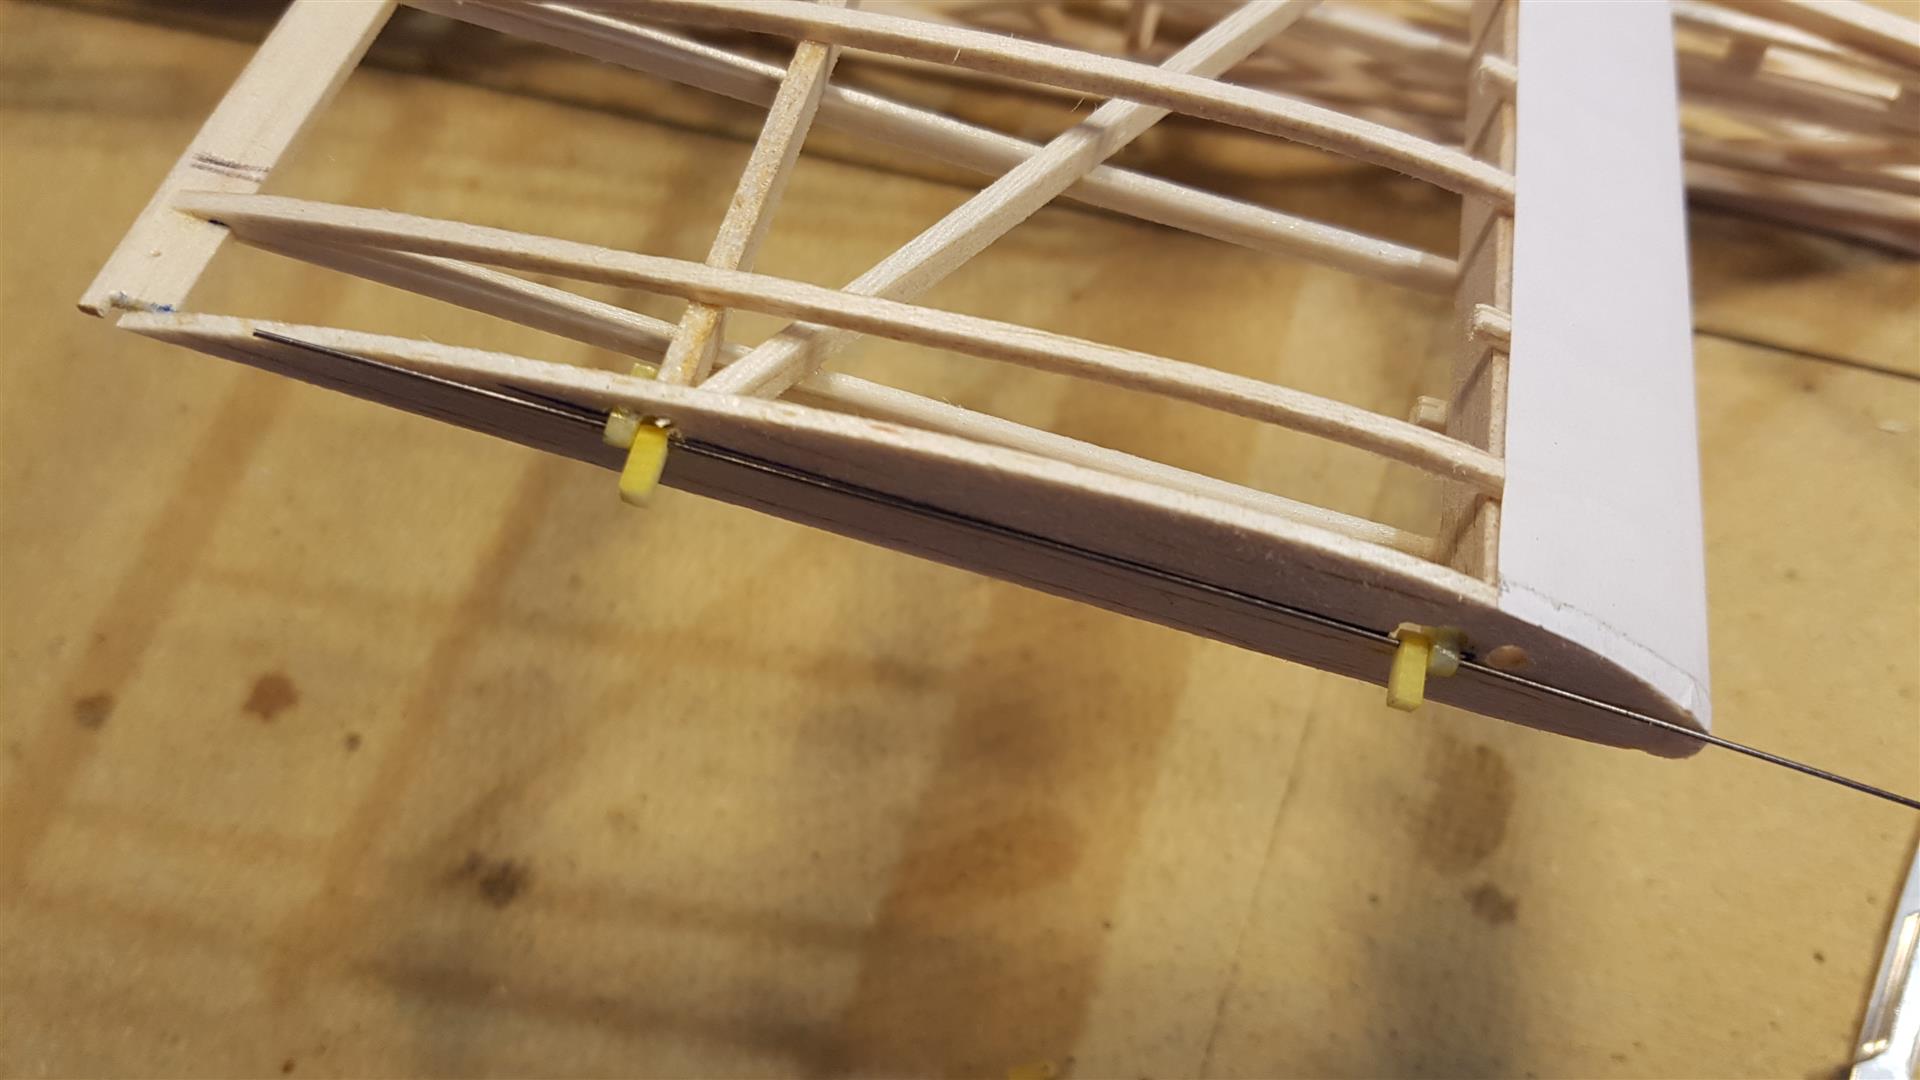
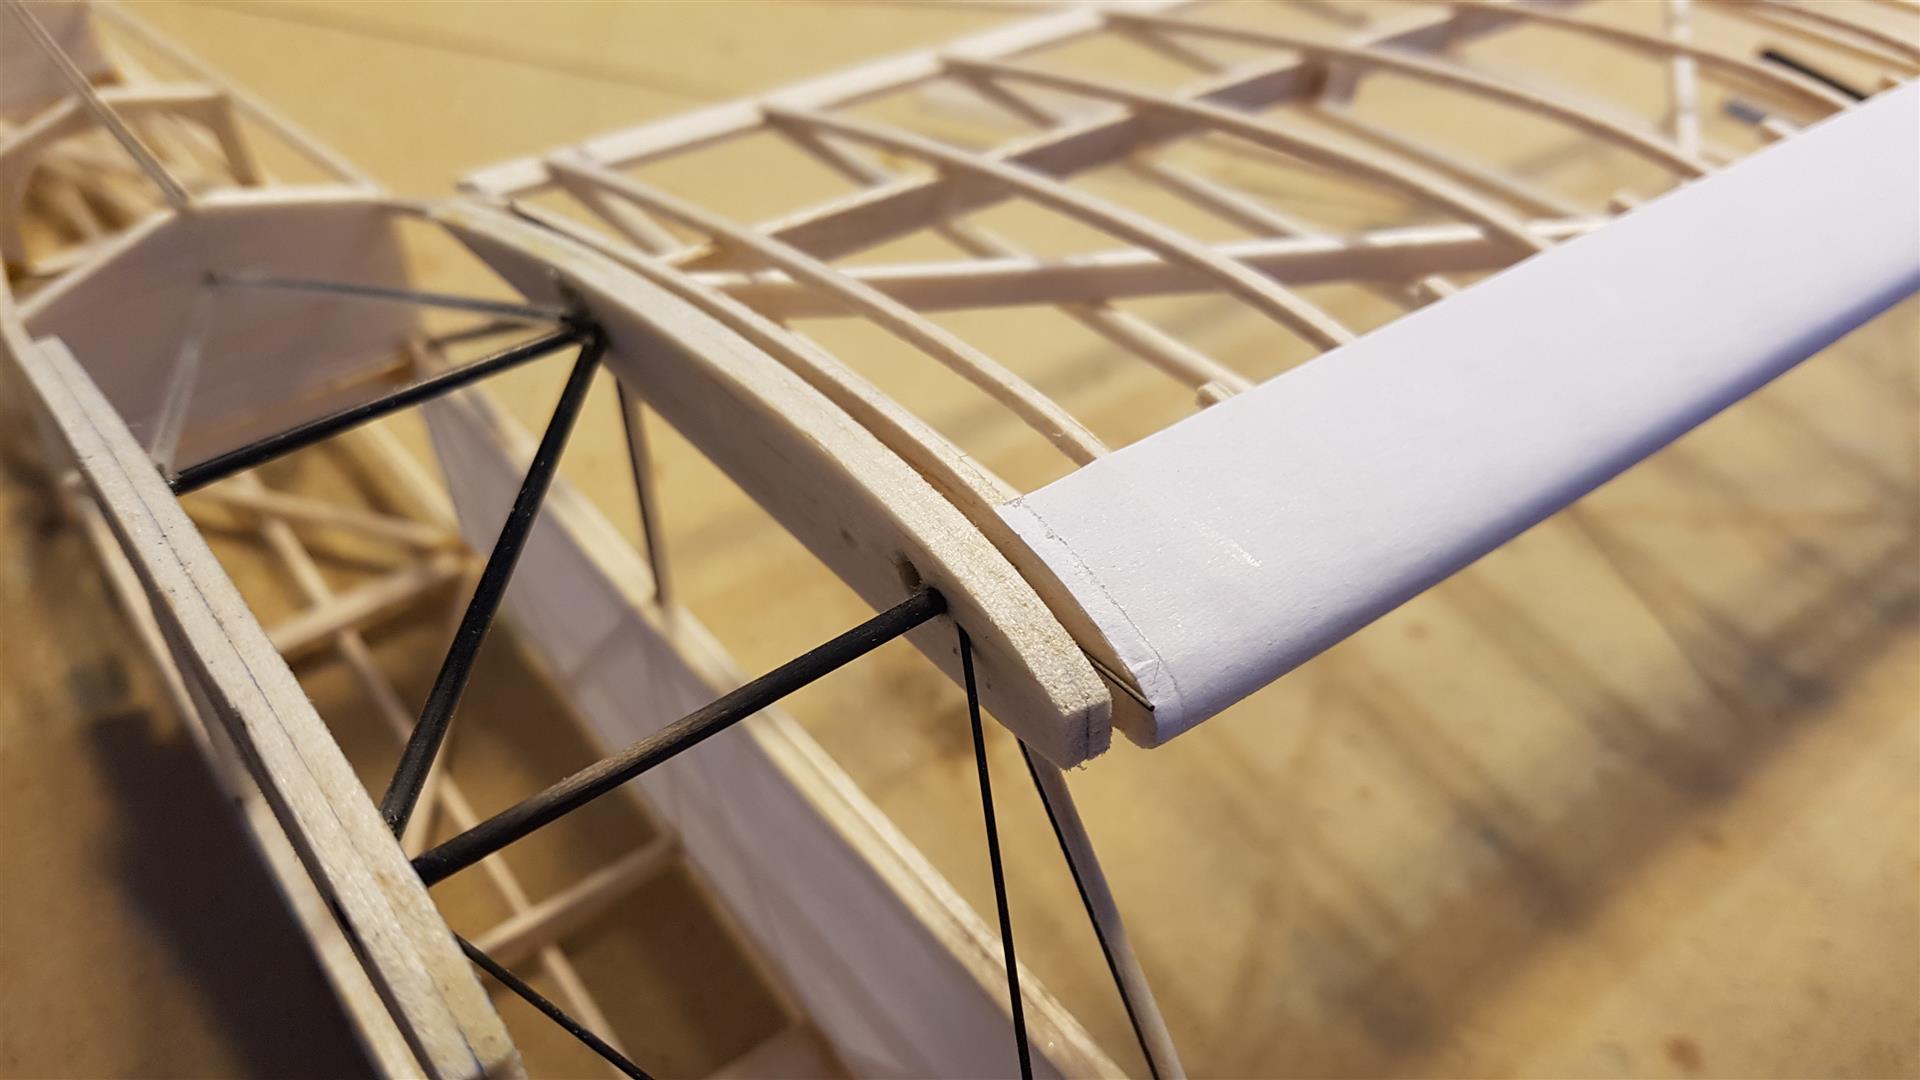
In this instance I have used .5mm carbon rod as the "keeper" But I will probably go with .5mm piano wire.
This solution keeps the wings rigidly attached to the centre section, but allows it to swing along the chord line. By altering the length of the wing struts I can adjust the dihedral.
Cheers
Danny
tap - tap.......rivet
Please Log in or Create an account to join the conversation.
- Septic
-
Topic Author
- Offline
- Elite Member
-
- Posts: 307
- Thank you received: 690
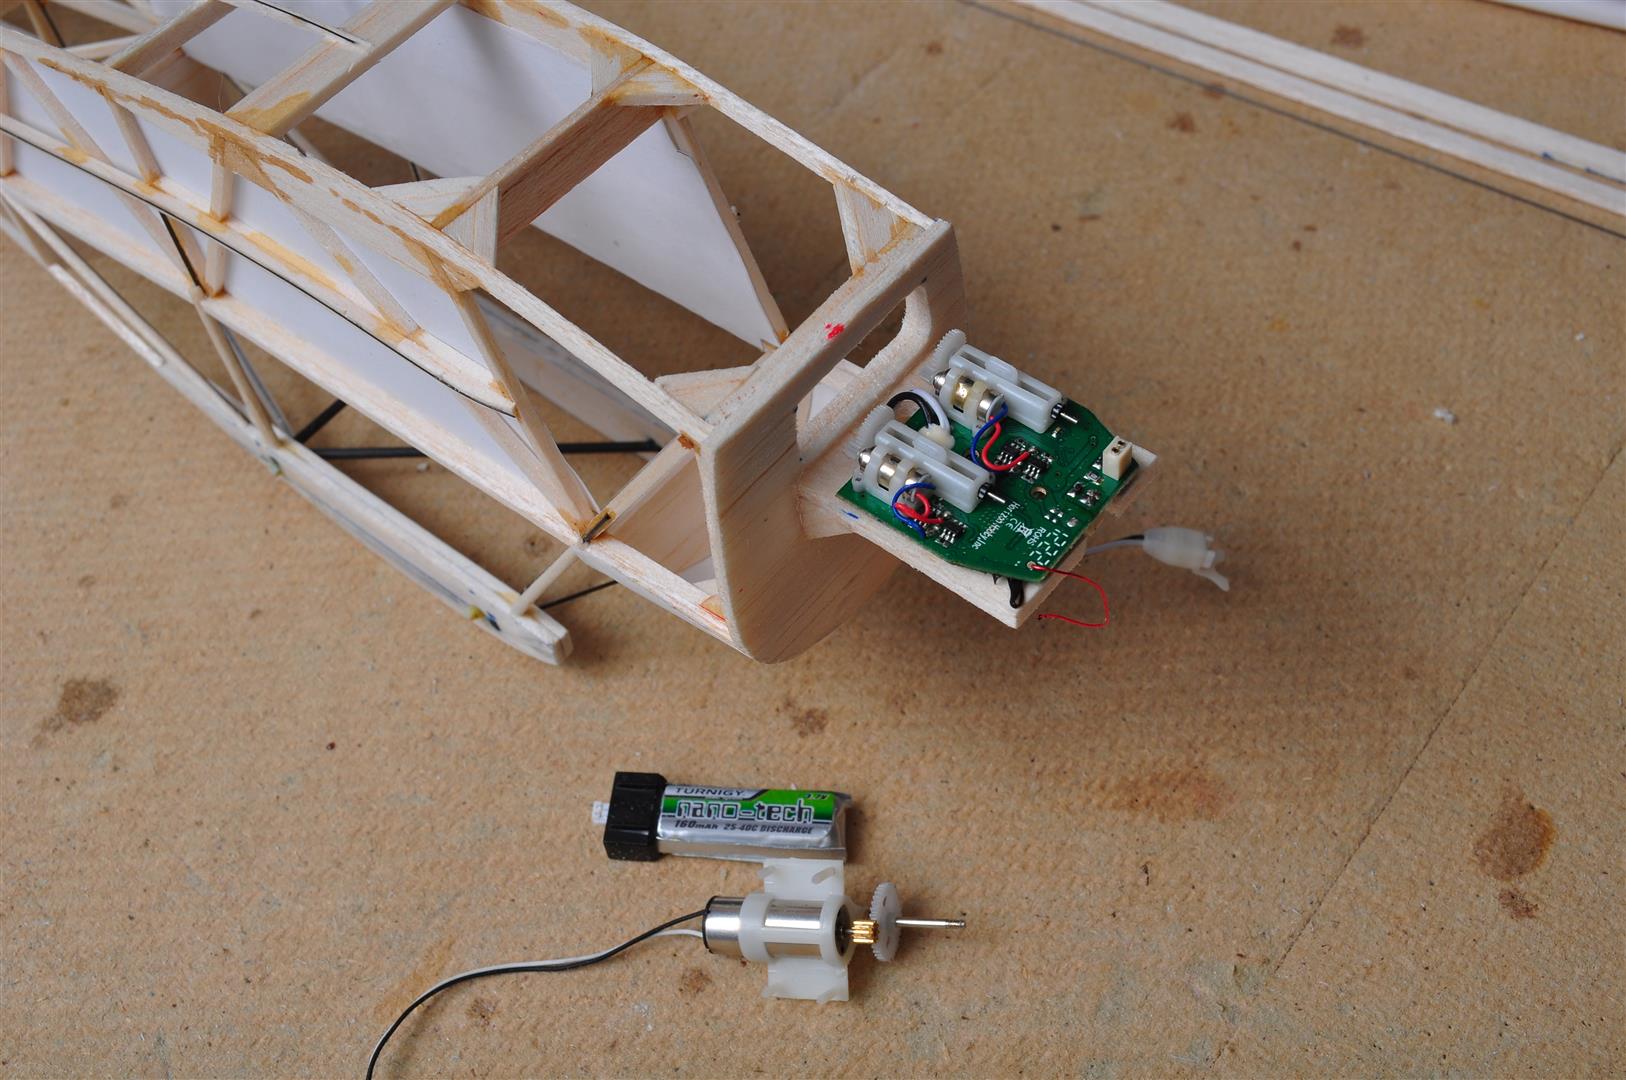
I am hoping to push the cell inside the cowl from underneath, by lifting a flap, but I wont know for sure until I have some idea of where the C of G falls.
Can either move onto struts, undercarriage or cowl. Or maybe even do some covering
 I will think about it over dinner
Cheers
Danny
tap - tap.......rivet
Please Log in or Create an account to join the conversation.
- Septic
-
Topic Author
- Offline
- Elite Member
-
- Posts: 307
- Thank you received: 690
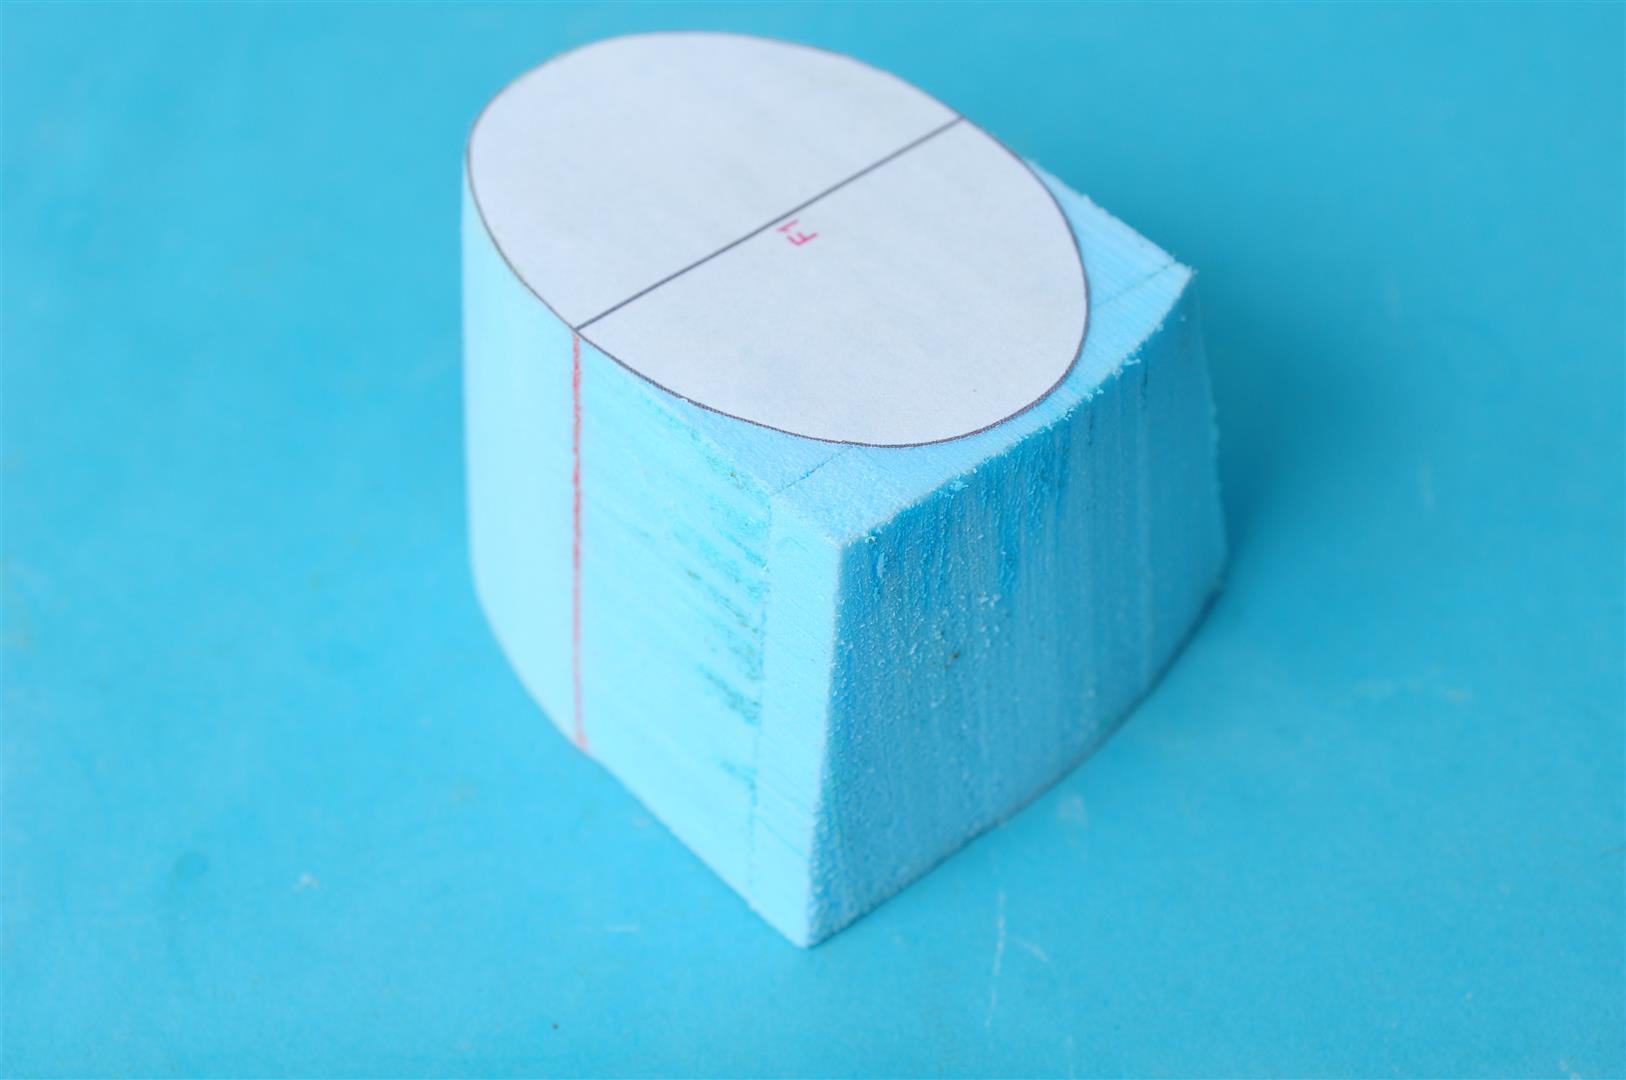

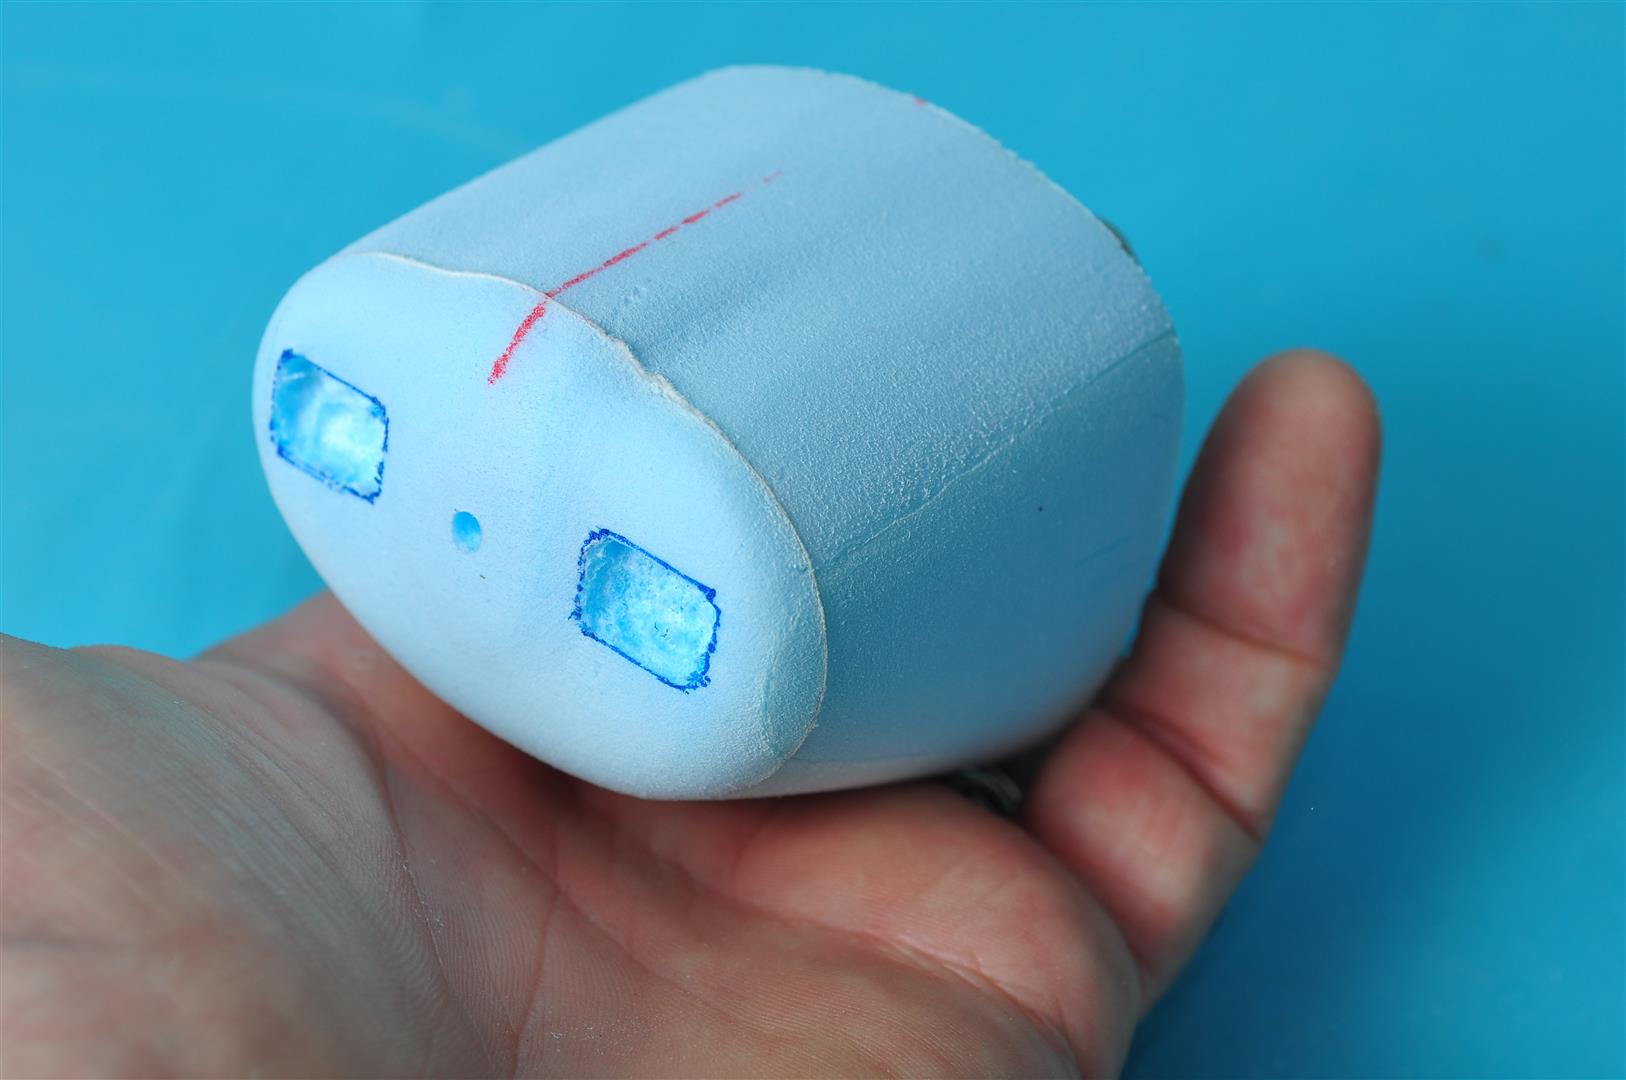
This will now be glassed with 25gsm and epoxy resin, then detailed.
Cheers
Danny
tap - tap.......rivet
Please Log in or Create an account to join the conversation.
- Septic
-
Topic Author
- Offline
- Elite Member
-
- Posts: 307
- Thank you received: 690
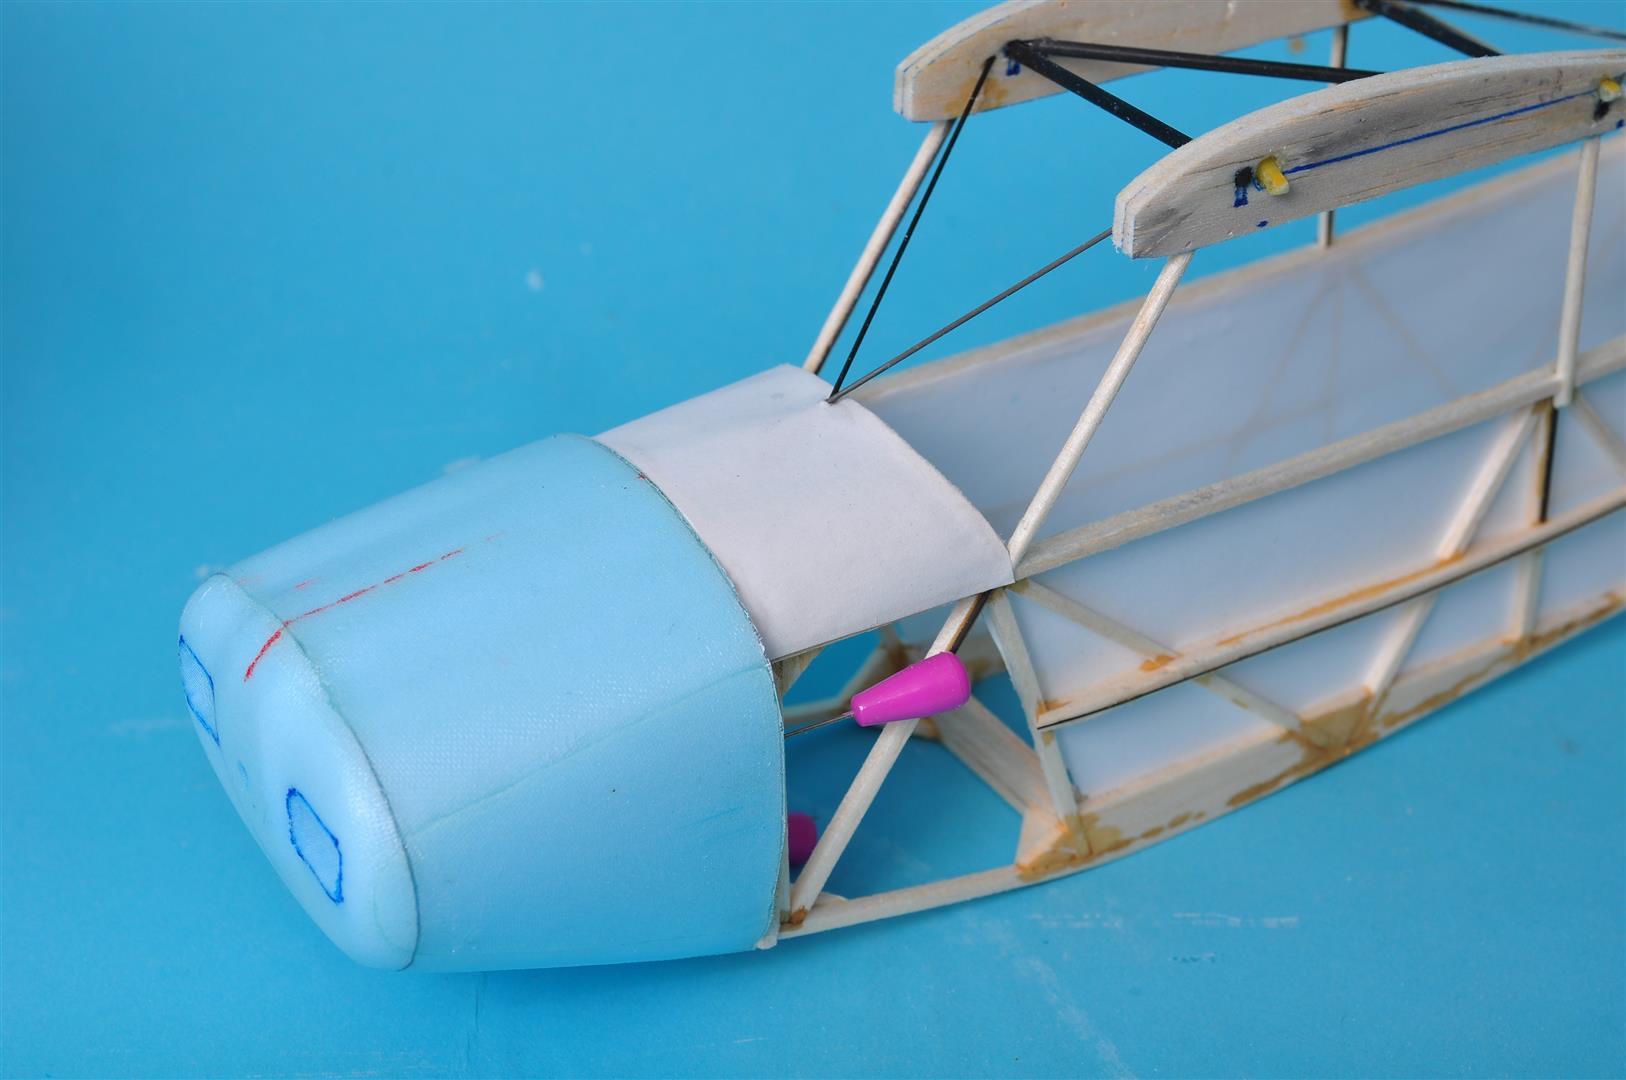

I will let it harden a bit more then sand the sides a bit narrower and reglass the sides. Not really a problem just adds time....
Cheers
Danny
tap - tap.......rivet
Please Log in or Create an account to join the conversation.
- Eric
-

- Offline
- Moderator
-

- Posts: 13726
- Thank you received: 14470
if you are calm and collected when all about you are going berserk - you've missed something important!
Please Log in or Create an account to join the conversation.
- Quorneng
-
- Offline
- Forum Master
-
- Posts: 9436
- Thank you received: 19043
This full size picture seems to show a pretty big gap.

It looks like the fit across the top of the cowl may be a bit more of an issue.
Please Log in or Create an account to join the conversation.
- Septic
-
Topic Author
- Offline
- Elite Member
-
- Posts: 307
- Thank you received: 690
tap - tap.......rivet
Please Log in or Create an account to join the conversation.
- Septic
-
Topic Author
- Offline
- Elite Member
-
- Posts: 307
- Thank you received: 690
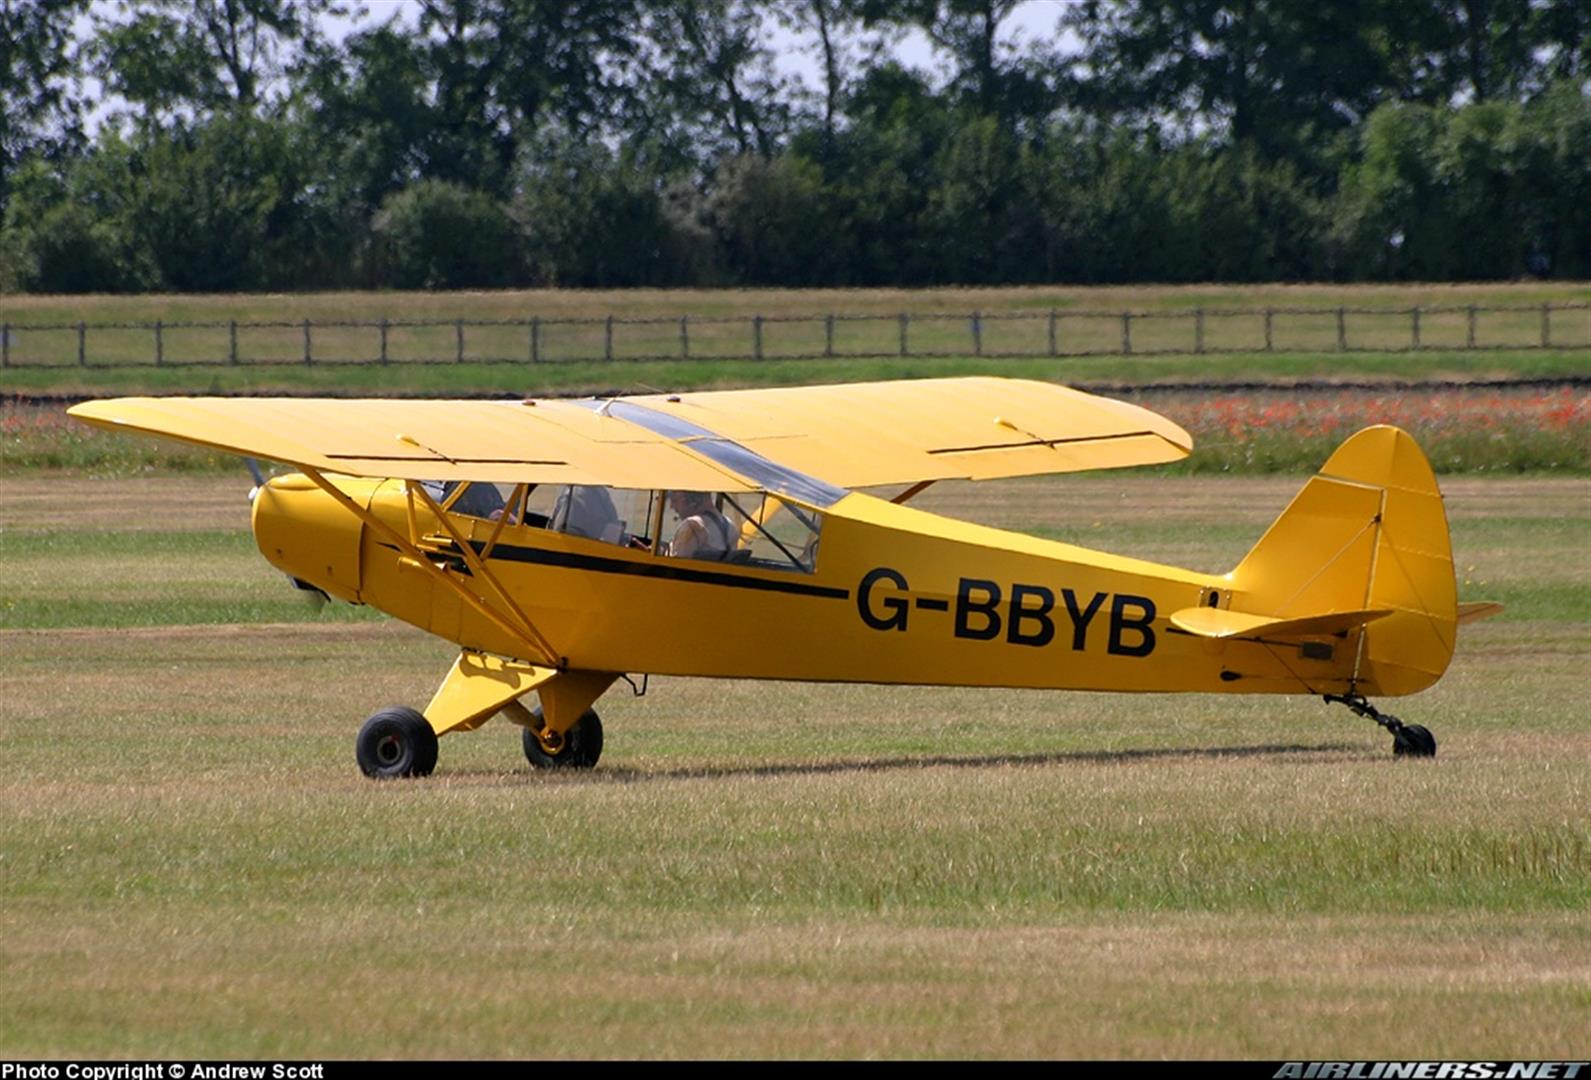
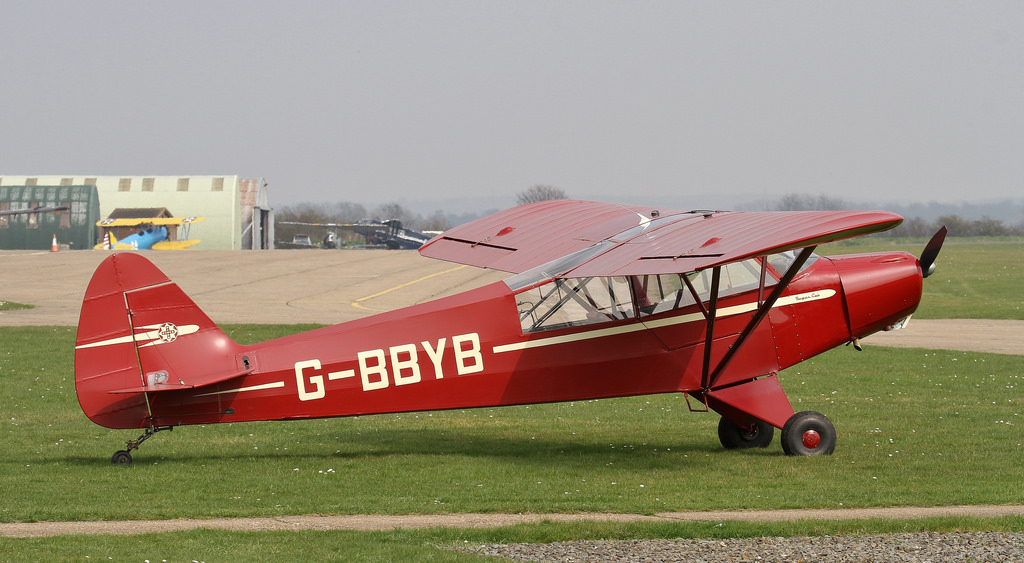
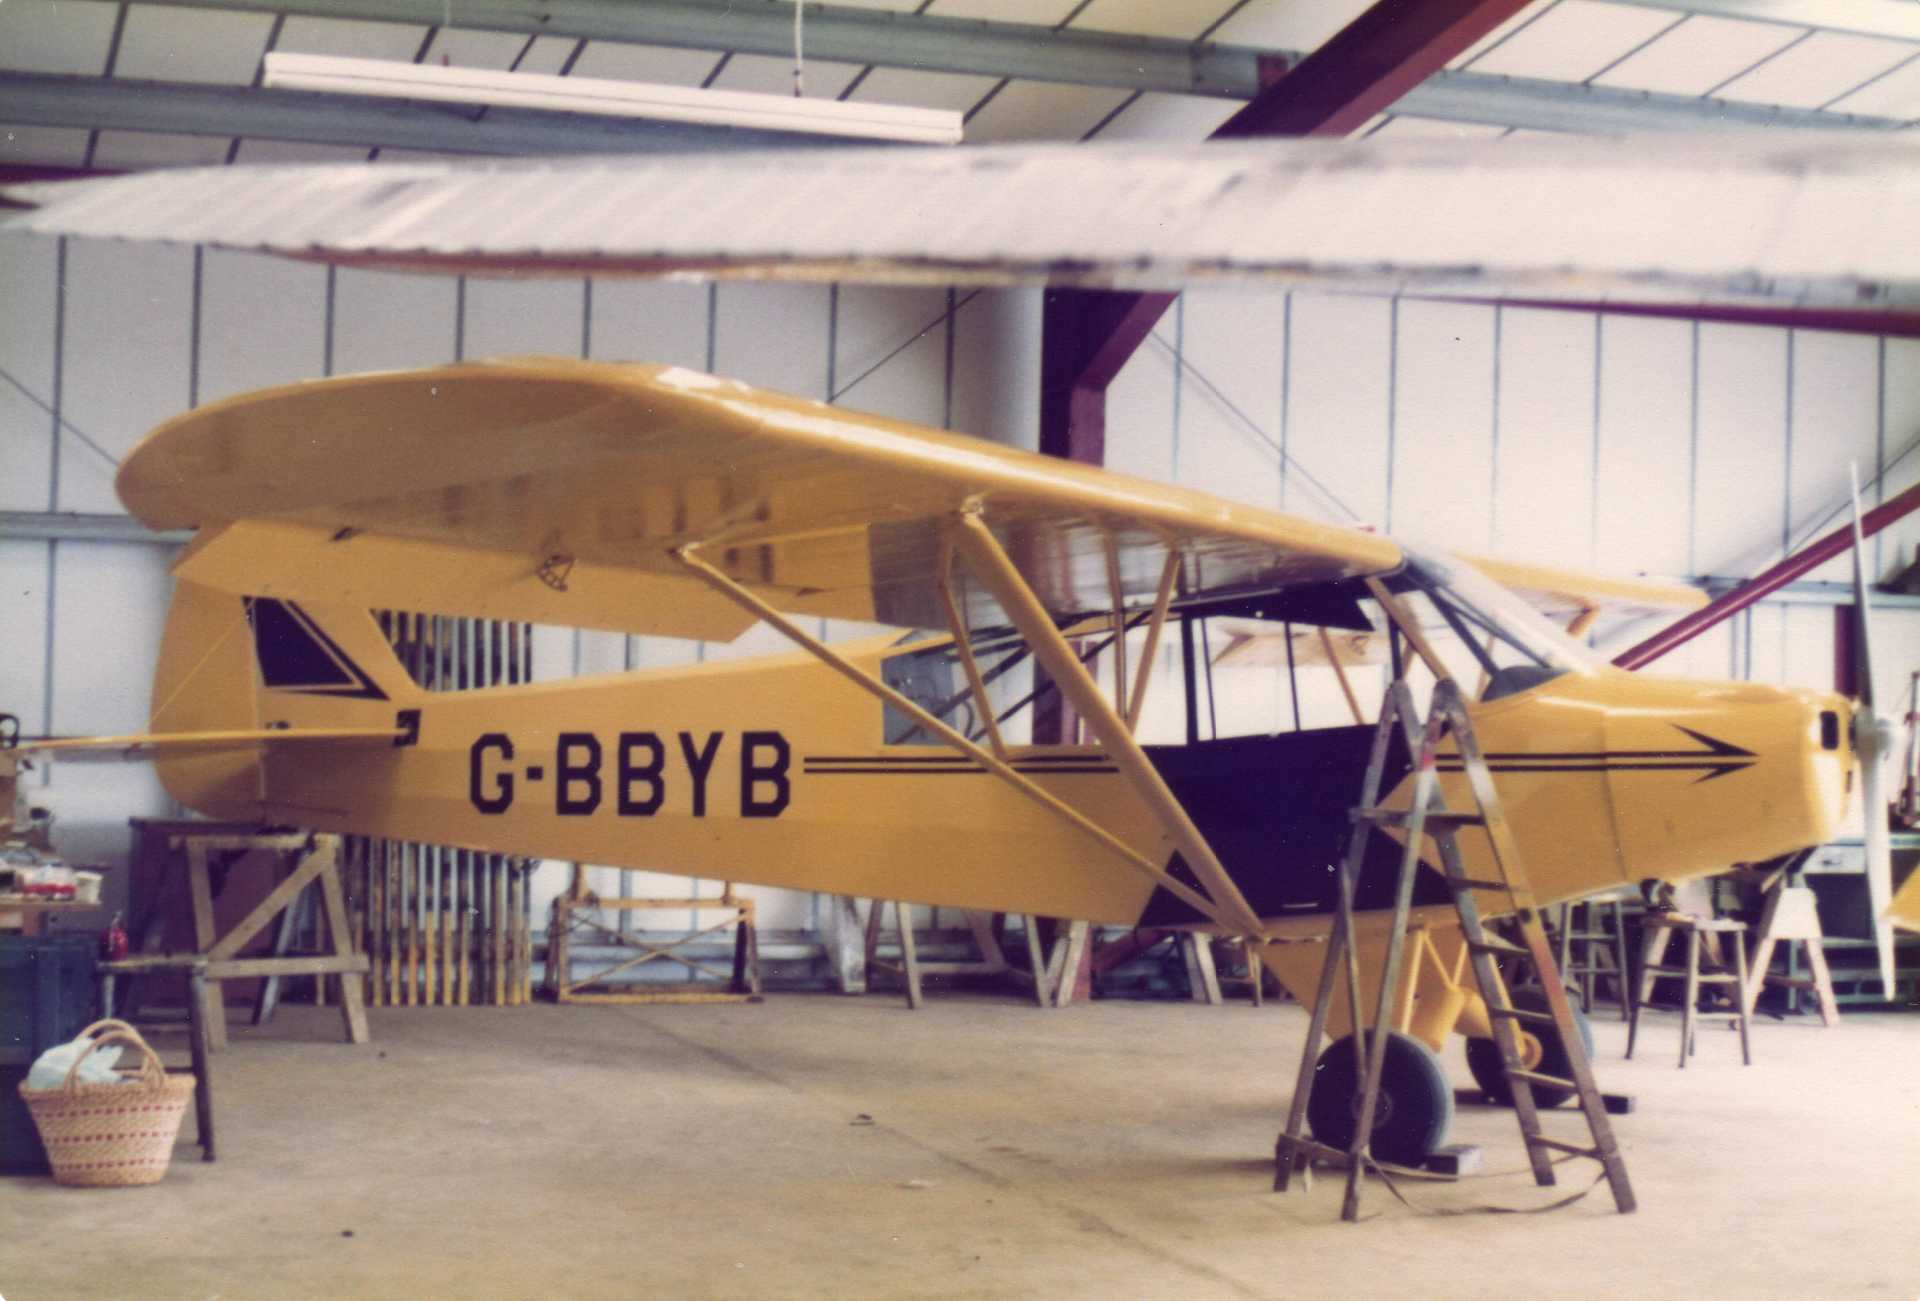
Other Cubs have a larger gap, with competitive scale modelling Q you must model your subject, and more than that you must model your subject at a given point in its life. This cub has had at least four paint schemes, three of which were yellow but subtle differences in the pinstriping and fin lettering as well as fonts for the registration.
I am modelling BBYB when I first flew in her in the 70's with the twin thin pinstripes. BBYB is now red, not the correct colour for a Cub in my book.....
But thanks for following along
Cheers
Danny
tap - tap.......rivet
Please Log in or Create an account to join the conversation.
- Septic
-
Topic Author
- Offline
- Elite Member
-
- Posts: 307
- Thank you received: 690
While that is going off, I gave the cockpit another few pieces of the pre doped paper, to form a floor and the shelf in the rear of the cockpit. I am very conscious of weight here. Thinned Tamiya X1 flat black was used over two coats of sanding sealer, which was lightly sanded down, how you might ask? a little pad of sandpapaer was stuck to the end of a scrap stick of balsa, this allowed me to get right inside the fuselage, the rear cockpit bulkhead was particularly awkward.
Some simple seats were fashioned from blue foam, and airbrushed at the same time.
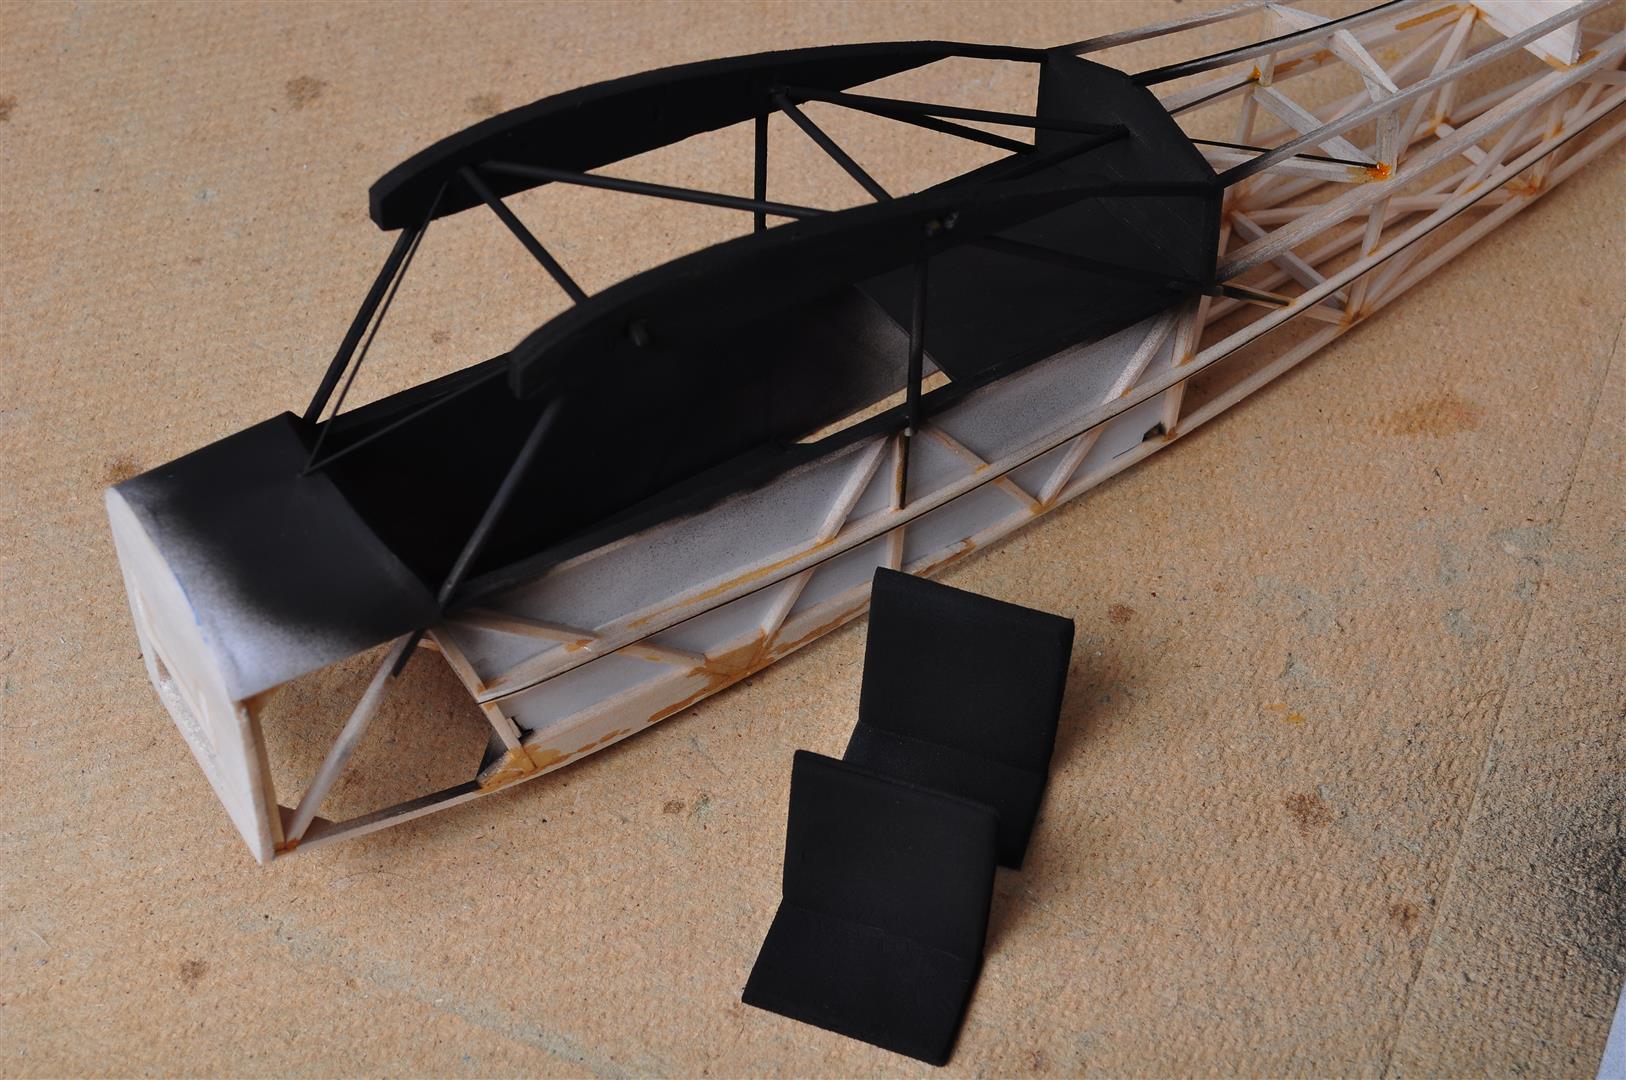
Sorry the camera cannot deal with so much black, but that is just what I want
Cheers
Danny
tap - tap.......rivet
Please Log in or Create an account to join the conversation.
- Septic
-
Topic Author
- Offline
- Elite Member
-
- Posts: 307
- Thank you received: 690
The seats themeselves are retained with a small amount of foam friendly CA
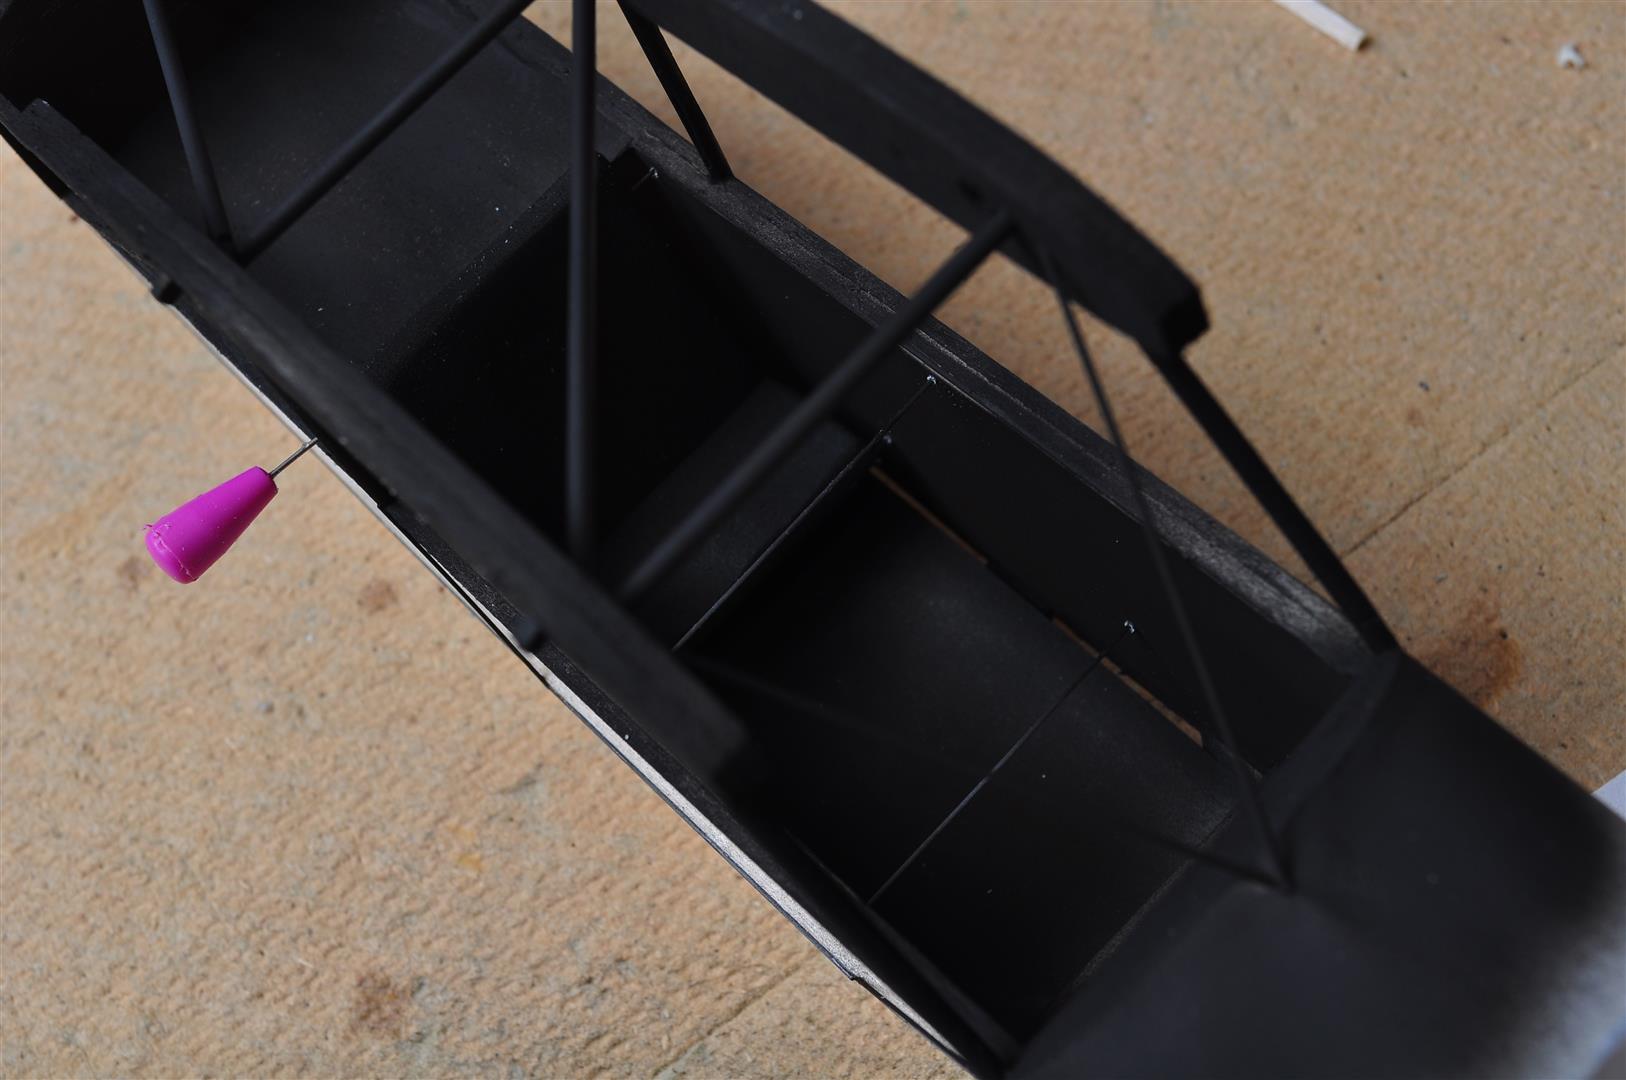
It is quite difficult to see, the rear seat is fitted and the two front seat rails are just about visible in this shot.
Cheers
Danny
tap - tap.......rivet
Please Log in or Create an account to join the conversation.
- Septic
-
Topic Author
- Offline
- Elite Member
-
- Posts: 307
- Thank you received: 690

That's it for tonight I am knackered, not sure i am going to get it done for 23rd, but I will keep on plodding on....
Cheers
Danny
tap - tap.......rivet
Please Log in or Create an account to join the conversation.