
Tiger Moth
- Klipkopwildlife
-
 Topic Author
- Offline
- Administrator
-

- I'm supposed to be retired!
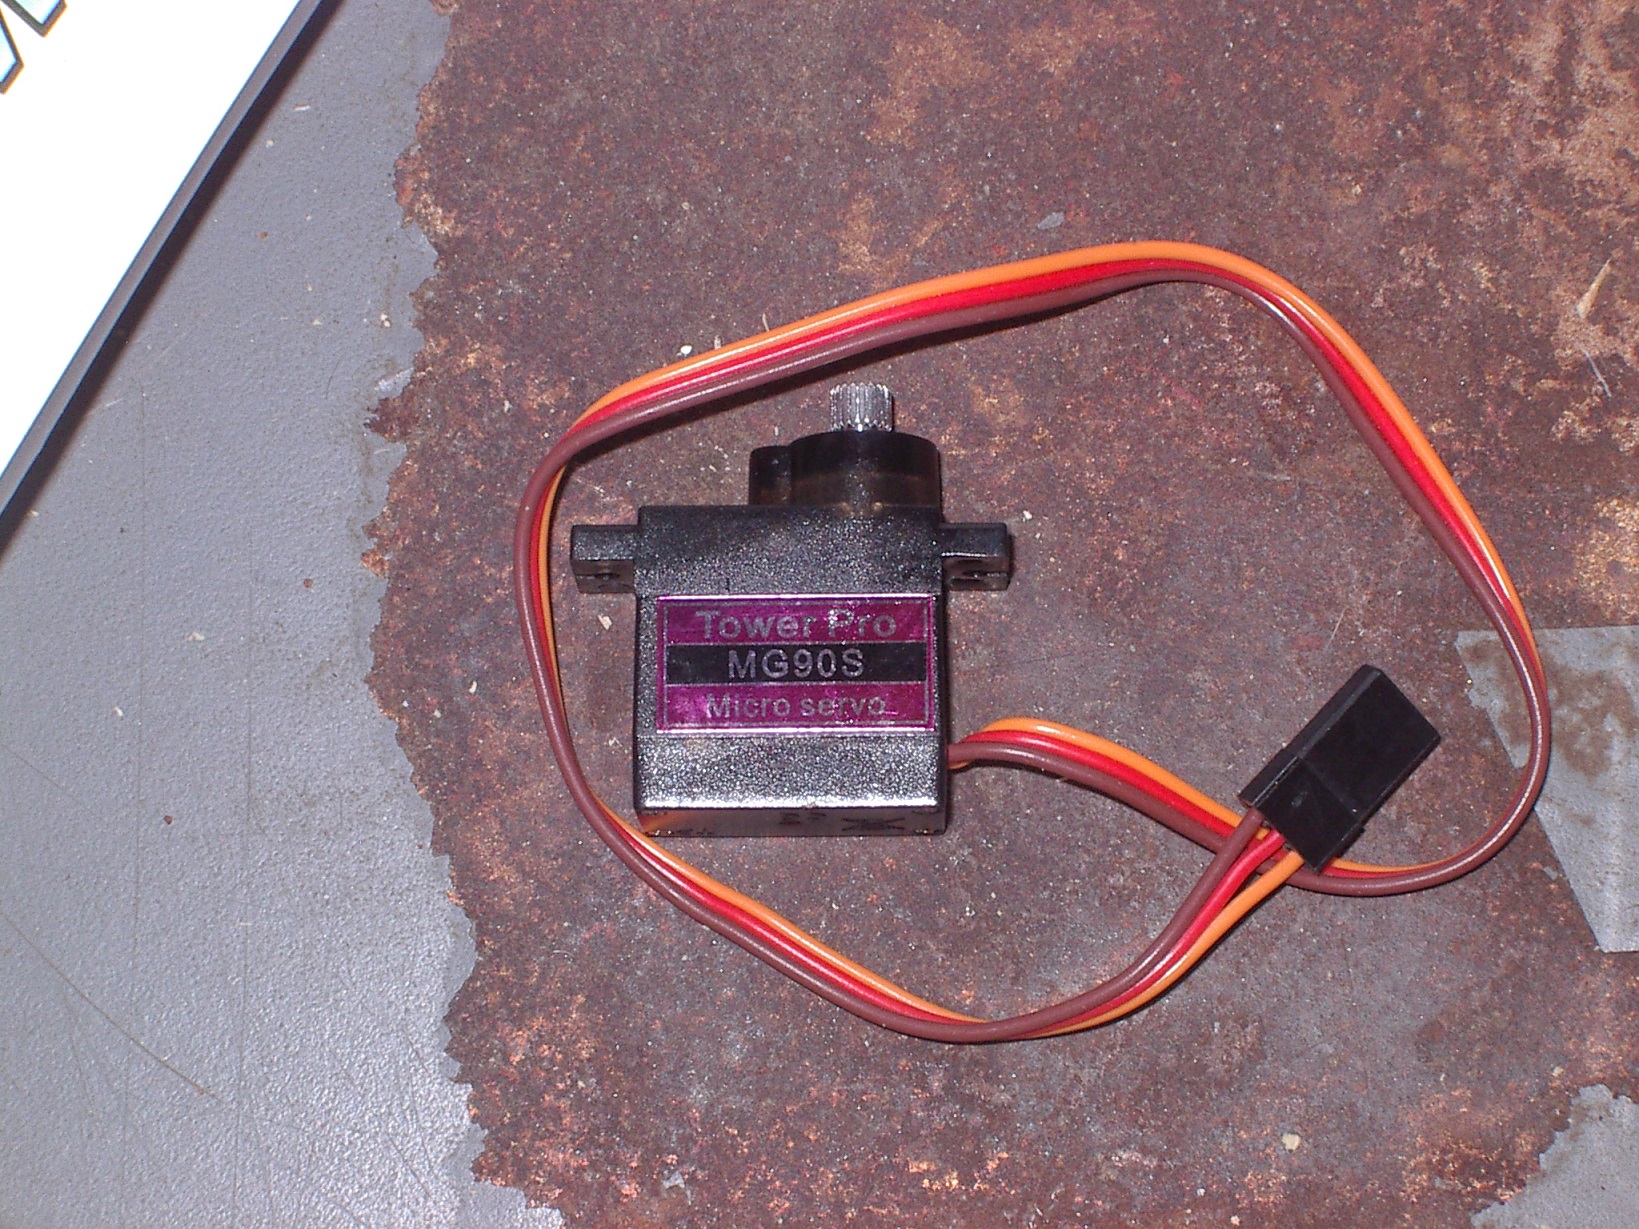
I also noticed that one push rod tube hole is higher than the other, this is because the rudder rod exits from the top of the decking while the elevator exits from the fuselage side. I now notice that I have unerringly placed A7 the wrong way around! It's not a train smash since both sides and both top decks have exit holes cut in.
Do it now, you may never get another chance
Please Log in or Create an account to join the conversation.
- Klipkopwildlife
-
Topic Author
- Offline
- Administrator
-
- I'm supposed to be retired!
Do it now, you may never get another chance
Please Log in or Create an account to join the conversation.
- one tenor
-

- Offline
- Forum Veteran
-

- johnpcalex@gmail.com
Anything will fly given enough power
Please Log in or Create an account to join the conversation.
- Klipkopwildlife
-
Topic Author
- Offline
- Administrator
-
- I'm supposed to be retired!

Its number is A25, I've put the rearmost dowel in to hold them.

And A24, those people going electric will notice there is a gap under the side doubler which the IC version doesn't have on account of former P3 I would recommend cutting the ends off your P3 and using them as spacers, it will also add a bit of strength.
Do it now, you may never get another chance
Please Log in or Create an account to join the conversation.
- Klipkopwildlife
-
Topic Author
- Offline
- Administrator
-
- I'm supposed to be retired!
Do it now, you may never get another chance
Please Log in or Create an account to join the conversation.
- Klipkopwildlife
-
Topic Author
- Offline
- Administrator
-
- I'm supposed to be retired!

OK, I know the Moth normally has a skid but we're building the kit as supplied. Only 1 suitably sized collet is supplied which is going to give us problems. Multiplex do it correctly.
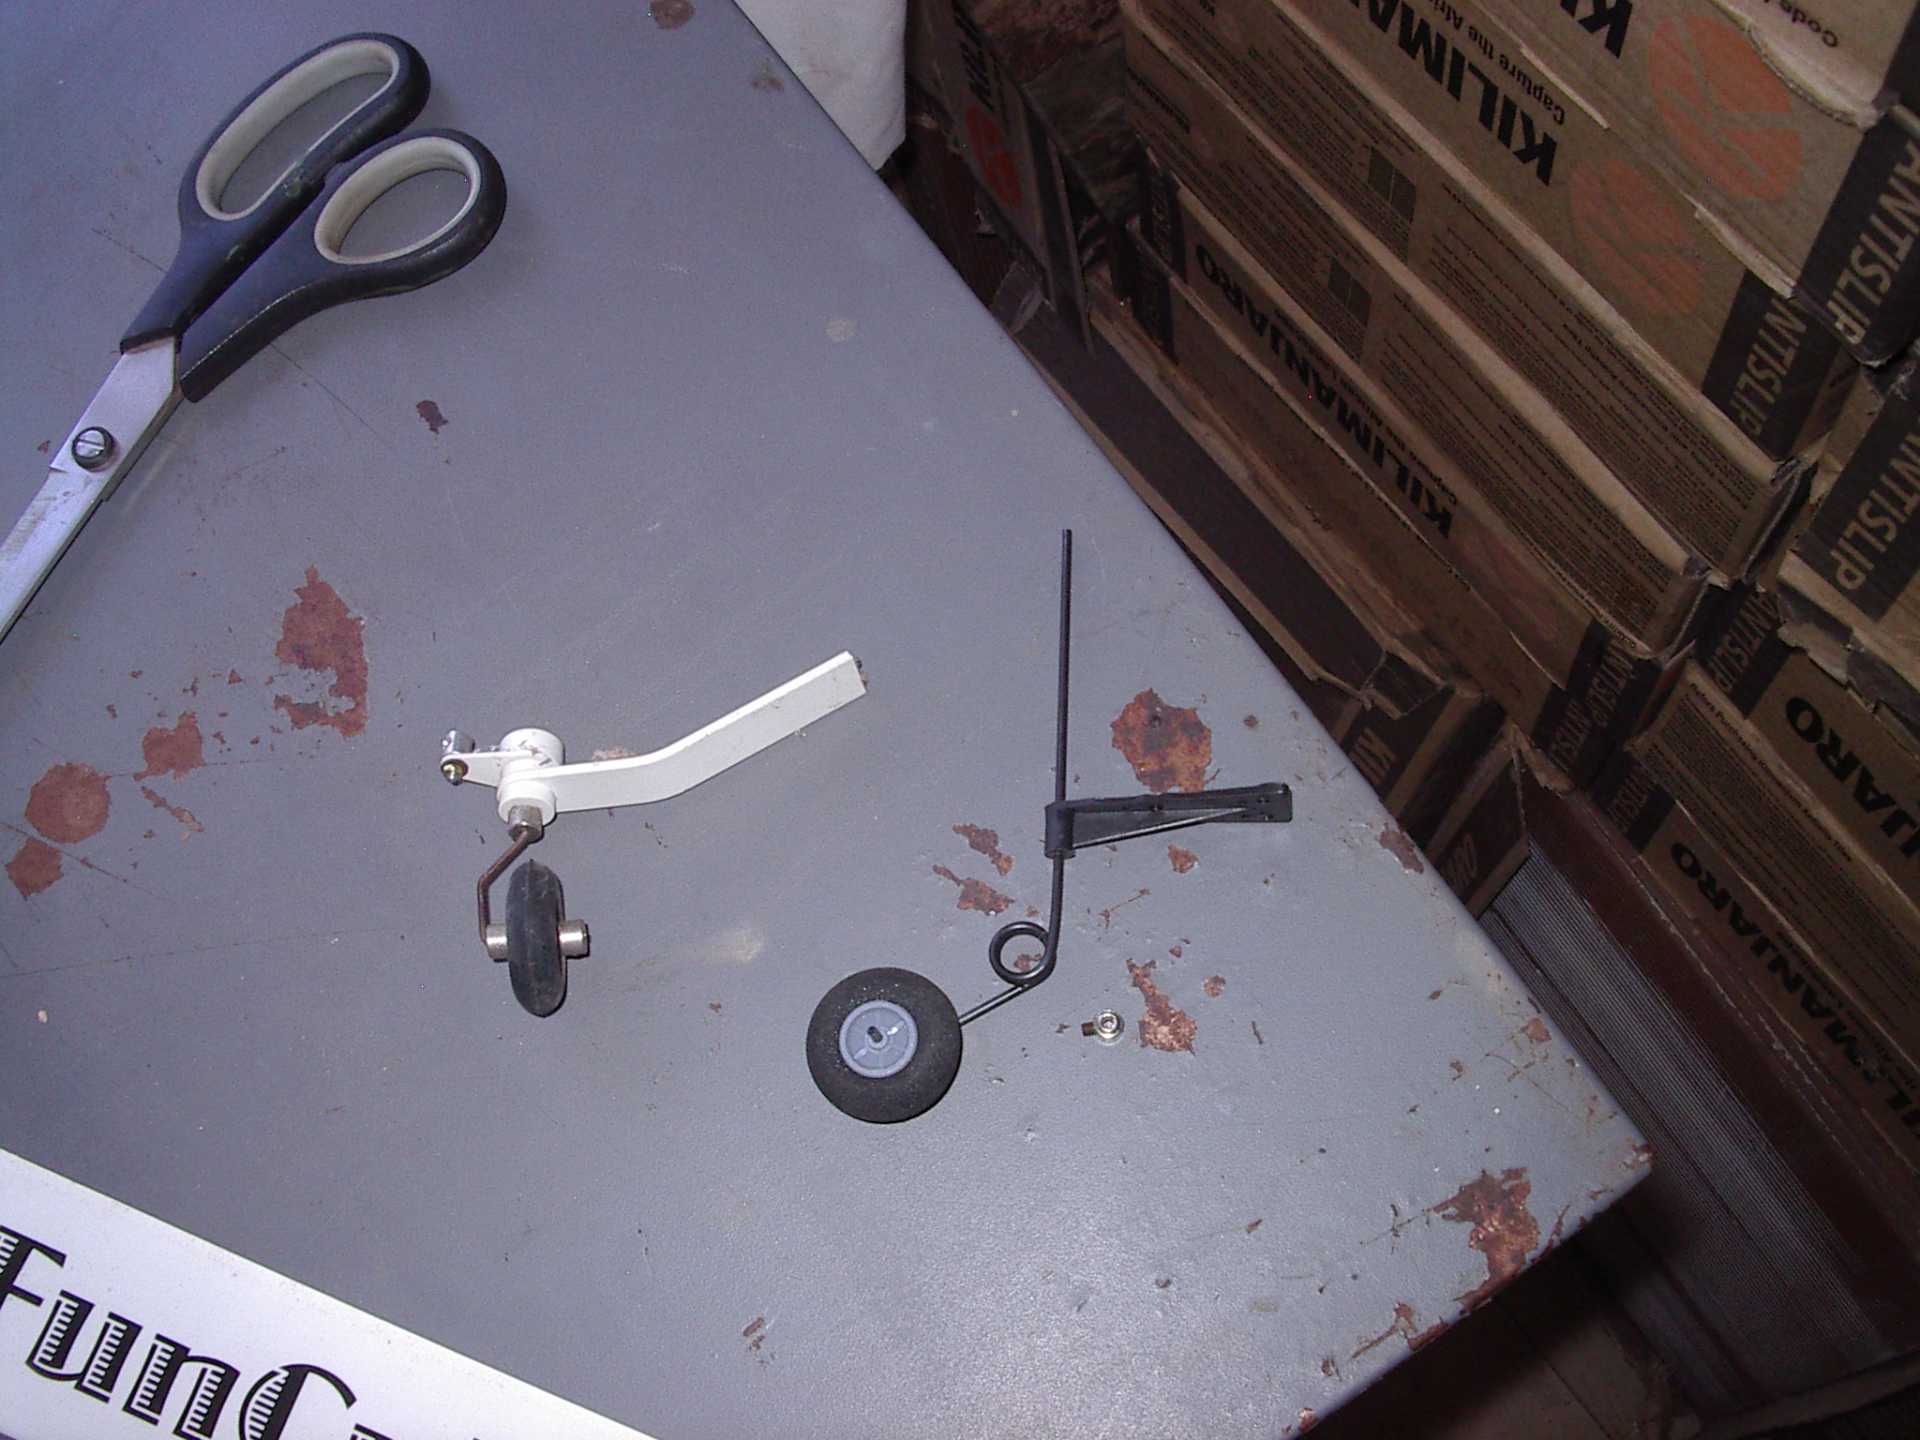
Note a collet to stop the axle disappearing up into the hinge point and causing the rotation to seize and collets either side of the wheel to stop the wheel from rubbing against the vertical leg.
And now the words I hate to see in magazine print, 'I rummaged in my scrap box'!

This is how it should be.
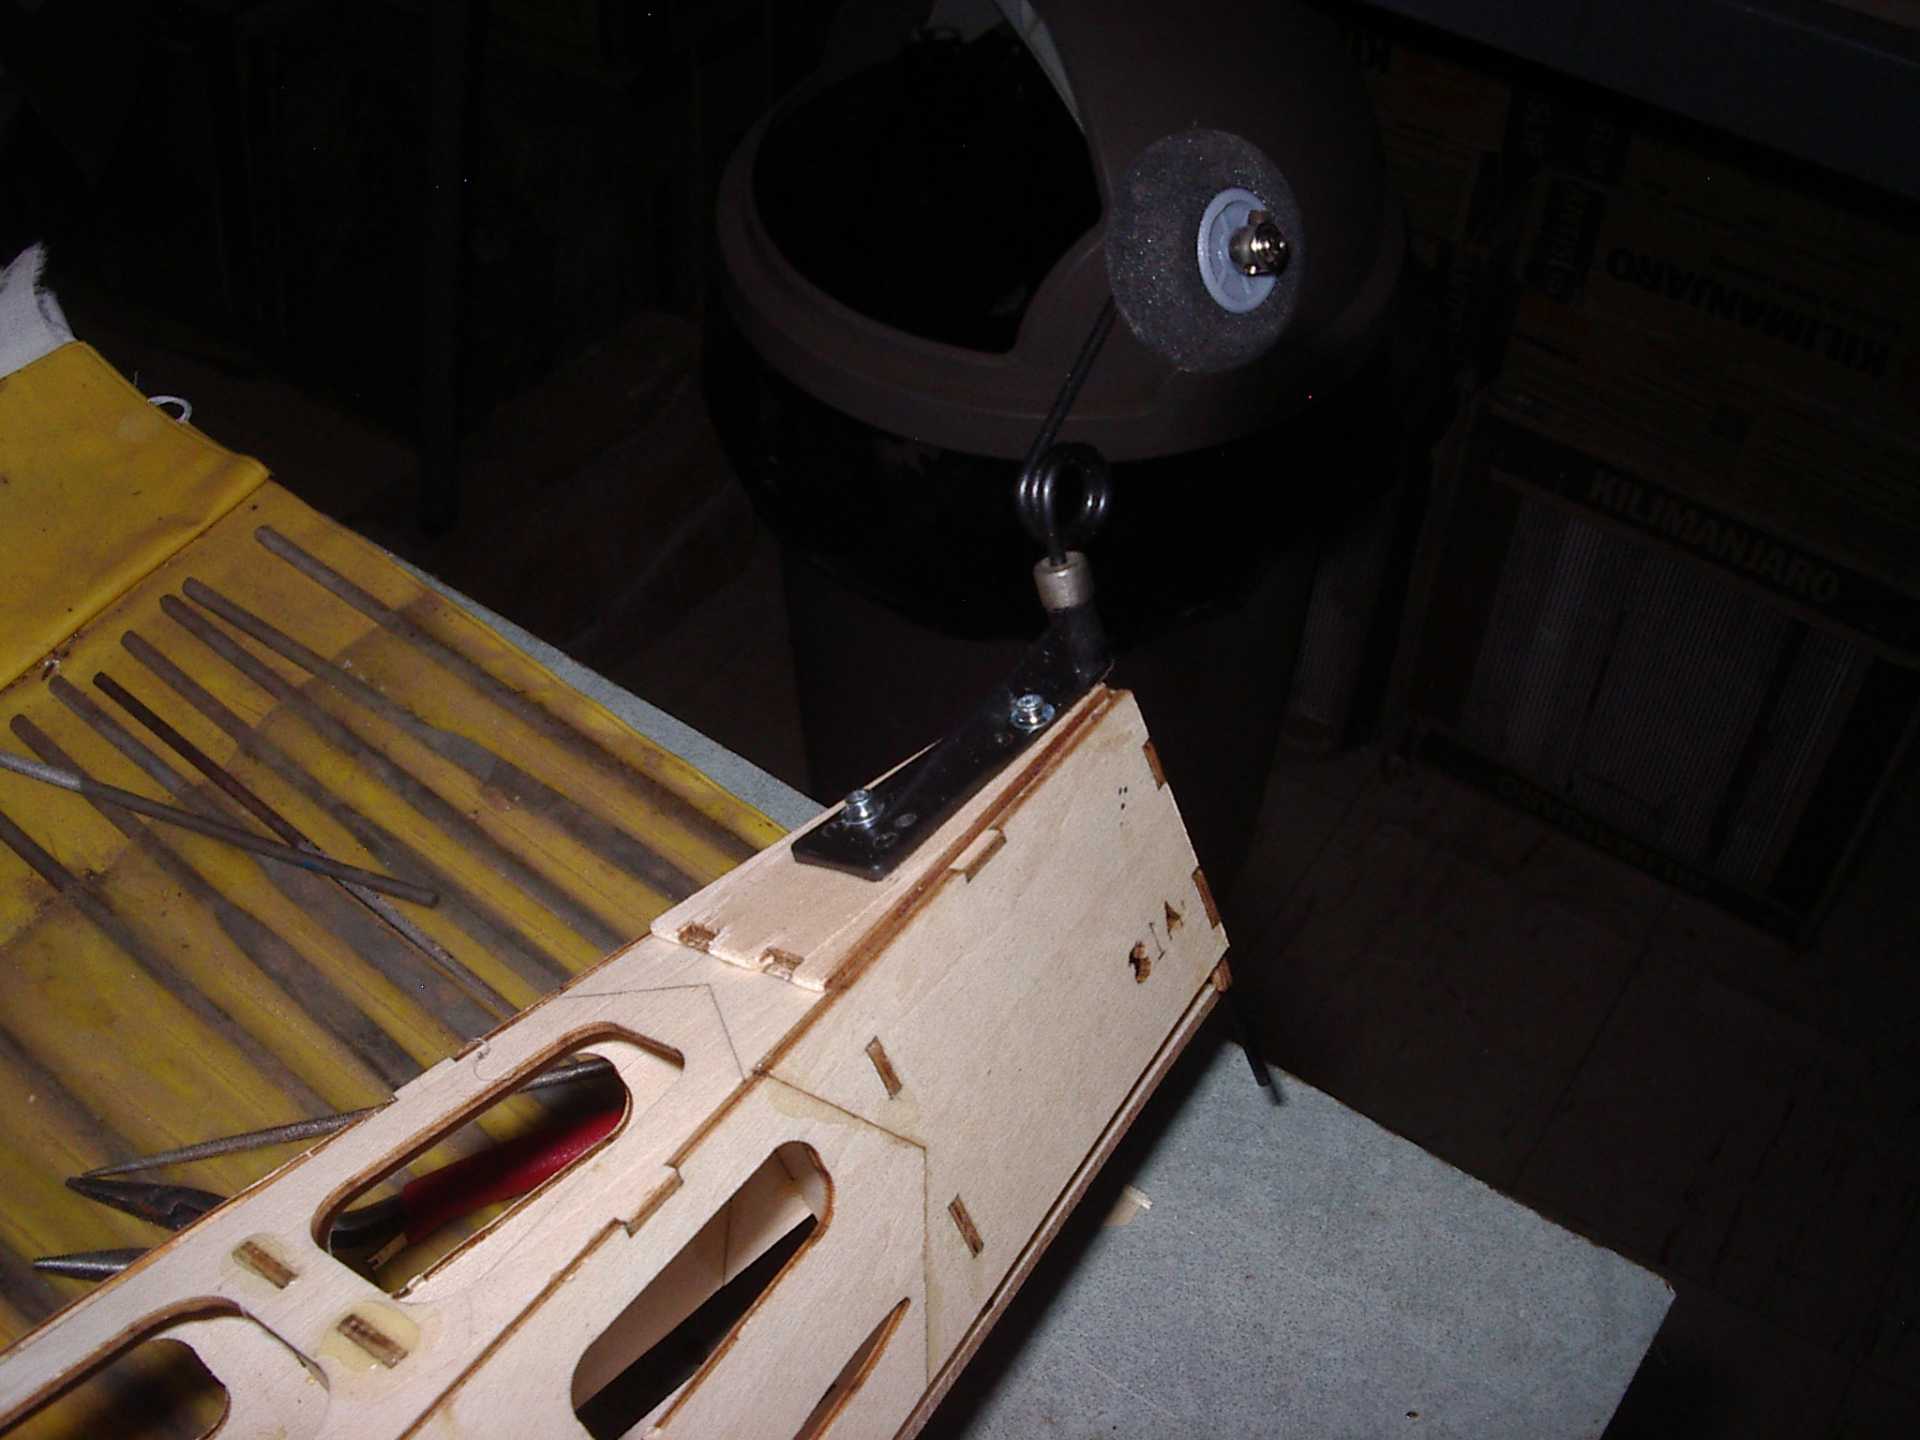
A piece of scrap to bulk up the mounting point (shown in the instructions) but with some old servo screws to hold it since the supplied 3mm screws and nuts cannot be fitted, you can't get in there!
Do it now, you may never get another chance
Please Log in or Create an account to join the conversation.
- Klipkopwildlife
-
Topic Author
- Offline
- Administrator
-
- I'm supposed to be retired!
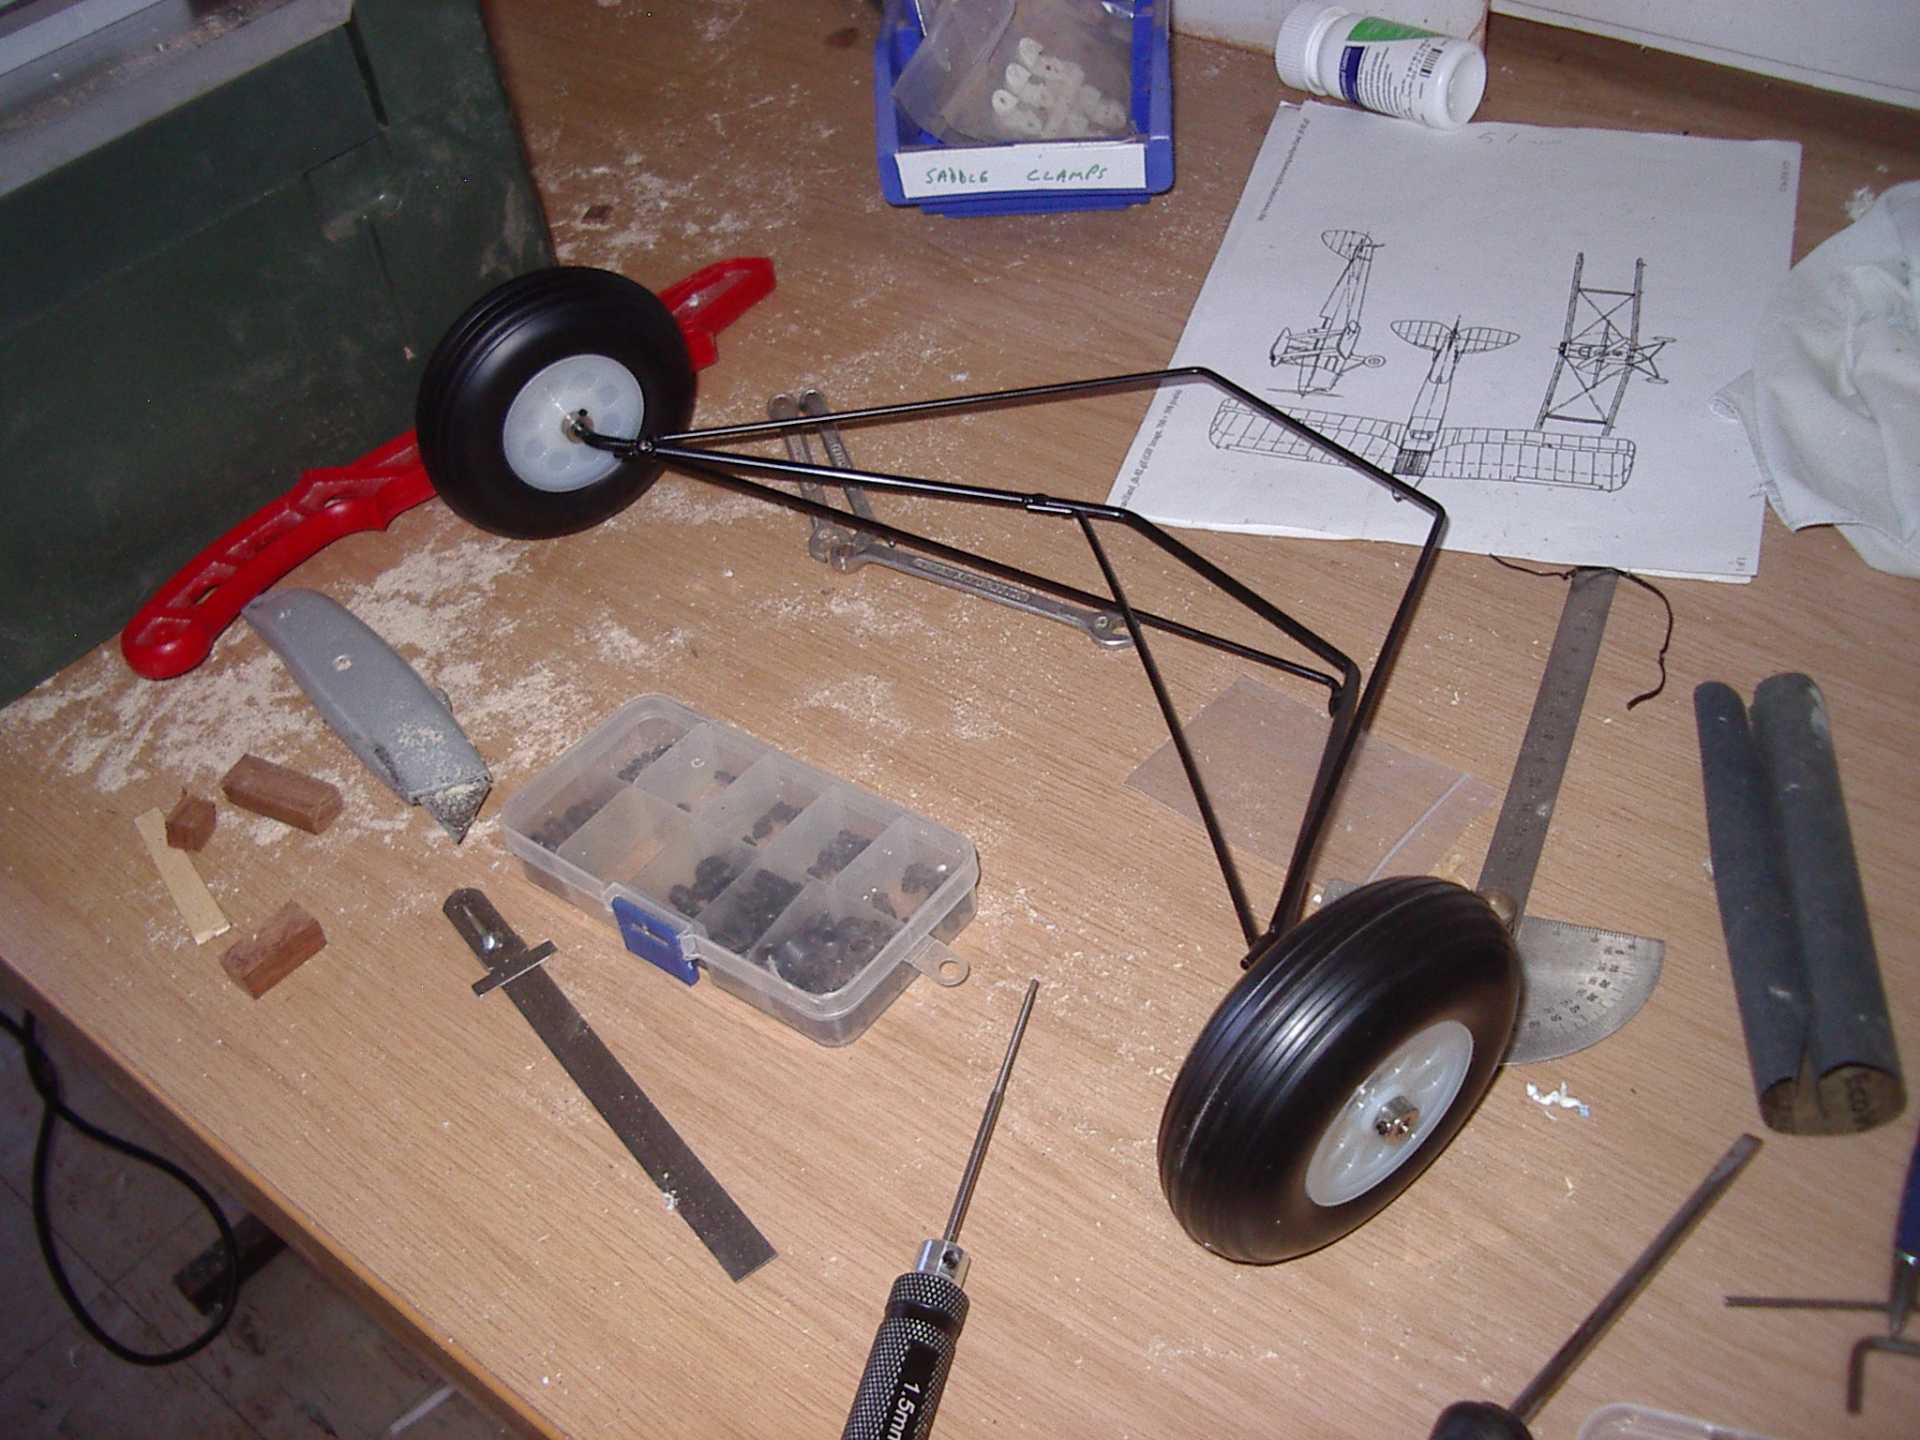
But in this instance 1 of the collets wasn't even drilled or tapped! Another rummage saw the axles correctly done.
The instructions a delightfully vague about the undercarriage position so I went with the pictures, and nearly drilled into the forward carbon wing dowel!
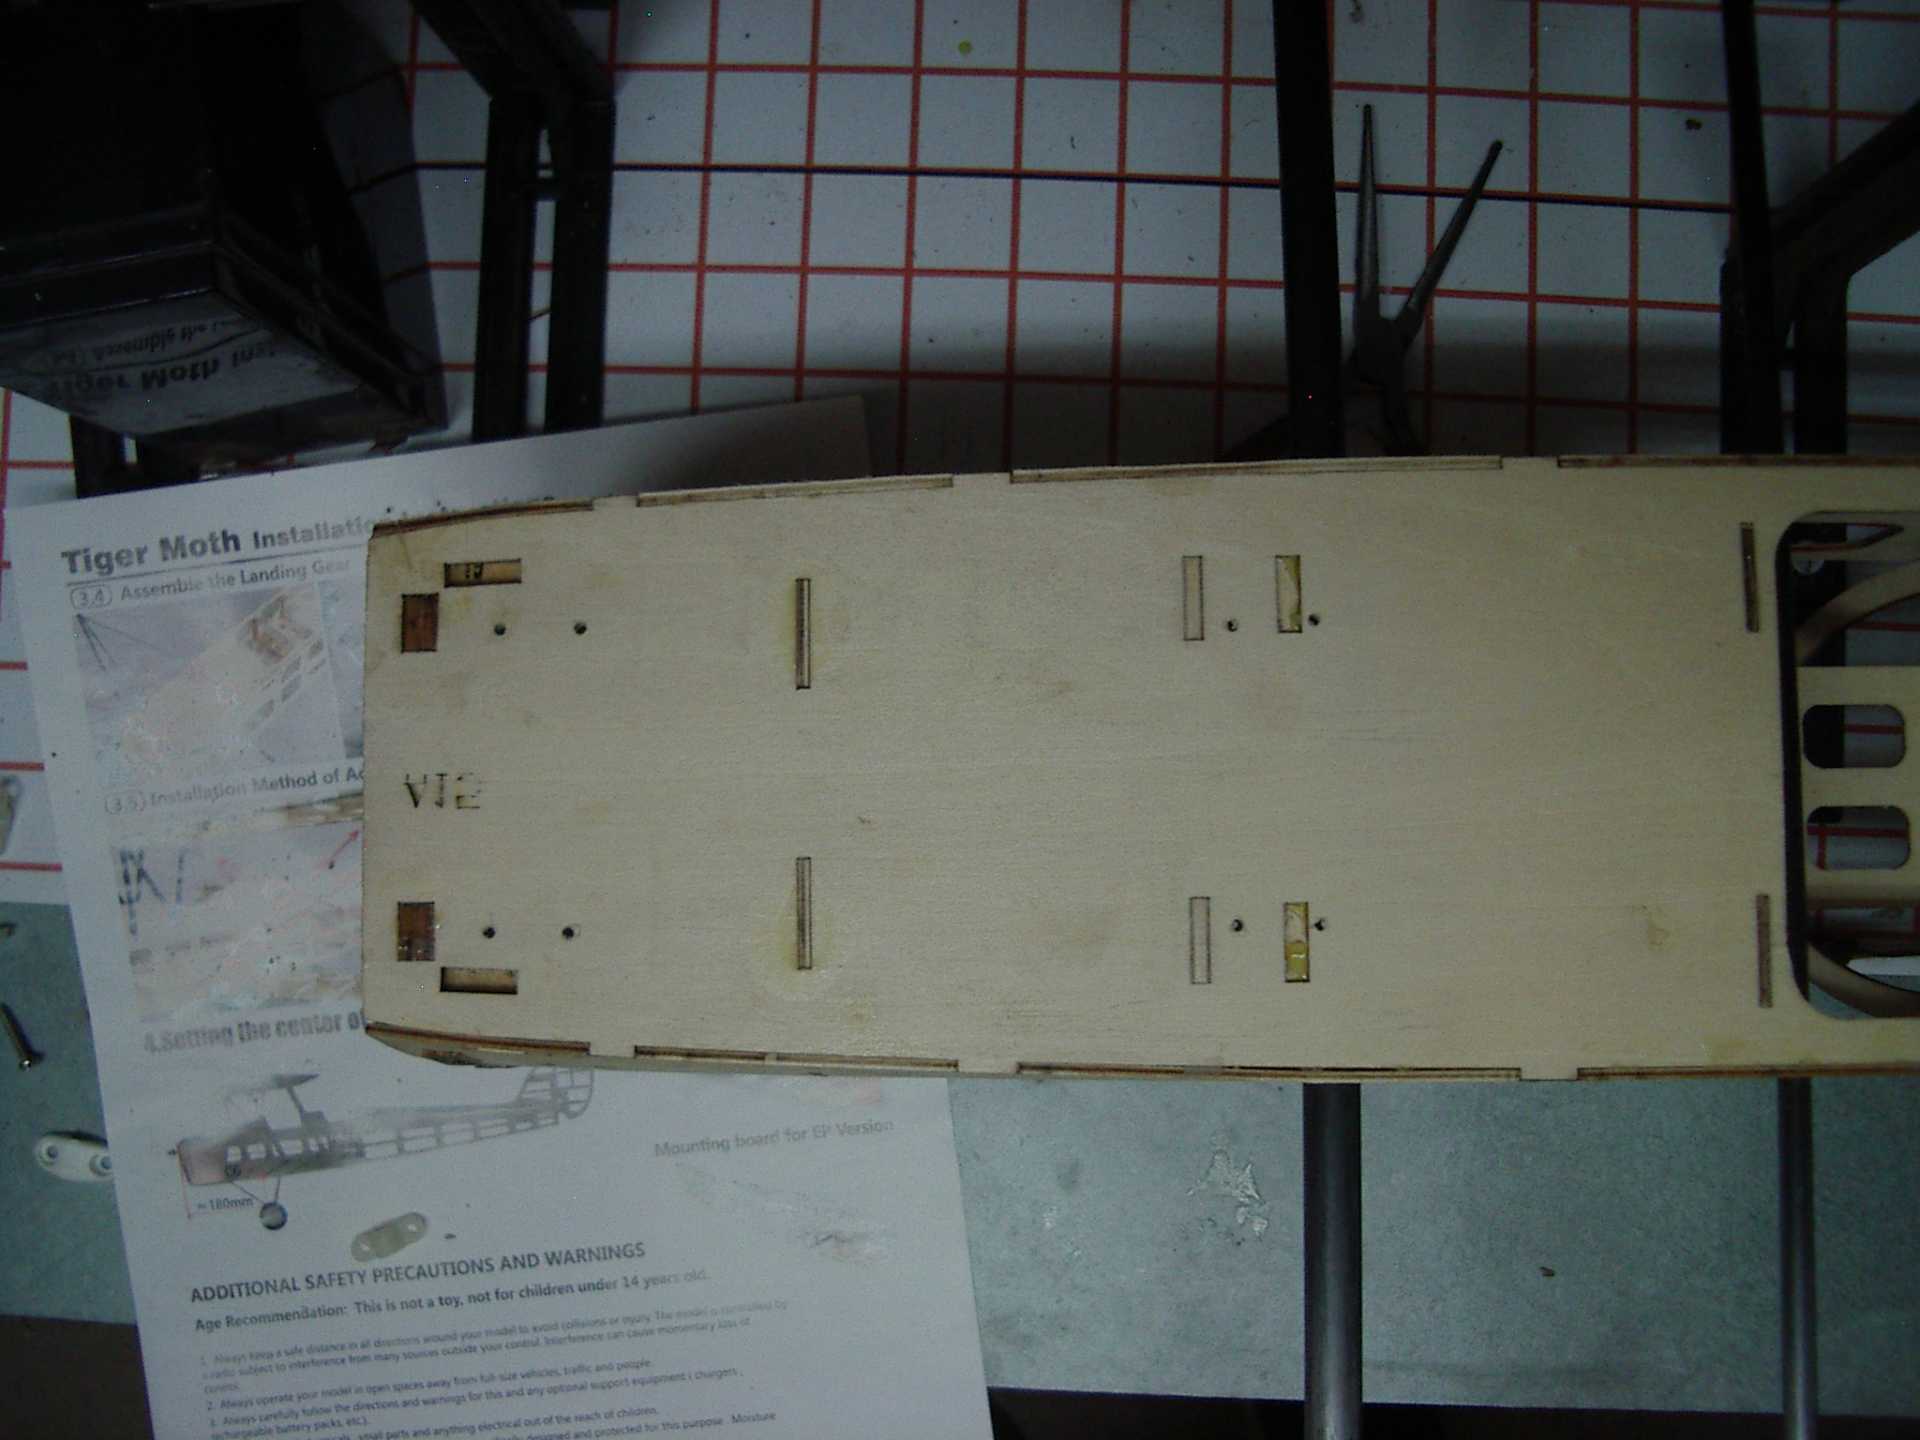
The saddles are a 'one size fits all' and the supplied screws seem to be overly long.

In fact once it's down tight it's just long enough.
Do it now, you may never get another chance
Please Log in or Create an account to join the conversation.
- Quorneng
-

- Offline
- Forum Master
-

- Posts: 9436
- Thank you received: 19043
Please Log in or Create an account to join the conversation.
- Squirrelnet
- Offline
- Elite Member
-

- Posts: 754
- Thank you received: 2067
Please Log in or Create an account to join the conversation.
- Klipkopwildlife
-
Topic Author
- Offline
- Administrator
-
- I'm supposed to be retired!
Do it now, you may never get another chance
Please Log in or Create an account to join the conversation.
- Eric
-

- Offline
- Moderator
-

- Posts: 13726
- Thank you received: 14467
if you are calm and collected when all about you are going berserk - you've missed something important!
Please Log in or Create an account to join the conversation.
- Eric
-
- Offline
- Moderator
-
- Posts: 13726
- Thank you received: 14467
I think the pale brown stains are the glue!
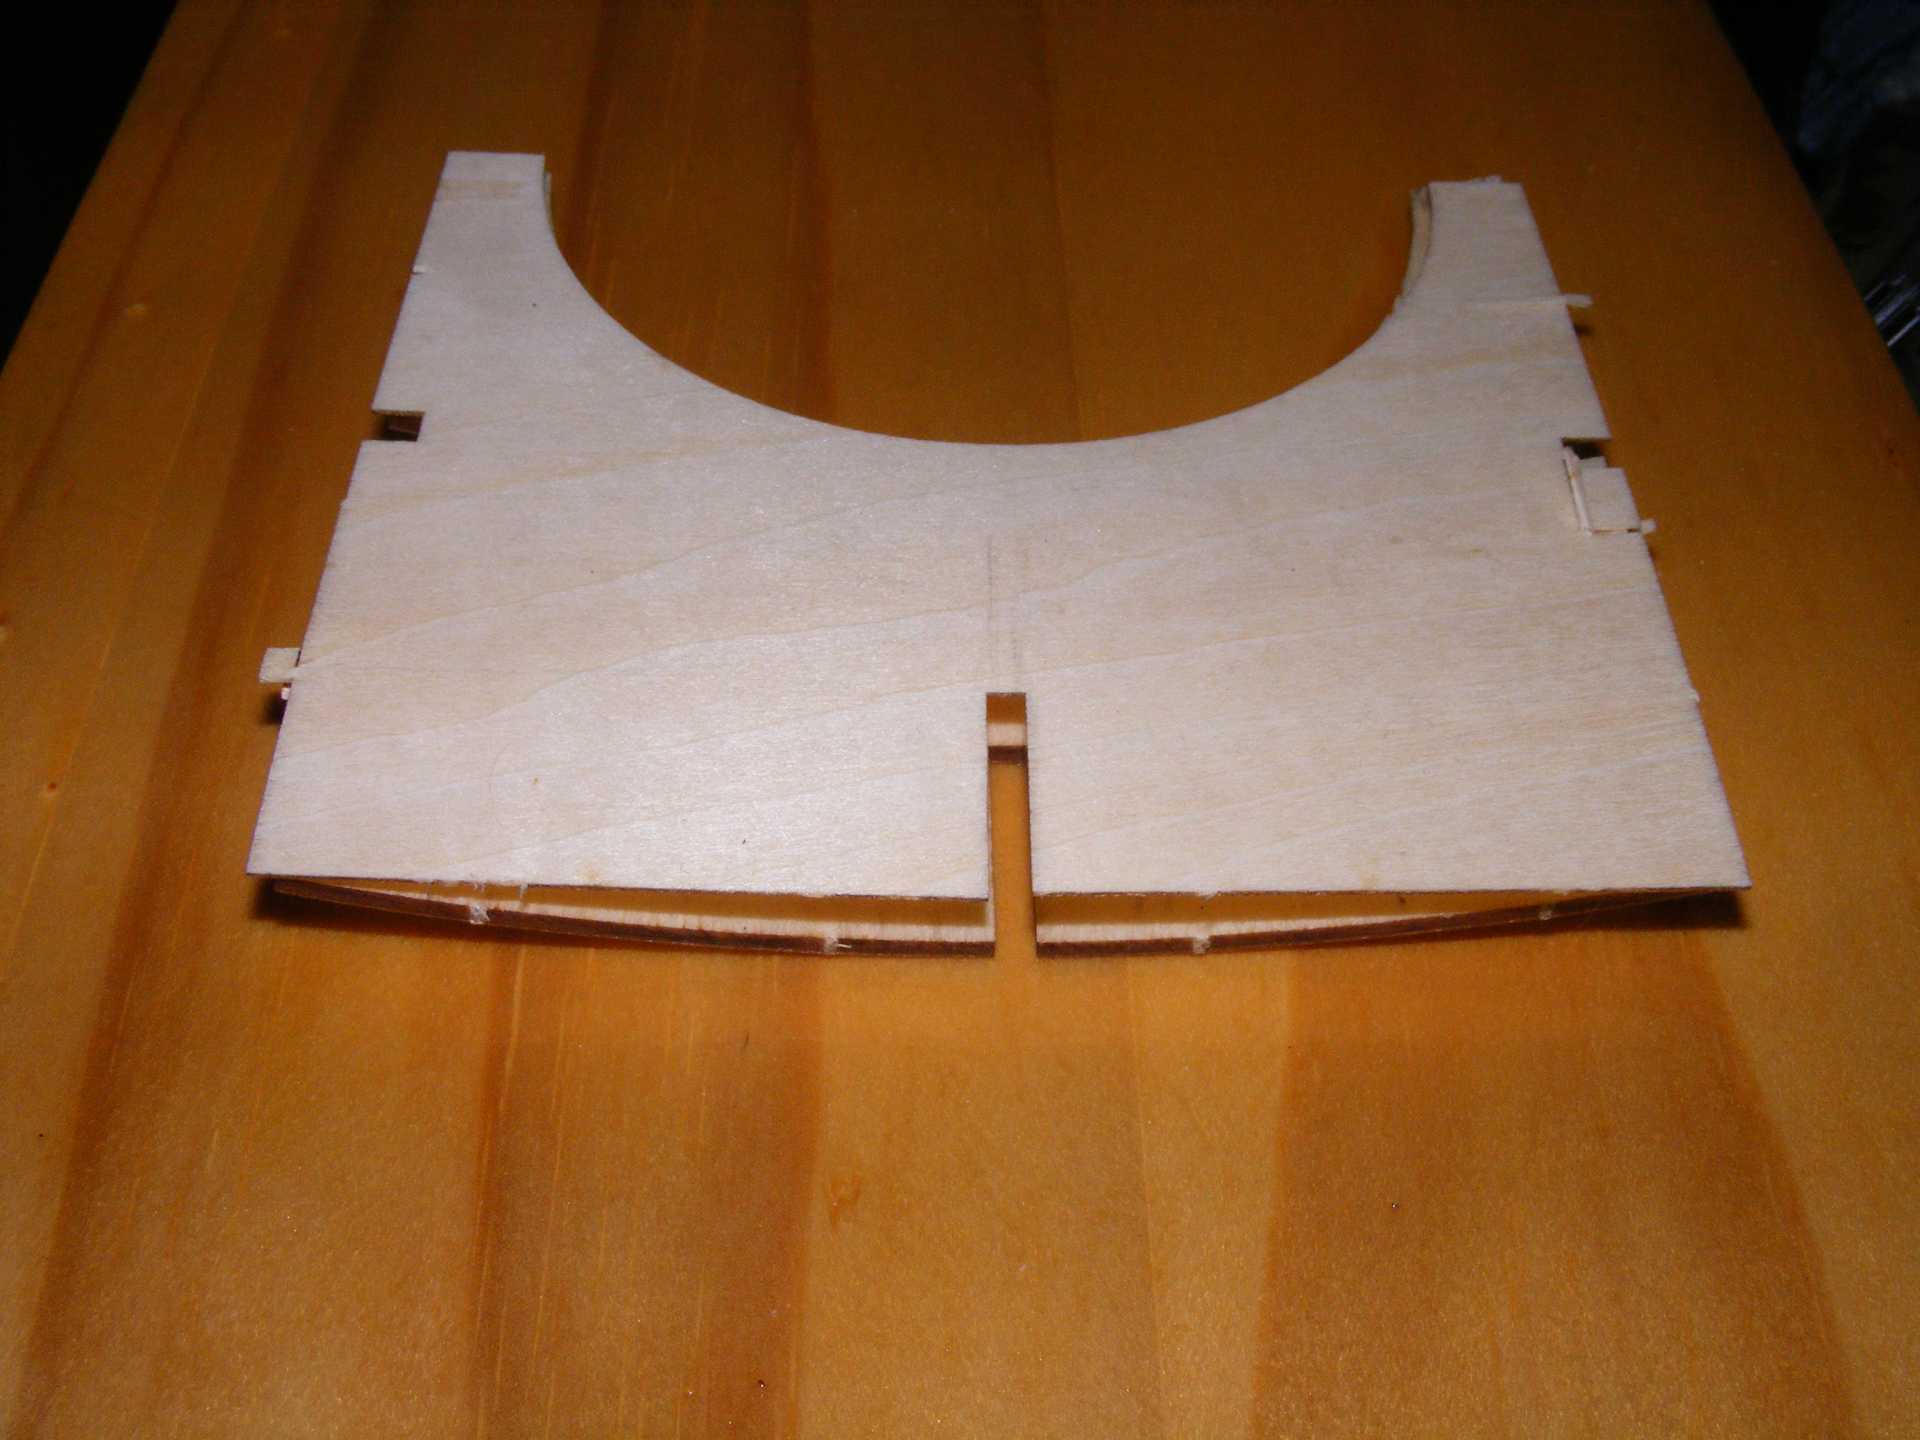
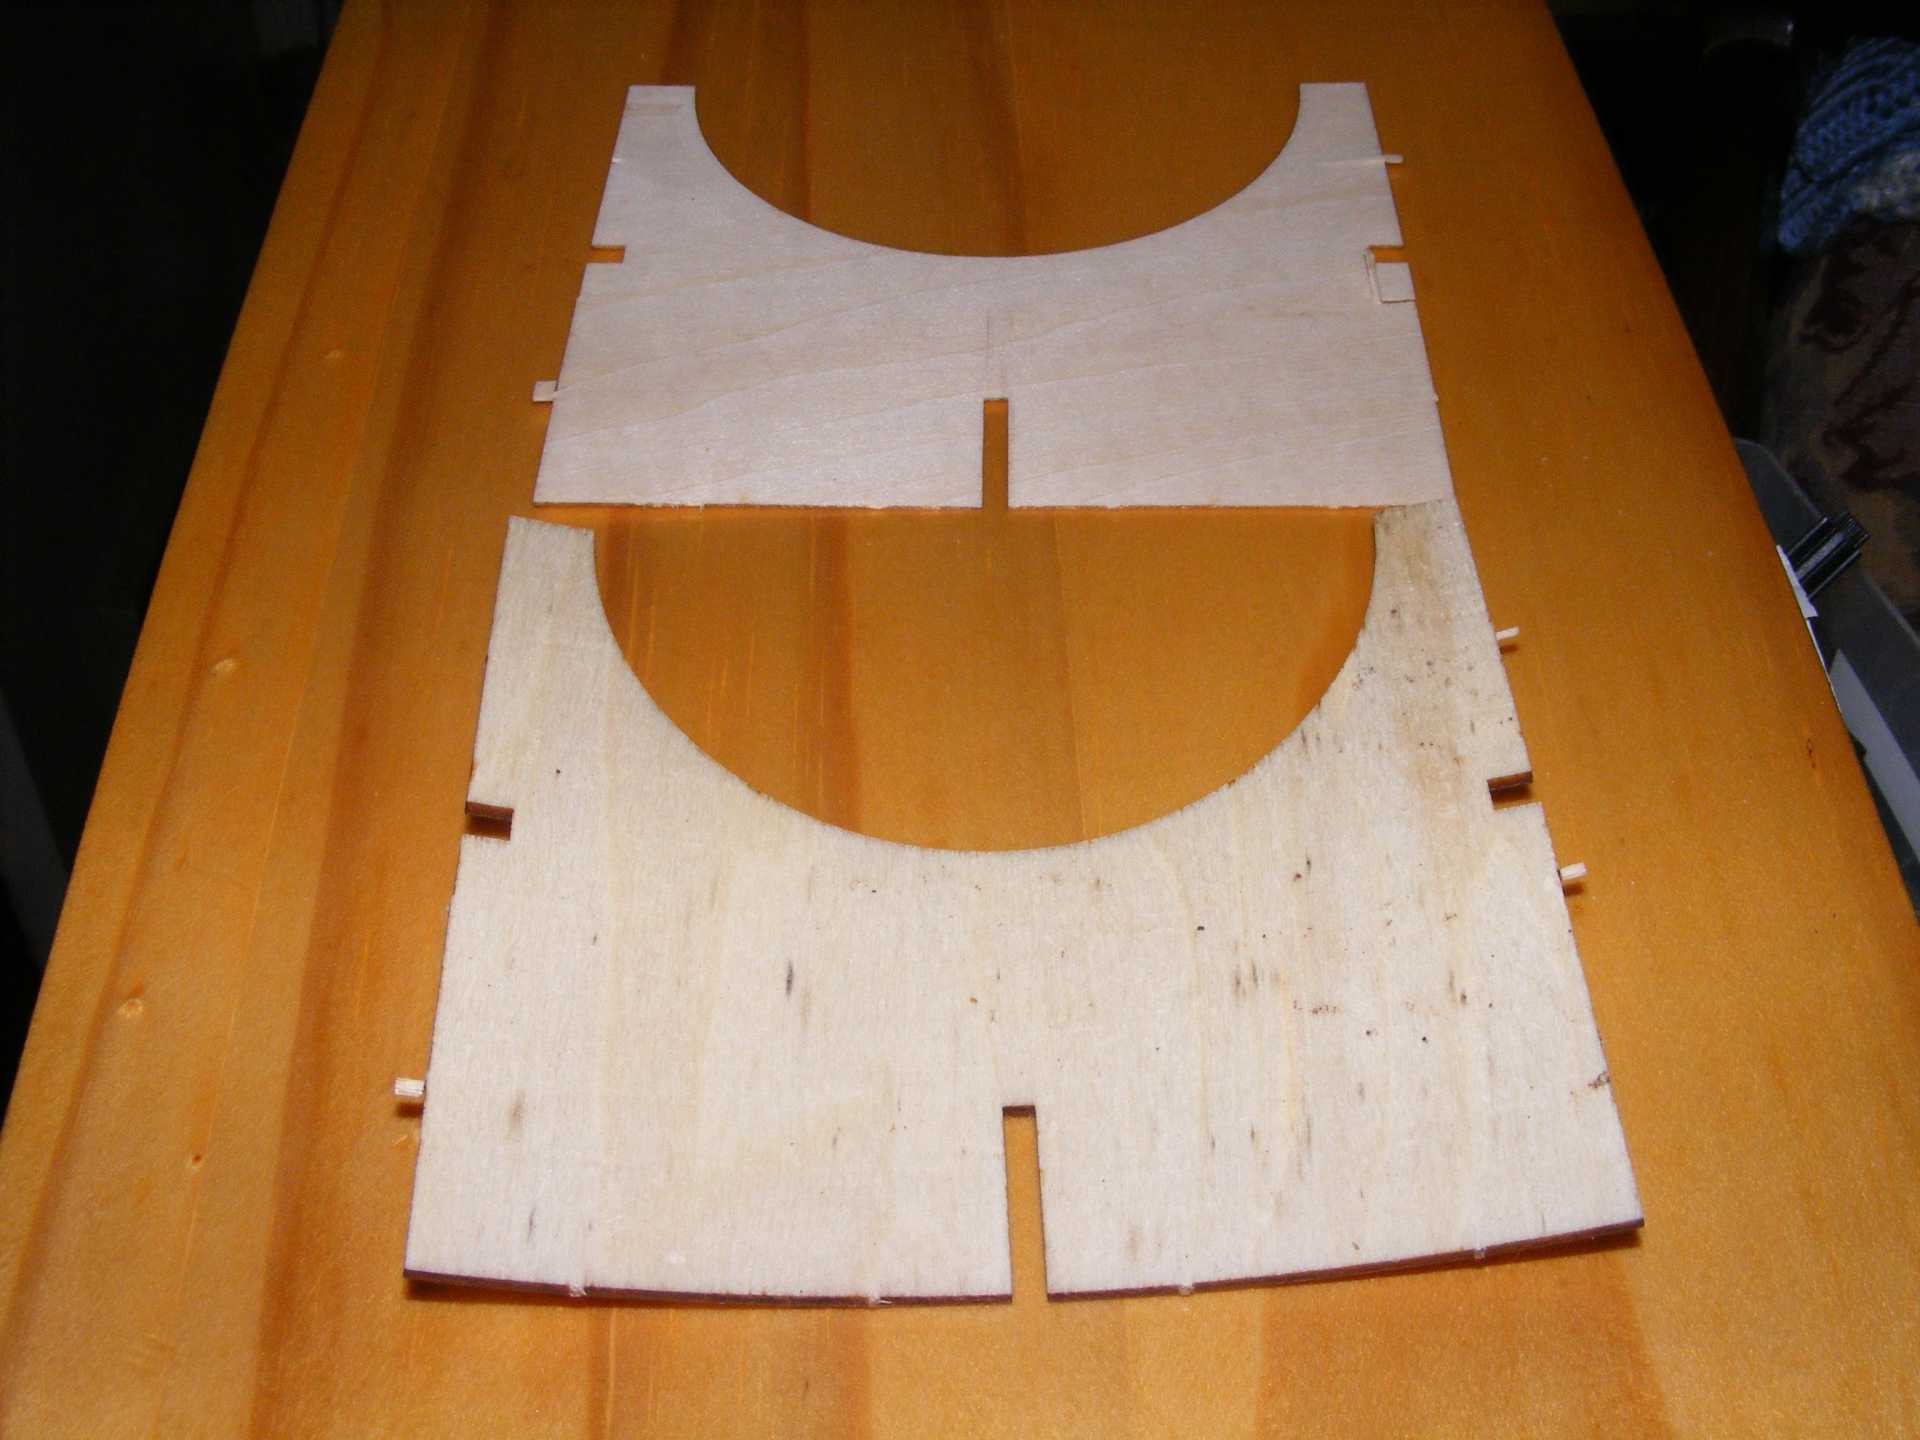
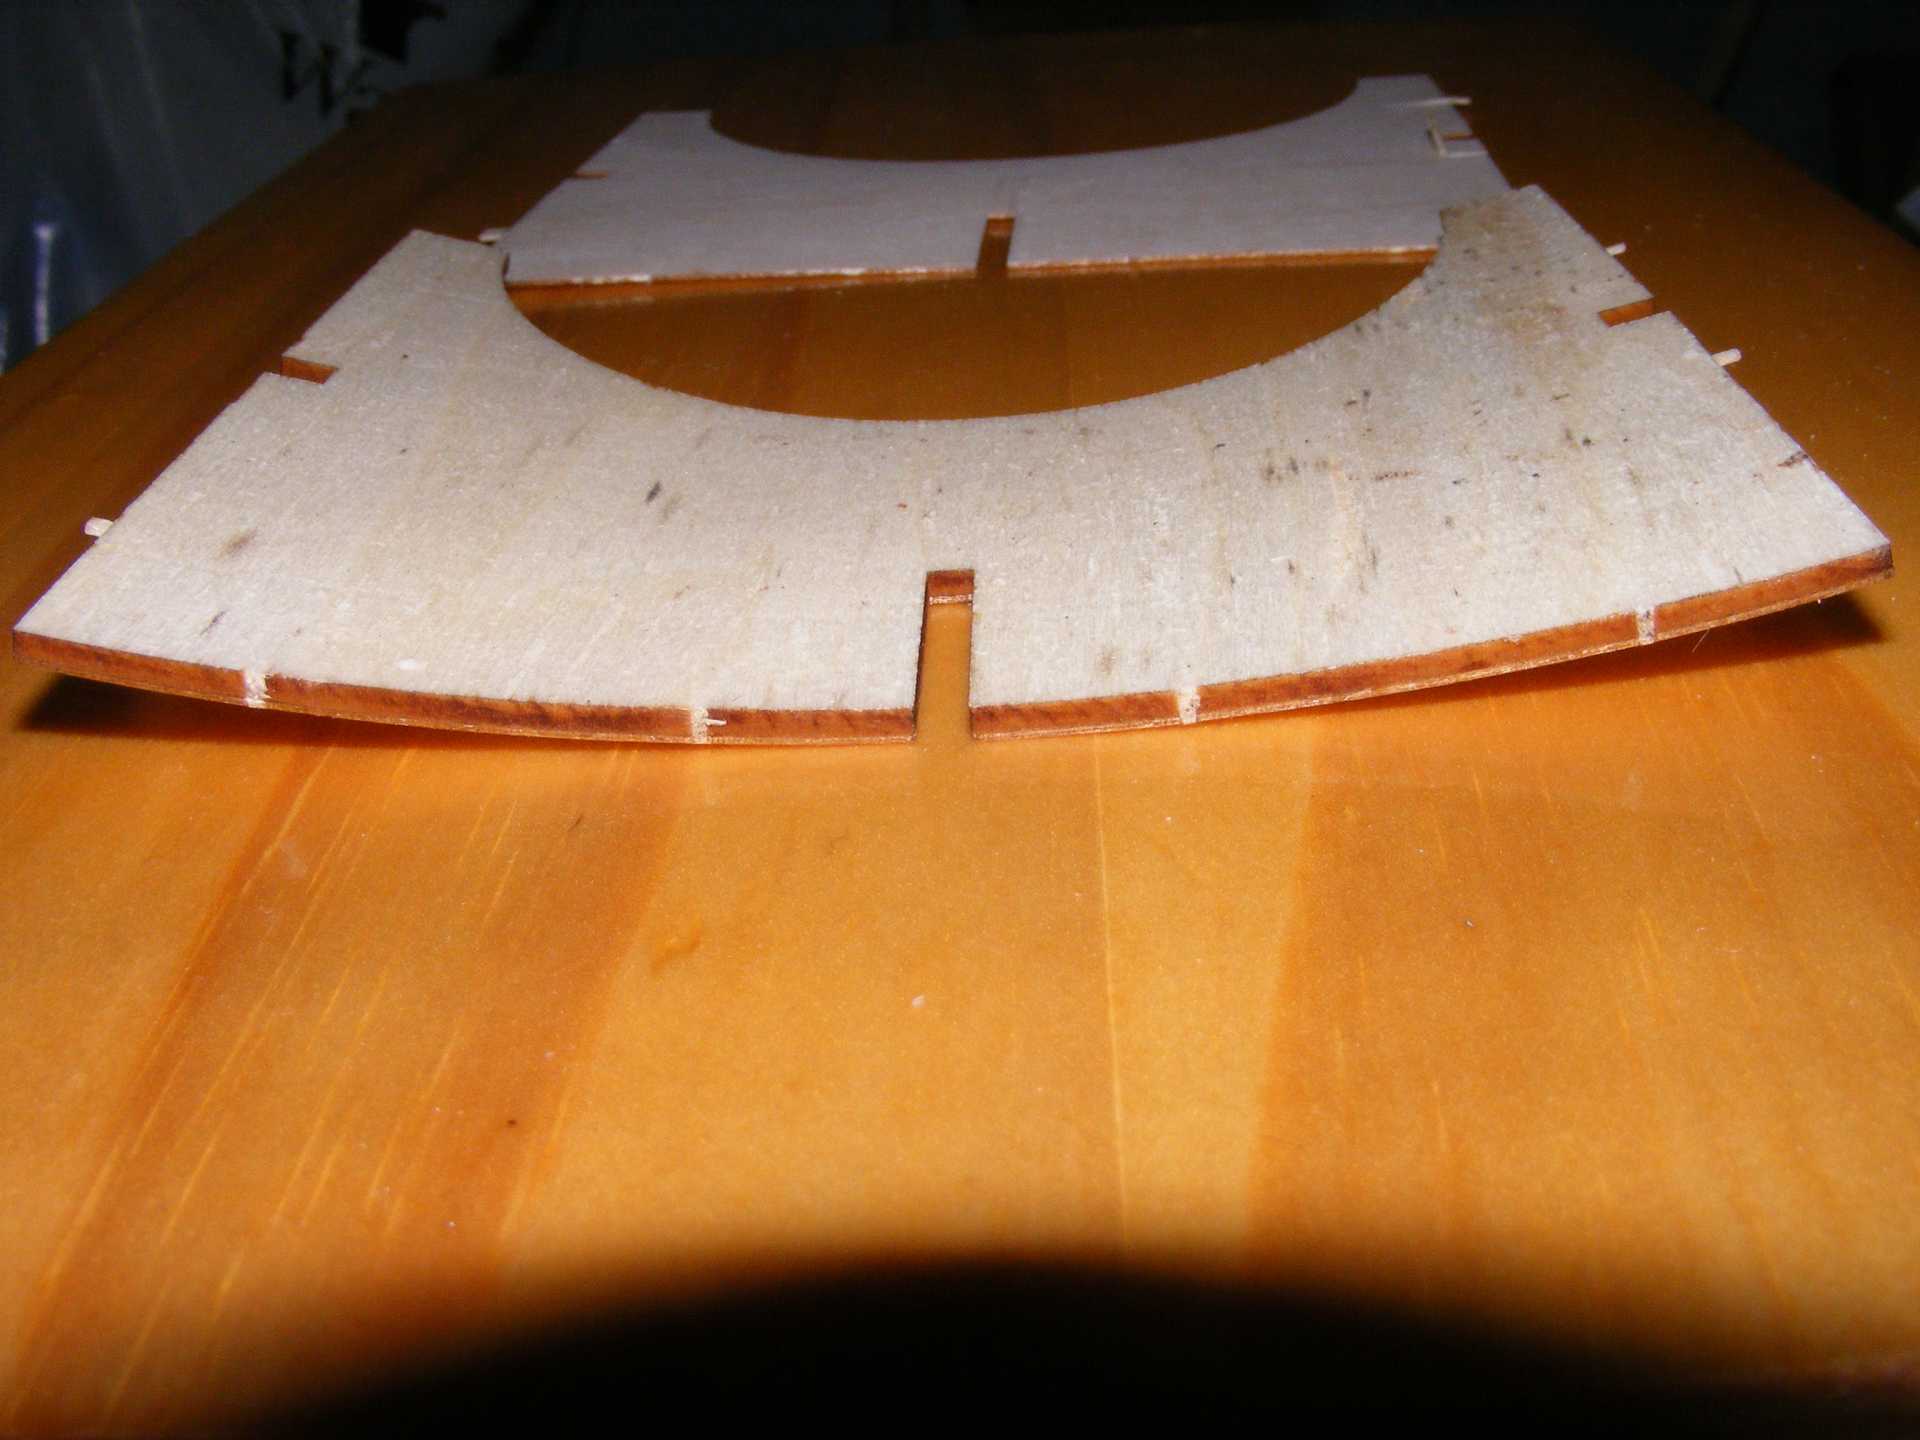
if you are calm and collected when all about you are going berserk - you've missed something important!
Please Log in or Create an account to join the conversation.
- Klipkopwildlife
-
Topic Author
- Offline
- Administrator
-
- I'm supposed to be retired!
I downloaded a 3 view to get an approximate thrust line since the hole in the A1/GP former is certainly not on the thrust line. Then it occurred to me to look at the electric version, bingo! The hole in the extension box is right on line, so I've built up the box and put it in the A1/EP so I can measure the thrust line exactly.
Do it now, you may never get another chance
Please Log in or Create an account to join the conversation.
- Klipkopwildlife
-
Topic Author
- Offline
- Administrator
-
- I'm supposed to be retired!
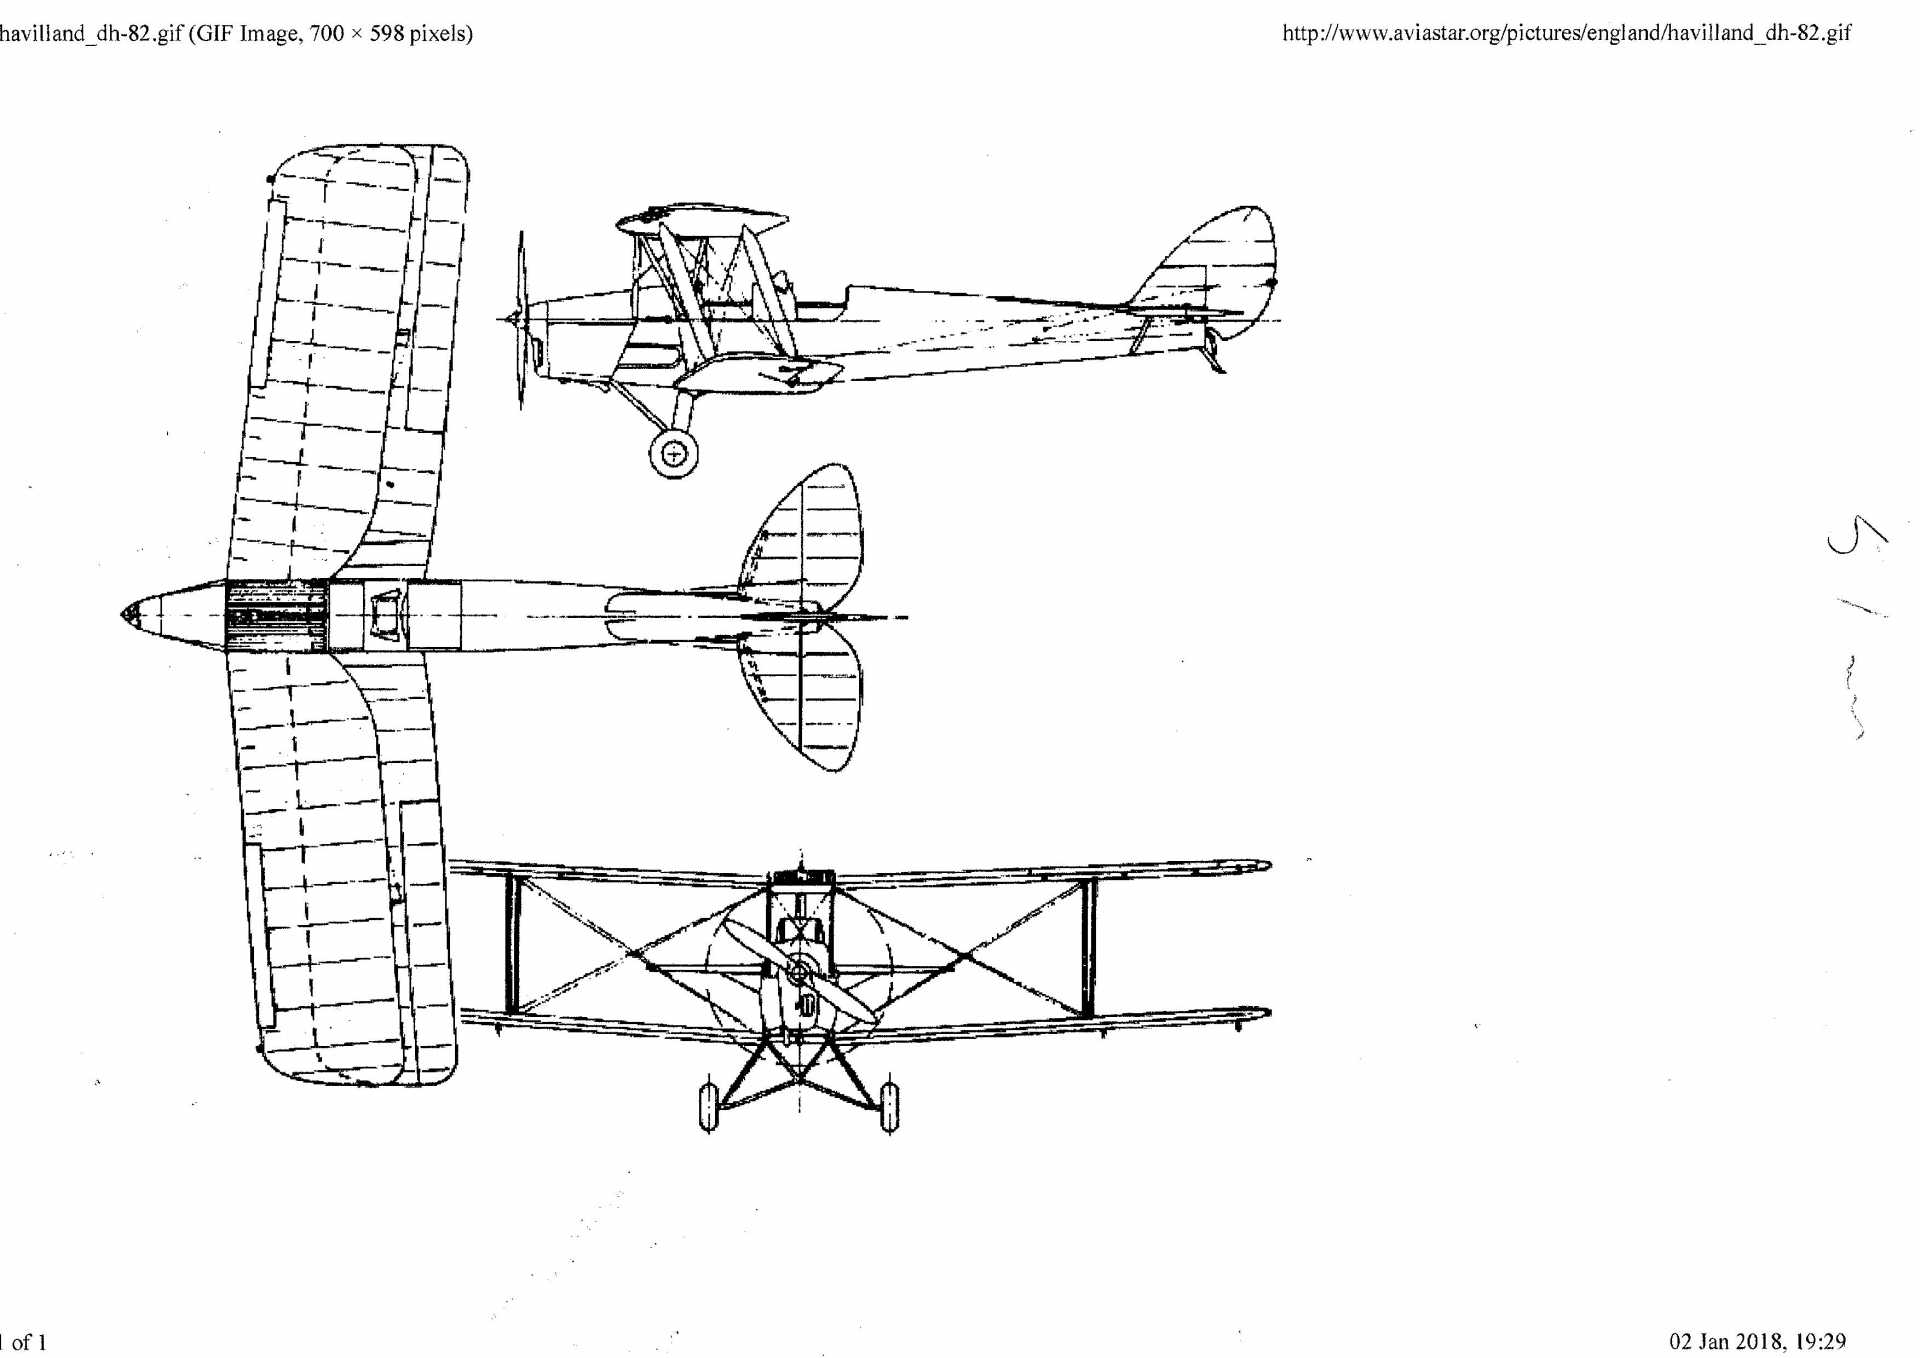
Then I measured the thrust line from this.
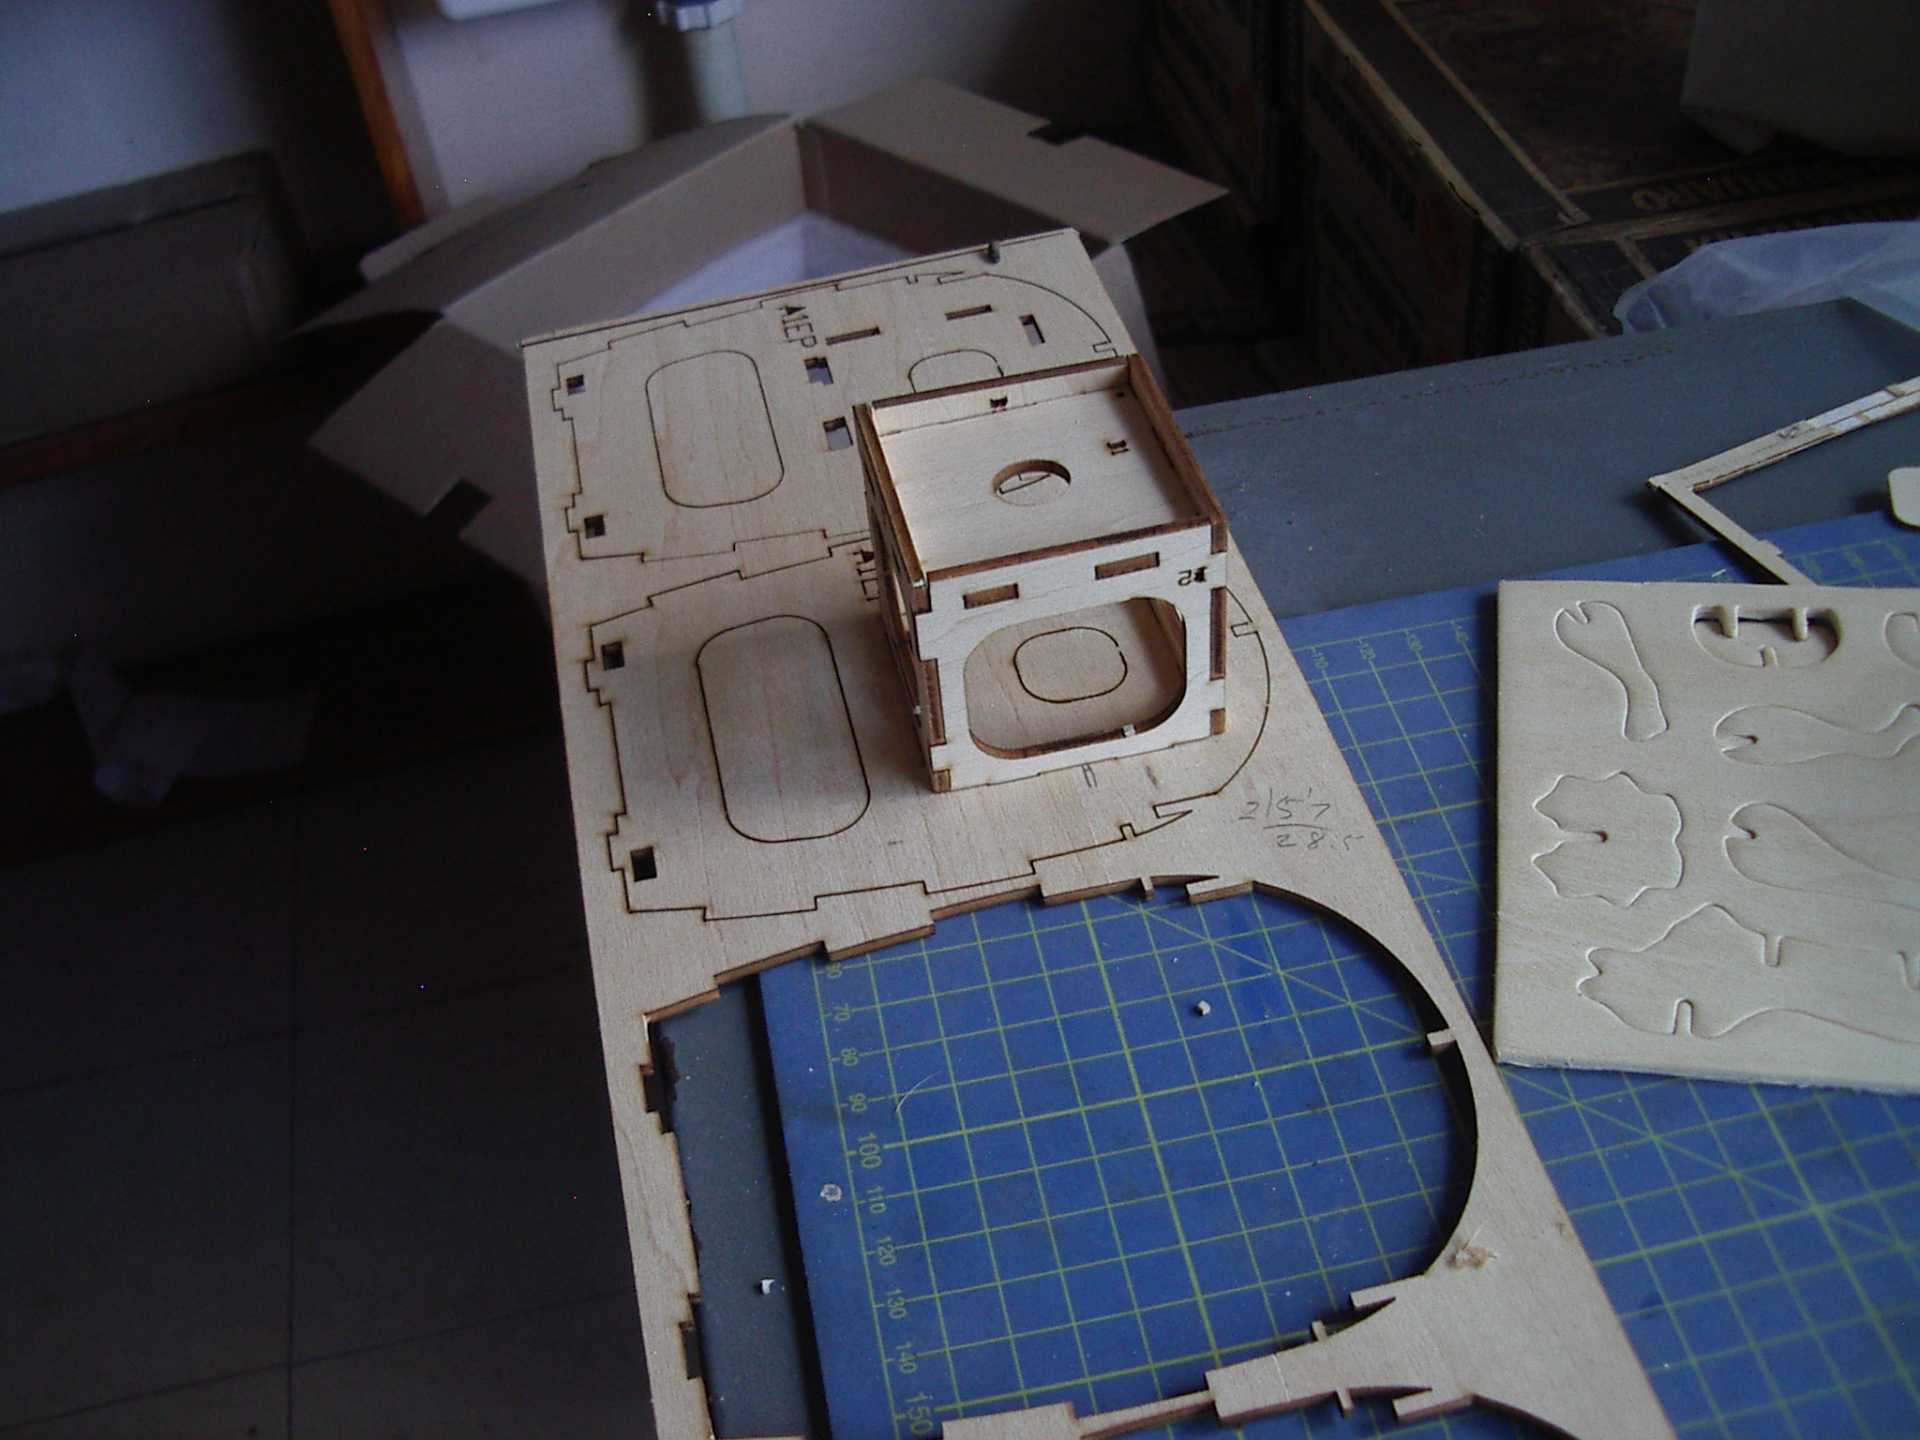
I'm even more confused since this measured line seems to be 3mm lower than the top of the flat fuselage side. I think I'm going to go with the upper edge of the flat fuselage side, comments please.

The lower line is by measurement, the upper is where I think it might be.
Do it now, you may never get another chance
Please Log in or Create an account to join the conversation.
- Eric
-
- Offline
- Moderator
-
- Posts: 13726
- Thank you received: 14467
You might find that at full power, the model wants to pitch up a little more, on the lower mark, so leave access for getting a few washers behind the mount, and in front of the firewall, for just in case down-thrust fiddle room. (teaching granny?) but how often will you BE flying at full power, apart from take-off, and maybe an overshoot?
As you put, earlier, you aren't going for 100% scale, or aerobatics.
if you are calm and collected when all about you are going berserk - you've missed something important!
Please Log in or Create an account to join the conversation.