
Anet A6 3D printer
- Klipkopwildlife
-
 Topic Author
- Offline
- Administrator
-

- I'm supposed to be retired!
Banggood as usual, the box weighed in at just less than 10Kg or 22lbs.
.JPG)
First view of the inside.
.JPG)
Do not dig too far, you'll get into trouble! Provided you open from the correct side almost all of the bits are in the correct order.
.JPG)
Well packaged there was no damage to any of the component parts.
Do it now, you may never get another chance
Please Log in or Create an account to join the conversation.
- Klipkopwildlife
-
Topic Author
- Offline
- Administrator
-
- I'm supposed to be retired!
.JPG)
There are no printed instructions so I spent about a day cruising t'internet but could only find U tube instructions. Didn't use em, can't work with em! Frustrated I returned to the box and discovered a plastic packet with a memory stick in it. It's hidden under the blue 'H' (Hot bed support) underneath the bubble wrapped plate which is the Hot bed itself.

This kit is designed to arrive in a place where there are no tools, these are the tools you get. The USB stick has a slot in the back to take the micro SD card. 16Gb is supplied, more than you'll ever need but buy a spare, you're going to use it a lot.
Do it now, you may never get another chance
Please Log in or Create an account to join the conversation.
- Klipkopwildlife
-
Topic Author
- Offline
- Administrator
-
- I'm supposed to be retired!
.JPG)
The white spots you see all over the place is Polystyrene balls from the packaging, by the time you've pulled the protective paper off the parts the static grabs everything! Pulling the protective paper off takes longer than the actual assembly!
.JPG)
My first concern, not a washer in sight! Nasty.
Do it now, you may never get another chance
Please Log in or Create an account to join the conversation.
- Klipkopwildlife
-
Topic Author
- Offline
- Administrator
-
- I'm supposed to be retired!
.JPG)
Adding the 'Y' motor and limit switch, note the way every wire is properly terminated with a plug.
.JPG)
The sharp eyed will notice I traced every single part, this is because I have visions of having some of the strength parts laser or water cut in 6mm Duralumin at a later stage.
Do it now, you may never get another chance
Please Log in or Create an account to join the conversation.
- Klipkopwildlife
-
Topic Author
- Offline
- Administrator
-
- I'm supposed to be retired!
.JPG)
This has a bearing to carry the toothed drive belt, I see there is a modification to make it stronger and have an arrangement to tension the belt.
.JPG)
Do it now, you may never get another chance
Please Log in or Create an account to join the conversation.
- Klipkopwildlife
-
Topic Author
- Offline
- Administrator
-
- I'm supposed to be retired!
.JPG)
And mounted on the gantry, you have to be careful where you put the washers and nuts!
.JPG)
Do it now, you may never get another chance
Please Log in or Create an account to join the conversation.
- Klipkopwildlife
-
Topic Author
- Offline
- Administrator
-
- I'm supposed to be retired!
.JPG)
They're held in with simple end covers.
.JPG)
In and ready to receive the Hot plate.
.JPG)
Do it now, you may never get another chance
Please Log in or Create an account to join the conversation.
- Klipkopwildlife
-
Topic Author
- Offline
- Administrator
-
- I'm supposed to be retired!
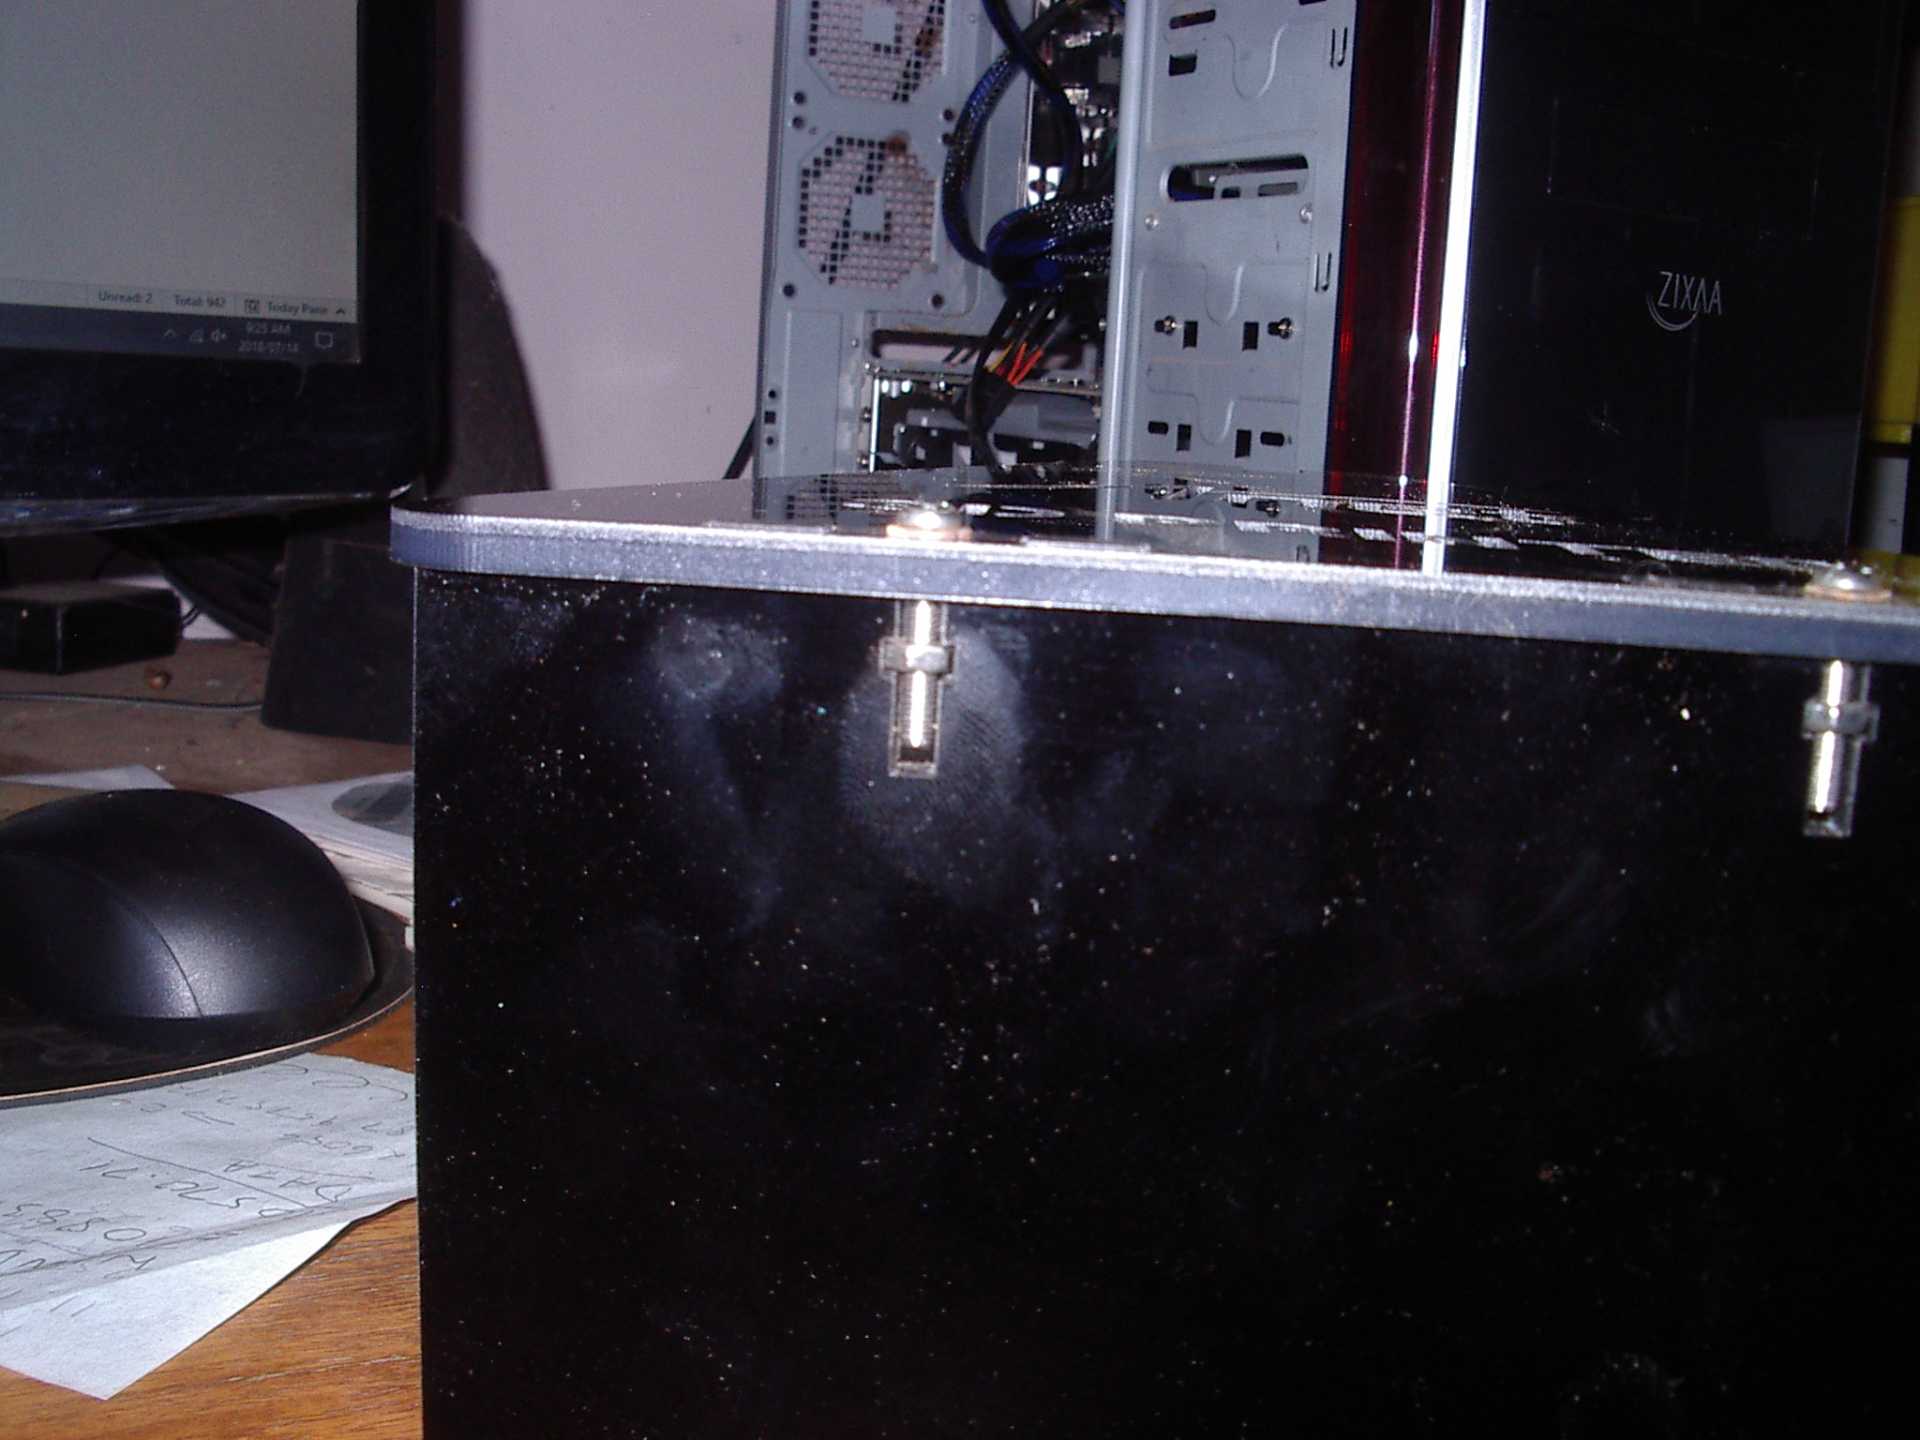
Slots are use to receive the 3mm plated screws with cut outs just large enough to hold the 3mm plated nuts, no washers are supplied.
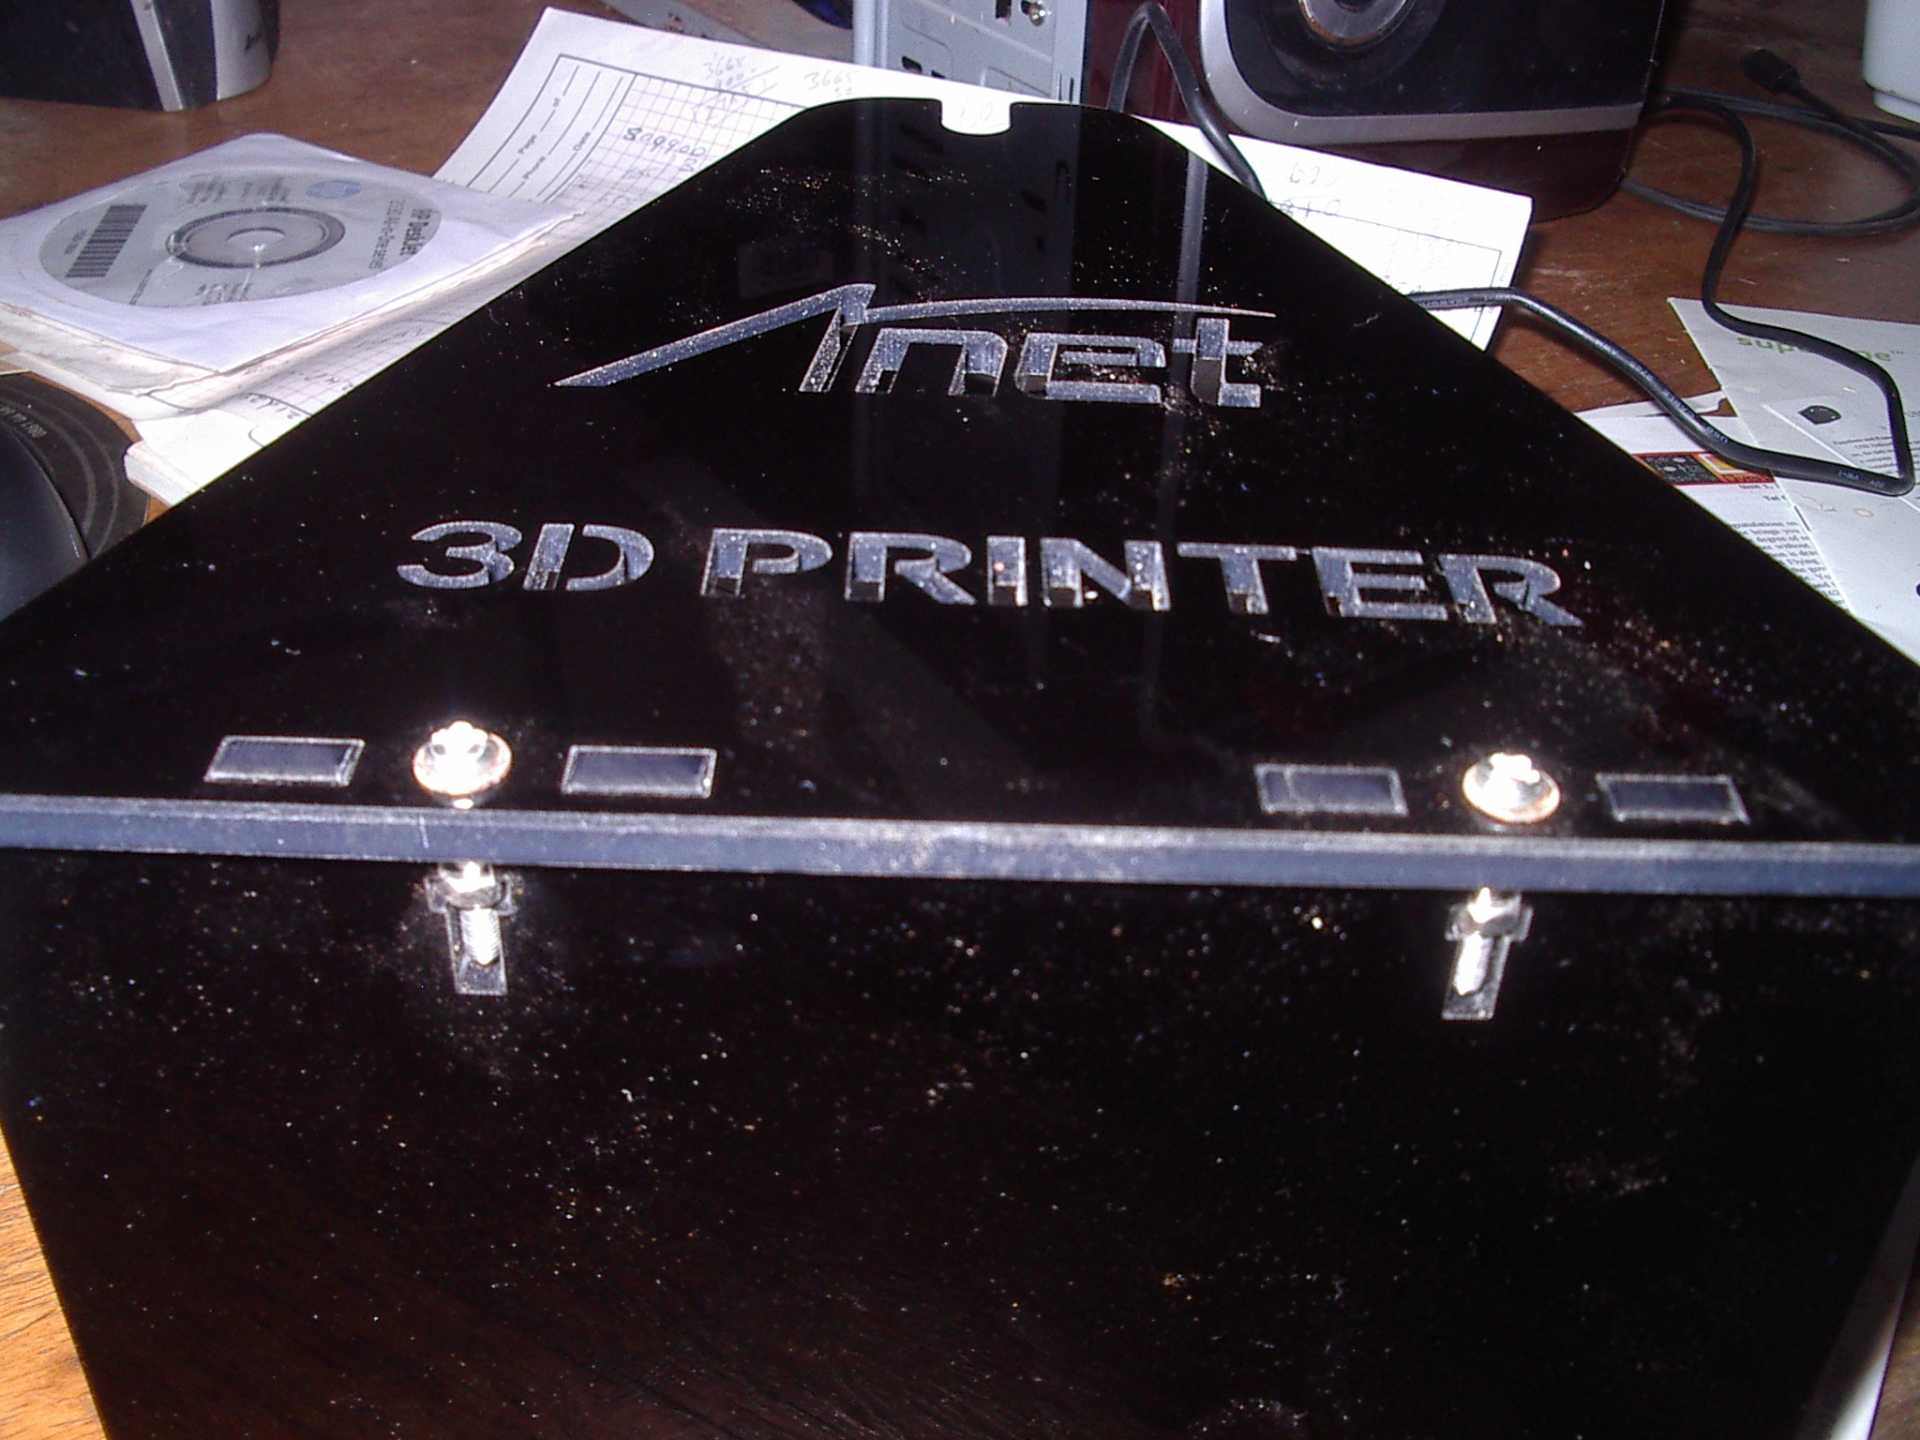
Location is by tab and slot, tolerances are good +-.25mm but there is always a small amount of slop. Best not to tighten everything down (just a little nip) until the whole thing is together.
Do it now, you may never get another chance
Please Log in or Create an account to join the conversation.
- Klipkopwildlife
-
Topic Author
- Offline
- Administrator
-
- I'm supposed to be retired!
.JPG)
The black bits there are to clamp the toothed drive belt, to my mind they're the wrong size, so will be among the first modifications once we're up and running.
.JPG)
Although 'as per instructions' I later changed the location of the cross bar to underneath the main bearers, this gave a better (but still not perfect) location for the drive belt clamps.
Do it now, you may never get another chance
Please Log in or Create an account to join the conversation.
- Klipkopwildlife
-
Topic Author
- Offline
- Administrator
-
- I'm supposed to be retired!
.JPG)
It's mounted to the 'Y' axis with long screws, springs and wing nuts.
.JPG)
Note how every bag is properly marked.
.JPG)
Now in position, you're not told where to site the connector socket, at the back is best, out of harms way.
Do it now, you may never get another chance
Please Log in or Create an account to join the conversation.
- Klipkopwildlife
-
Topic Author
- Offline
- Administrator
-
- I'm supposed to be retired!
.JPG)
Now we start to assemble the 'Z' assemblies, in machines the 'Z' axis is always the one that plunges into the component.
.JPG)
There are 2 'Z' drives so you drive the bridge squarely up and down.
Do it now, you may never get another chance
.JPG)
Please Log in or Create an account to join the conversation.
- Klipkopwildlife
-
Topic Author
- Offline
- Administrator
-
- I'm supposed to be retired!
-2.JPG)
The Extruder head is also pre built
.JPG)
Acme screws in, guide rails in, ready to push the guide rails across to engage in the Extruder head.
.JPG)
And done.
.JPG)
Do it now, you may never get another chance
Please Log in or Create an account to join the conversation.
- Klipkopwildlife
-
Topic Author
- Offline
- Administrator
-
- I'm supposed to be retired!
.JPG)
And blower
.JPG)
The screws supplied for this were countersink! Unforgivable!
.JPG)
Then the limit switch, you can see I've countersunk the holes in the support plate.
Do it now, you may never get another chance
Please Log in or Create an account to join the conversation.
- Klipkopwildlife
-
Topic Author
- Offline
- Administrator
-
- I'm supposed to be retired!
.JPG)
Only countersink screws supplied, again!
.JPG)
Where countersink screws were supplied I've countersunk where ever necessary, please excuse my OCD
Do it now, you may never get another chance
Please Log in or Create an account to join the conversation.
- Klipkopwildlife
-
Topic Author
- Offline
- Administrator
-
- I'm supposed to be retired!
.JPG)
Don't forget the stand offs, I managed to lose one!
.JPG)
Note all the wiring coming through the back, I decided to leave them until after proving trials
Do it now, you may never get another chance
Please Log in or Create an account to join the conversation.