
PA-18 Super Cub for the BMFA R/C Scale Indoor Nats
- martynk
-
- Offline
- Elite Member
-

Septic wrote: Hi Martyn, yes it will be interesting, I am using yellow Esaki, and I will spray Cub yellow over that. Are you referring to just the raw tissue not masking the white of the cartridge paper?? Did you spray over the top?
I was toying with printing the reg etc onto the tissue but I will make stencils, as I am comfortable with that route.
Cheers
Danny
No - I was using the tissue for colouring on the Andreassen. I haven't sprayed or intended to spray it. As it happens, because it was the cowl and clearly delimited it didn't look too bad - but it also didn't look scale like either
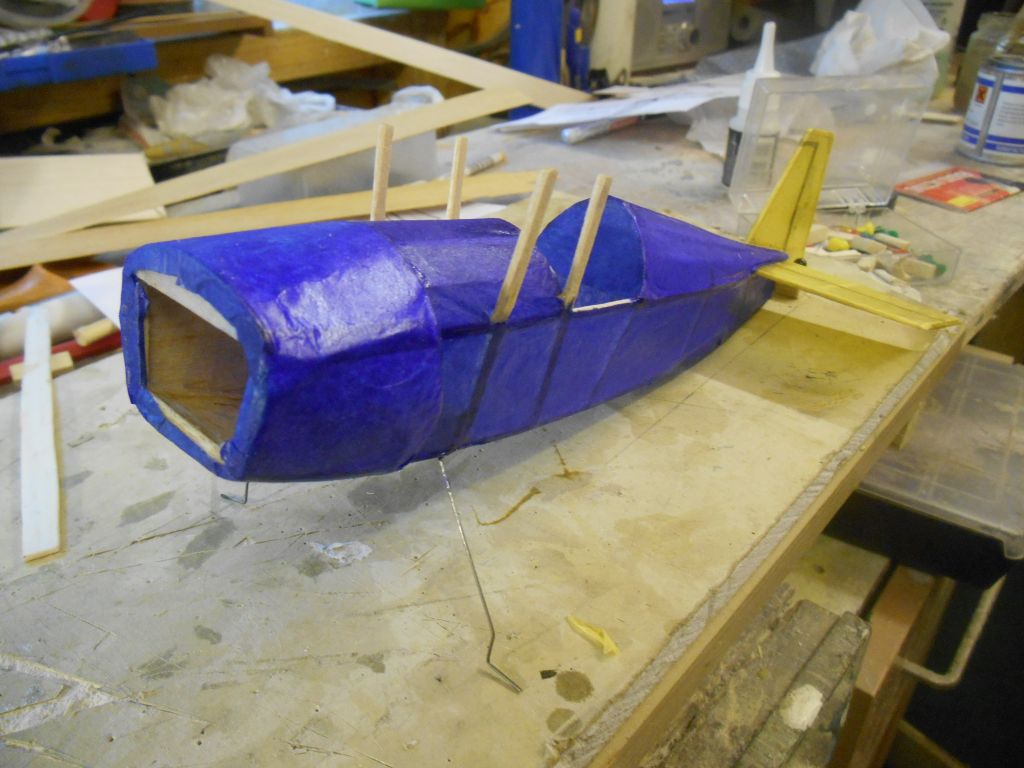
Not the best photo but you can see the difference. Note that at the dope shrank it distorted the cowl slightly as well. Looked much better naked.
--
Martyn
mad-aeromodeller.blogspot.co.uk/
Please Log in or Create an account to join the conversation.
- Septic
-
 Topic Author
- Offline
- Elite Member
-
- Posts: 314
- Thank you received: 690
If it was easy it wouldn't be such fun. I am intrigued to see how you cut preformed ribs?
Mine are solid, and really doubt they will straighten. I will make the next set for the other wing slightly thinner I think......
Cheers
Danny
tap - tap.......rivet
Please Log in or Create an account to join the conversation.
- Septic
-
Topic Author
- Offline
- Elite Member
-
- Posts: 314
- Thank you received: 690

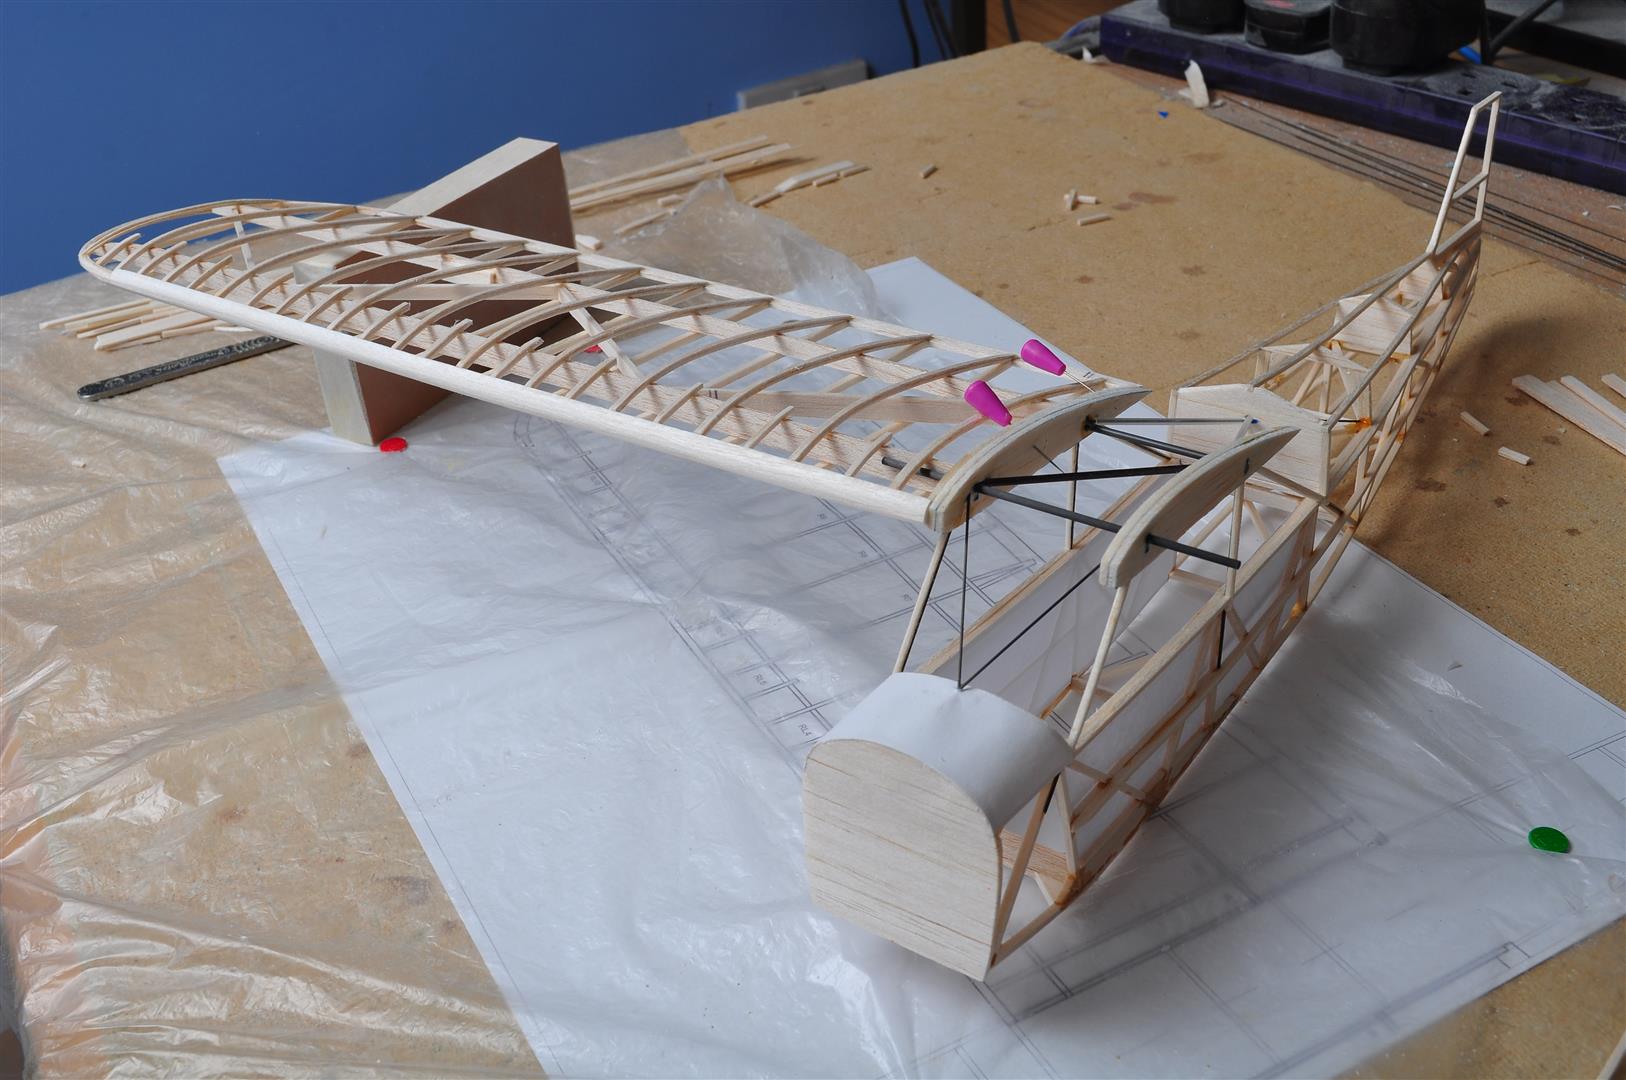
Couldn't resist a mock up

The spars are quite firm 1/16th balsa, and they possibly didn't need to be as it has made the wing 6.2g which is a little heavier than I would have liked, but they are very stiff and strong, which is not needed for indoors.... ah well
Cheers
Danny
tap - tap.......rivet
Please Log in or Create an account to join the conversation.
- Quorneng
-

- Offline
- Forum Master
-

- Posts: 10058
- Thank you received: 19043
That looks very nice indeed but it does look to have a lot of 'wood'.
Strong and stiff wings? - it has struts to do all that!
Please Log in or Create an account to join the conversation.
- Monz
-

- Offline
- Elite Member
-
Please Log in or Create an account to join the conversation.
- Septic
-
Topic Author
- Offline
- Elite Member
-
- Posts: 314
- Thank you received: 690
 I must confess using the harder balsa spars was not my idea, but with hinesight were not needed. I have just weighed the two spars for the other wing (cut from the same stock) and the spars alone weigh 3.6g The rest has to be there to give the scale rib and riblet spacing. I dare say the glue used to laminate the ribs has added some, and the 32nd balsa used in the rib laminations wont be the lightest grade as 32nd rarely is cut from a soft grade, it's too difficult to cut!
Its all a learning exercise for me, I have not done this before so I will be better armed next time.
Cheers
Danny
tap - tap.......rivet
Please Log in or Create an account to join the conversation.
- Septic
-
Topic Author
- Offline
- Elite Member
-
- Posts: 314
- Thank you received: 690
tap - tap.......rivet
Please Log in or Create an account to join the conversation.
- Ex-Member
- Visitor
-

In answer to previous posts, the method Septic is using has been developed from the more conventional sliced ribs method as suggested by martynk. The downside of the traditional method is that the ribs are weak between the spars for larger chord wings - as an example, I had several break (crush) on my 20" span Lacey, although it worked well on the 13" version of the same model. Septic's Cub is 30" span and so the 'sliced' ribs need more support.
Yes, Q, there is a lot of wood there, but the basic method is tried and tested and leads to a much lighter and stiffer structure than more conventional solid-rib construction.
In respect of the spars, yes, they could be a bit lighter, but overall, I don't believe the extra few grams will make much of a difference. It'll be very difficult to spot the lower flying speed when the model is performing, unless the weight gain is significant. In this case it is not. On the other hand, the model will be used in Scale Indoor Competition and will, therefore, need to be robust. A slightly harder spar, plus the struts, together with the laminated ribs, will make for a good balance between strength and weight for the role the model is intended.
Keep going Septic, I'm really enjoying this thread!
Please Log in or Create an account to join the conversation.
- Septic
-
Topic Author
- Offline
- Elite Member
-
- Posts: 314
- Thank you received: 690
Andy has convinced me to carry on with my paper covered leading edge approach, so i will tape some paper to the board and wet it lightly, see what that does when it dries and then give it a coat or two of non shrink dope. Hopefully this will result in a stiff paper that I can cover the leading edge in. He has also advised that although the ribs are a little wider than needed, do the other wing the same. Good idea

The doped paper is yet again a new technique for me but that is the bit I really like about this hobby learning from you guys
I tell you what larger R/C models are fair more strightforward 
Cheers
Danny
tap - tap.......rivet
Please Log in or Create an account to join the conversation.
- Ex-Member
- Visitor
-
I use airmail weight paper in 20" x 30" sheets - I seem to remember that I got my last batch from Falkiner Fine Papers, but I've not checked their stock recently. If you do buy some, do it in person so you can see what you're getting. The paper needs to be fine grained and not open weave. Aim for a weight of around 30 - 40g/sm.
I tape the paper to a board then soak it in water using a sponge. I then leave it to dry for a day or so. After that it's just a case of spraying with non-shrinking dope until the grain of the paper is filled. Light sanding with extremely fine wet and dry or flour paper between each coat helps. The result is a nice, stable, lightweight material that replicates covered and doped plywood on light scale models.
I fix it to the airframe using photo mount adhesive. Spray some adhesive into a plastic cup, then add lighter fuel to dilute it. Quickly apply it to the airframe using a balsa wedge.
I sometimes cover the model first, and sometimes afterwards, but I don't normally cover over the paper. The tissue is then water shrunk by spray or steam and spray doped with non-shrinking dope. Painting then takes place as normal.
Derek knight has also experimented with similar weight paper, covering the whole model with the dry paper, then water shrinking, non-shrink doping and painting. The result is a surface finish that looks similar to sheet metal.
Please Log in or Create an account to join the conversation.
- Septic
-
Topic Author
- Offline
- Elite Member
-
- Posts: 314
- Thank you received: 690
So the amateur version of making doped paper leading edges is about to begin.....Andy when it all goes wrong you can say I told you so
But firstly some naked wings, is it just me or do bare frames deserve at least one coffee and a biscuits worth of just staring

Cheers
Danny
tap - tap.......rivet
Please Log in or Create an account to join the conversation.
- Septic
-
Topic Author
- Offline
- Elite Member
-
- Posts: 314
- Thank you received: 690

I am only doing the upper surface leading edge as it looks like there is either no or very shallow sheeting on the underside.
The sheeting should go out to the tip, but there is no way i am going to be able to tease the 2 dimensional paper to do that so I will just accept the error
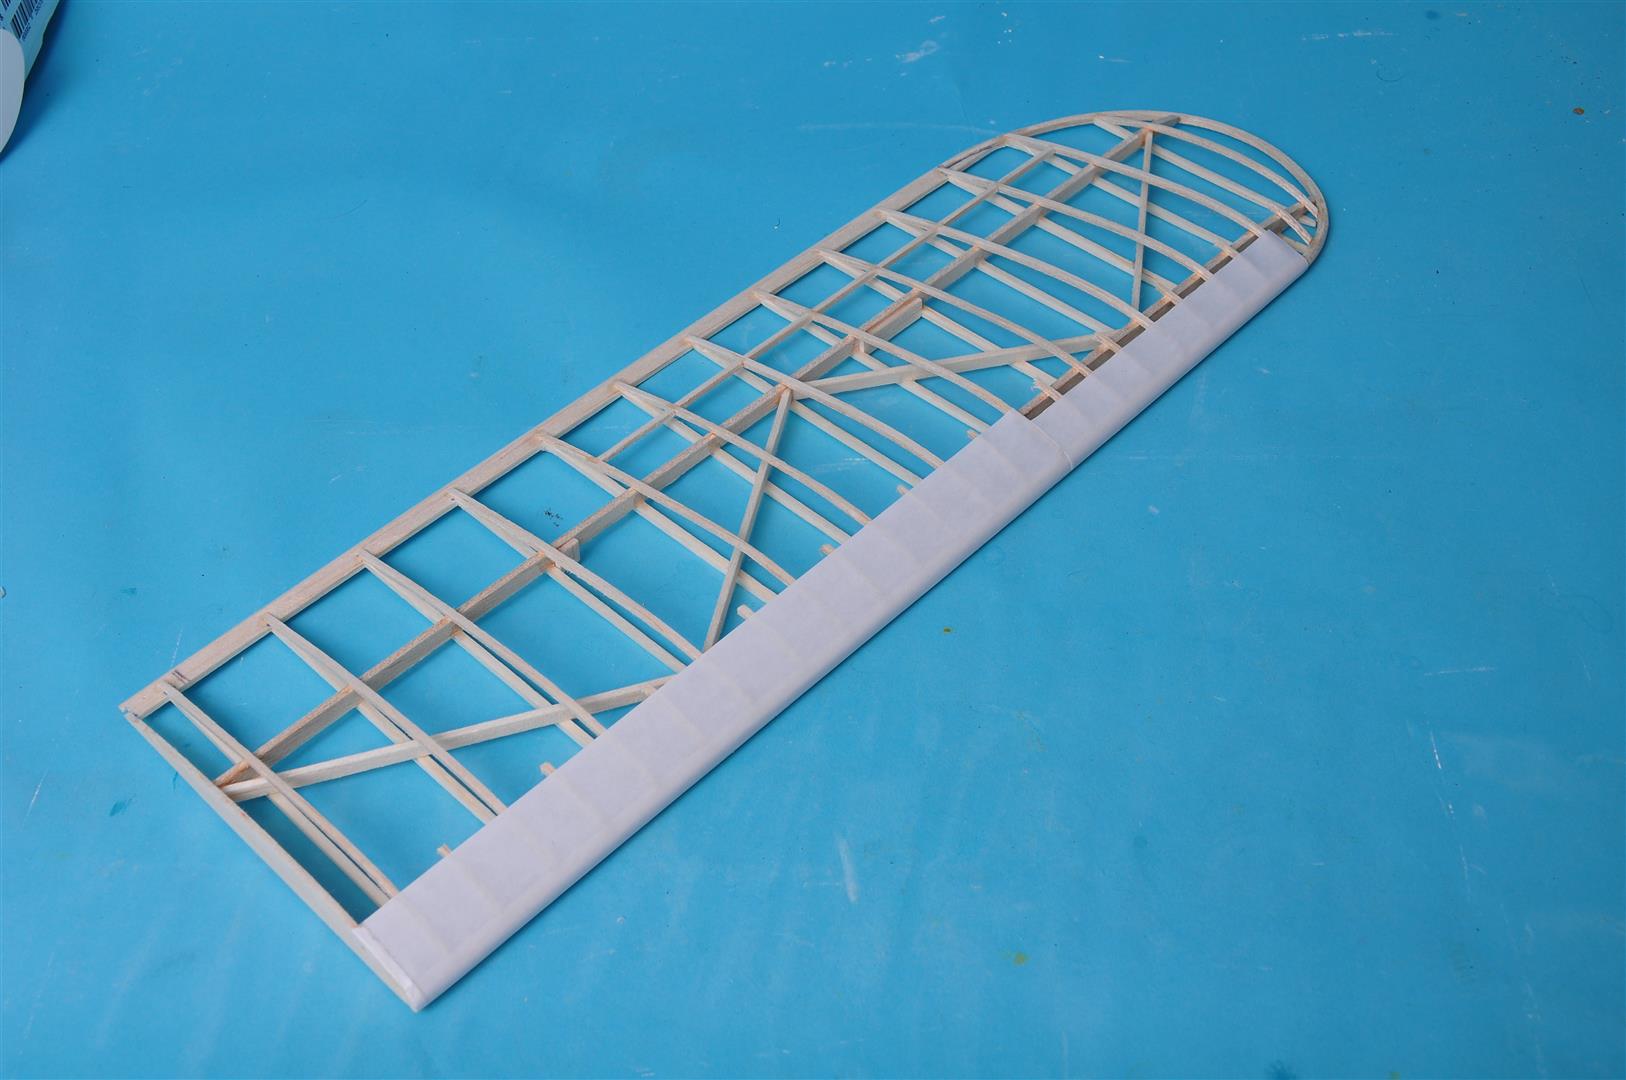
I have a question of you aero-dynamacists (lord knows if any of those letters are correct and even remotely in the right place!) My question is this; Mt model is flying rudder/elevator/throttle, how little dihedral can I get away with? As it is high wing I am thinking I might get away with close to scale, which is not a lot! it may make turning interesting of course....
Any thoughts?
tap - tap.......rivet
Please Log in or Create an account to join the conversation.
- Quorneng
-
- Offline
- Forum Master
-
- Posts: 10058
- Thank you received: 19043
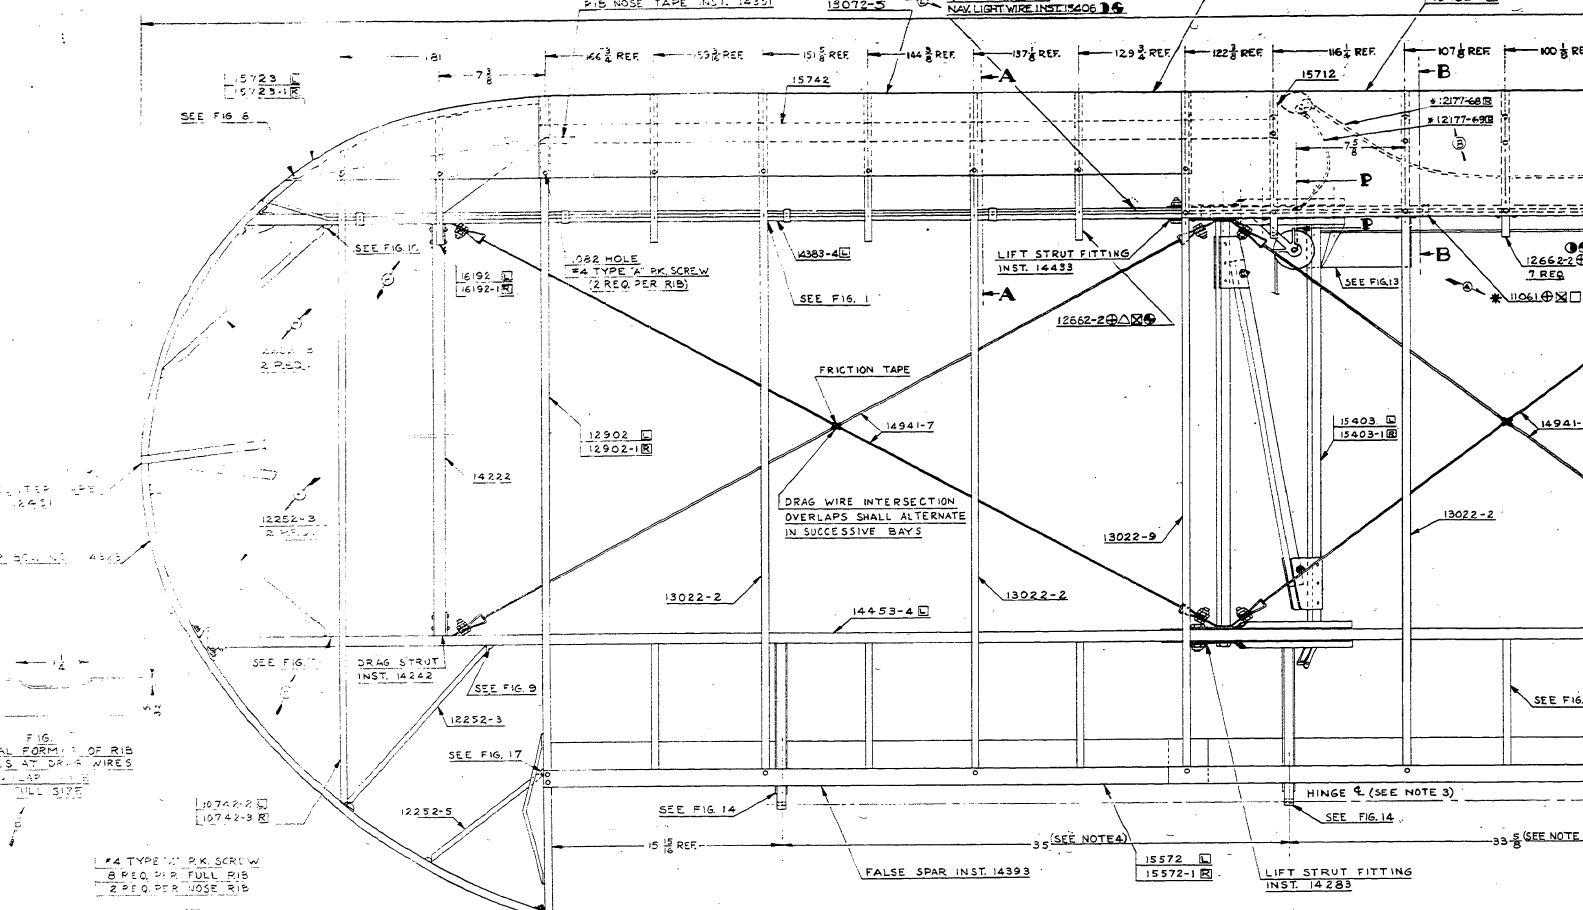
It appears the aluminium leading edge at the tip on a basic Cub is/was actually made up of 3 pieces to accommodate the double curvature so it is not actually that smooth!
Please Log in or Create an account to join the conversation.
- Septic
-
Topic Author
- Offline
- Elite Member
-
- Posts: 314
- Thank you received: 690

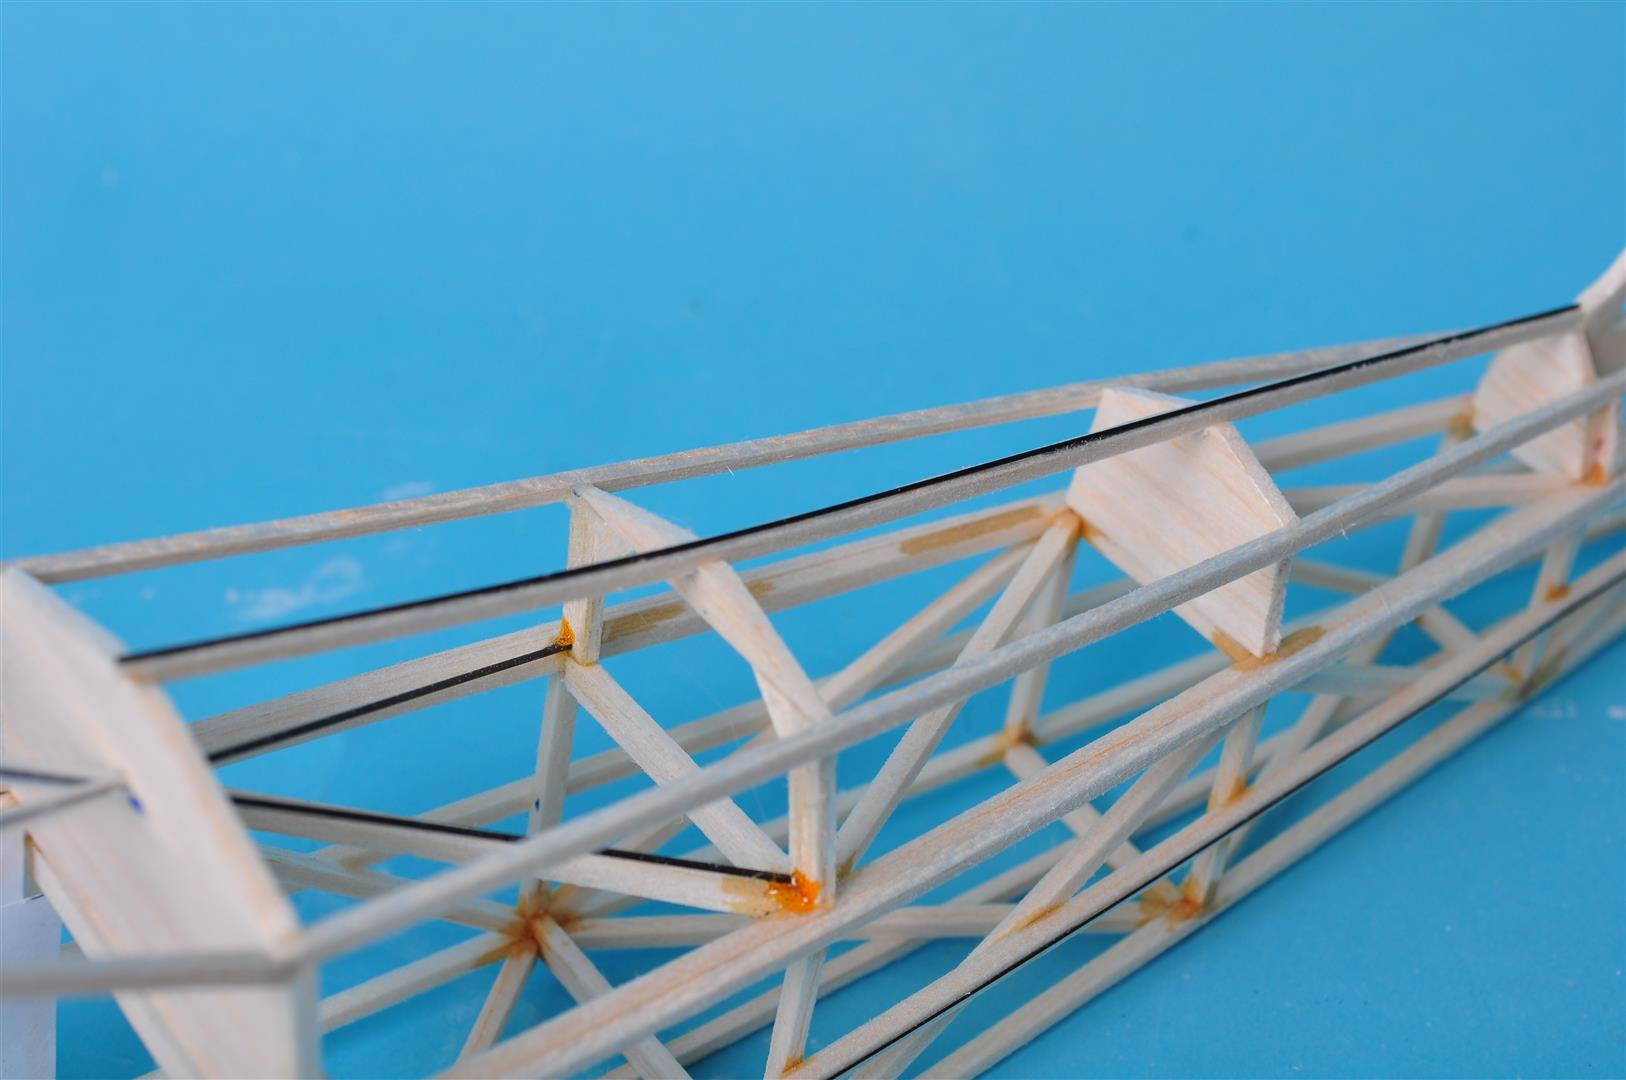
Took a quick look at the fuselage. I dare say you are all going to cringe but a trick I tried on a Brian Taylor Hurricane that worked really well was to define the stringers with thread. The thread shows through the covering as being much sharper and better defined than 1/16th balsa. On this little indoor model i think this could work even better to sharpen the stringers under the tissue.
So carbon ron barely as thick as a hair was layed along the main stringers, and along the fus underside. A slightly thicker section was run around the door/entry area and along the top of the fus. I hope that this will sharpen the panels and make them look less model-like. Might not work, but it certainly worked well on the larger Hurricane.


Cheers
Danny
tap - tap.......rivet
Please Log in or Create an account to join the conversation.
- Ex-Member
- Visitor
-
Dihedral - I would try scale to start with. If you use my suggested method for fixing the wings, Septic, you'll be able to easily adjust the dihedral if you need more...
Please Log in or Create an account to join the conversation.