
PA-18 Super Cub for the BMFA R/C Scale Indoor Nats
- one tenor
-

- Offline
- Forum Veteran
-

- johnpcalex@gmail.com
Anything will fly given enough power
Please Log in or Create an account to join the conversation.
- Septic
-
 Topic Author
- Offline
- Elite Member
-

- Posts: 314
- Thank you received: 690
tap - tap.......rivet
Please Log in or Create an account to join the conversation.
- Quorneng
-

- Offline
- Forum Master
-

- Posts: 10058
- Thank you received: 19043
A common form of fuselage construction.Particularly during the inter war years.
First used for volume production by Fokker in WW1
The jigs can be made as simple or complex as the volume of production requires. Piper made 19,000 Cubs!
Please Log in or Create an account to join the conversation.
- one tenor
-
- Offline
- Forum Veteran
-
- johnpcalex@gmail.com
Anything will fly given enough power
Please Log in or Create an account to join the conversation.
- Klipkopwildlife
-

- Offline
- Administrator
-

- I'm supposed to be retired!
If you look at the floor you can see tracks in the floor. The tracks take 'T' nuts which can then be used with turn-buckles to straighten any part of the aircraft you wish.
Do it now, you may never get another chance
Please Log in or Create an account to join the conversation.
- Septic
-
Topic Author
- Offline
- Elite Member
-
- Posts: 314
- Thank you received: 690
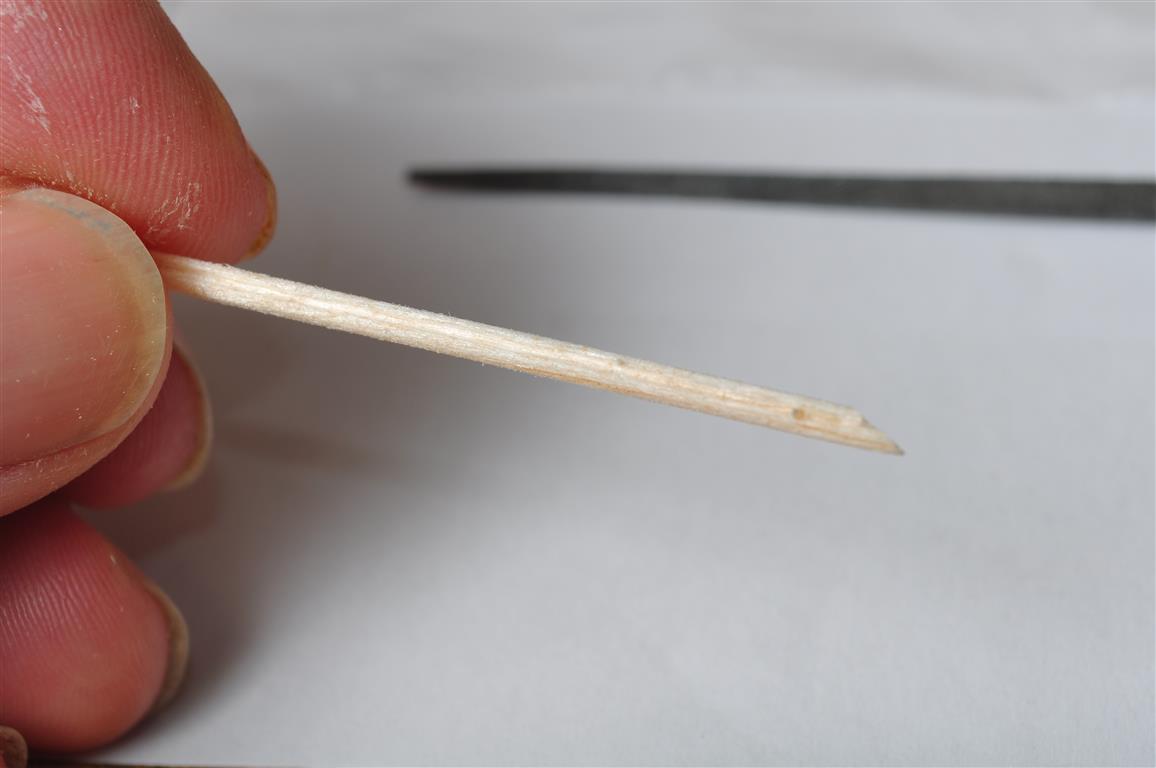

I think I will see if I can do the cockpit ceiling tubing next while I am on a roll....
tap - tap.......rivet
Please Log in or Create an account to join the conversation.
- Septic
-
Topic Author
- Offline
- Elite Member
-
- Posts: 314
- Thank you received: 690

The rear fus upper formers have been added, they all seemed to want to go wonky on me.... ah well hopefuly not too visible when it is covered in Yellow Esaki.
No idea what will happen around the rear yet, better make the tail surfaces and see if anything springs to mind. I am going to laminate 3 strips 1/32 over an mdf former, using amonia. Not sure what glue to use to do the laminating, tempted with thinned pva, any thoughts?
Cheers
Danny
tap - tap.......rivet
Please Log in or Create an account to join the conversation.
- Ex-Member
- Visitor
-

Soaking the wood then bending it around a hot 'shoe', such as a large soldering iron, also works well for forming balsa. The other 'trick' is to bend it over half a tin can formed into a cone and supported over a couple of candles - it worked quite well for Doug McHard, who reckoned he could form sheet balsa into a complex curve using such a method. So if he can do it, so can you!
Please Log in or Create an account to join the conversation.
- one tenor
-
- Offline
- Forum Veteran
-
- johnpcalex@gmail.com
Anything will fly given enough power
Please Log in or Create an account to join the conversation.
- Firewood
-

- Offline
- Elite Member
-
- Posts: 282
- Thank you received: 268
I'm so clever that sometimes I don't understand a single word of what I'm saying.
Please Log in or Create an account to join the conversation.
- Septic
-
Topic Author
- Offline
- Elite Member
-
- Posts: 314
- Thank you received: 690
Wetted three pieces of wood, let it soak for a couple of minutes then formed the first against the former and pinned it. Then I ran glue along the next and starting at one end removed one pin, layed in the next piece and moved the pin to be outside of the two strips. Worked my way around the curve until both strips were pinned snugly against the former. I then repeated the process with a third strip.

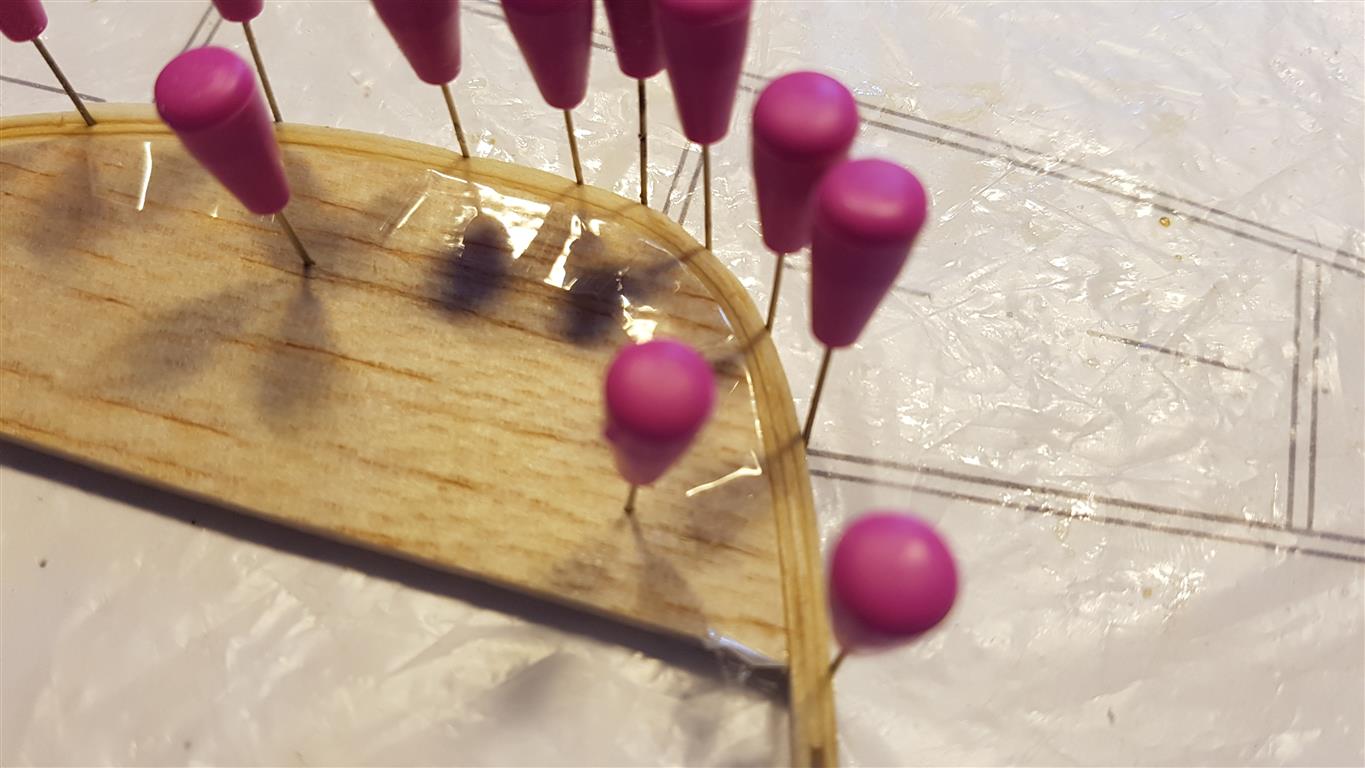
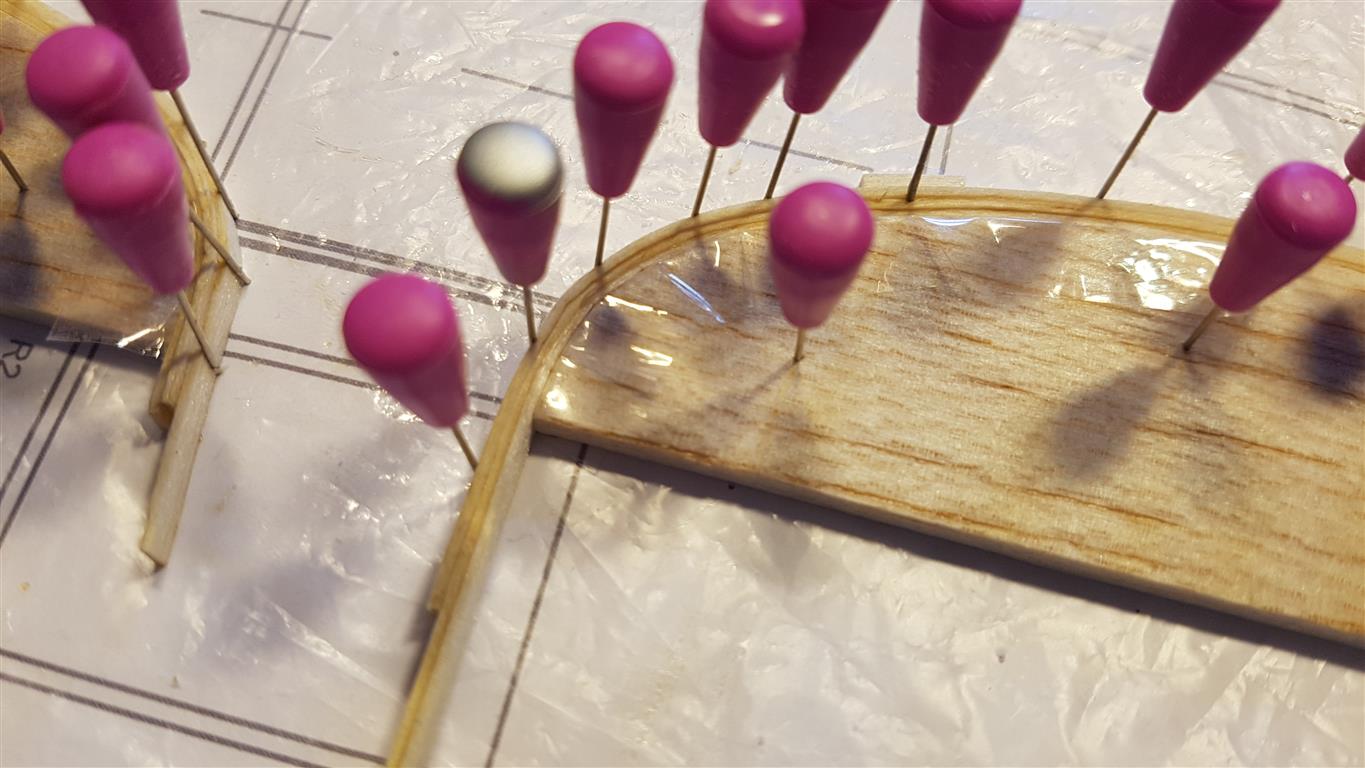
Just need to let it all dry now.
And yes I did rectify the error in the third pic

Cheers
Danny
tap - tap.......rivet
Please Log in or Create an account to join the conversation.
- Ex-Member
- Visitor
-

Might be worth considering adding a dummy strip to the outside of the form for the next one, to stop the indents from the pins affecting the outer strip. It's also worth making the formers longer than required so that the ends of the form you're making blends into the part that it will eventually join. However, as said above, it looks good to me!
if forum members are puzzled by the reference to 'elastoplasts', it was a method I suggested in private to Danny last night that's detailed in my Westland Woodpigeon thread here:
www.aeromodellers.co.uk/forum/free-fligh...n?limitstart=0#59414
Please Log in or Create an account to join the conversation.
- Septic
-
Topic Author
- Offline
- Elite Member
-
- Posts: 314
- Thank you received: 690
I have the rudder to do next so will try the extra on that, it can always be sanded away later.
I do have a slight problem in that the edge is about an 1/8th thick, so some careful sanding will need to be done to bring it down to the 3/32 thickness that I want

But good technique, and thanks for pushing me into using it Andy
Cheers
Danny
tap - tap.......rivet
Please Log in or Create an account to join the conversation.
- martynk
-

- Offline
- Elite Member
-

I now prefer to use small blocks to hold the shape, in the past I have even used a male and female template but I found this method cumbersome and not very effective as there was no guarantee that I could get even pressure to guarantee a good join
--
Martyn
mad-aeromodeller.blogspot.co.uk/
Please Log in or Create an account to join the conversation.
- martynk
-
- Offline
- Elite Member
-

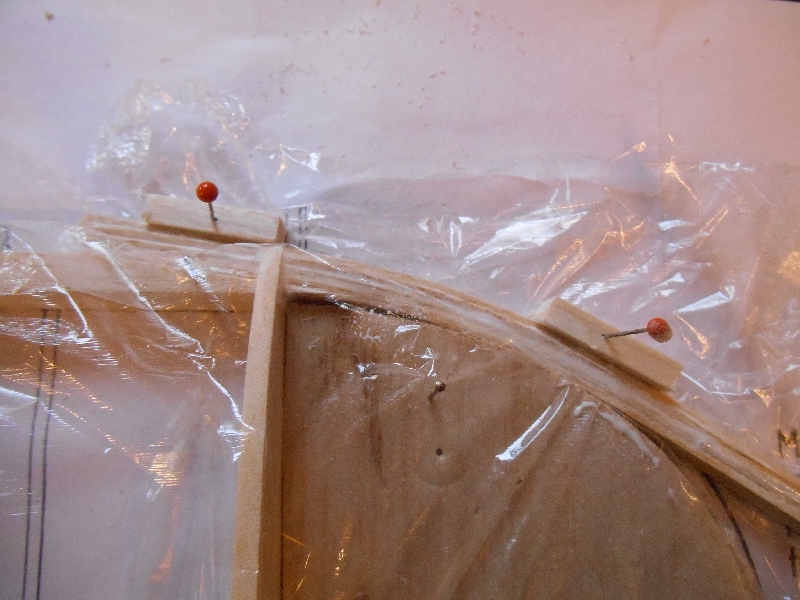
and
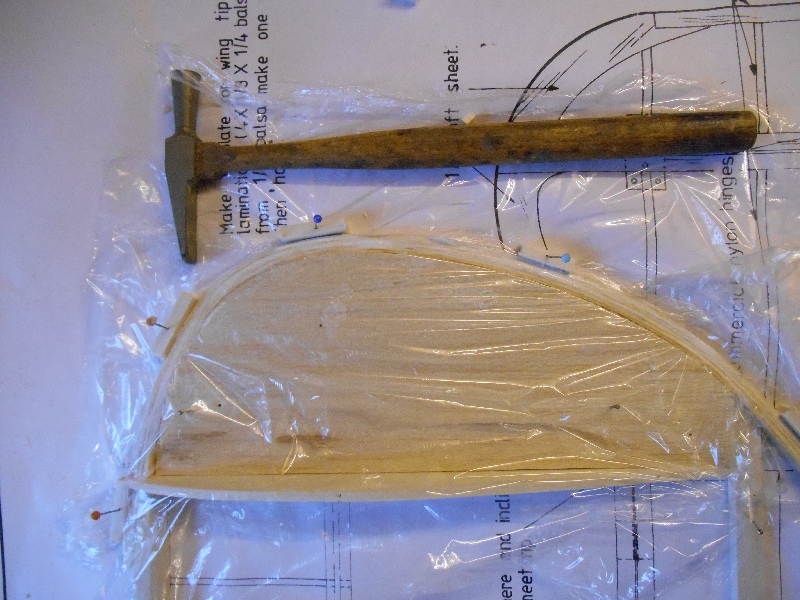
--
Martyn
mad-aeromodeller.blogspot.co.uk/
Please Log in or Create an account to join the conversation.